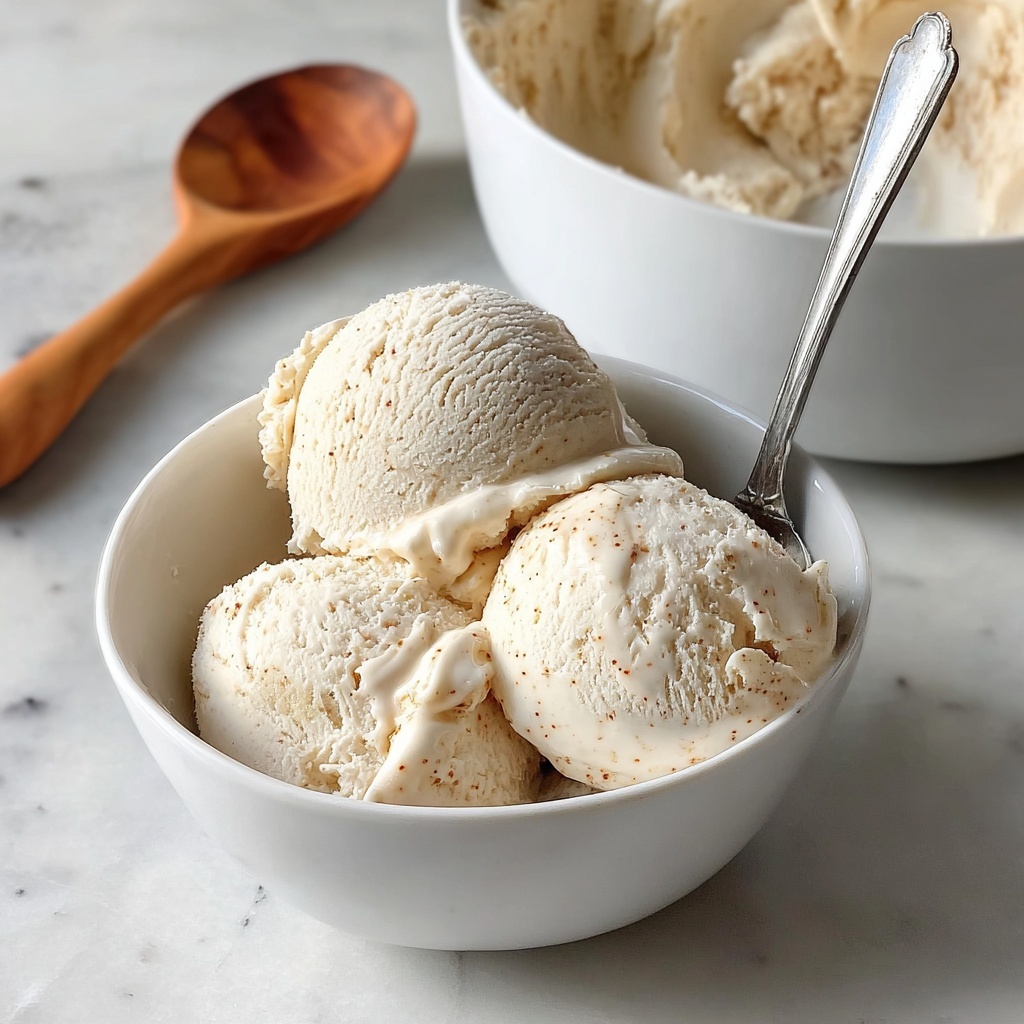
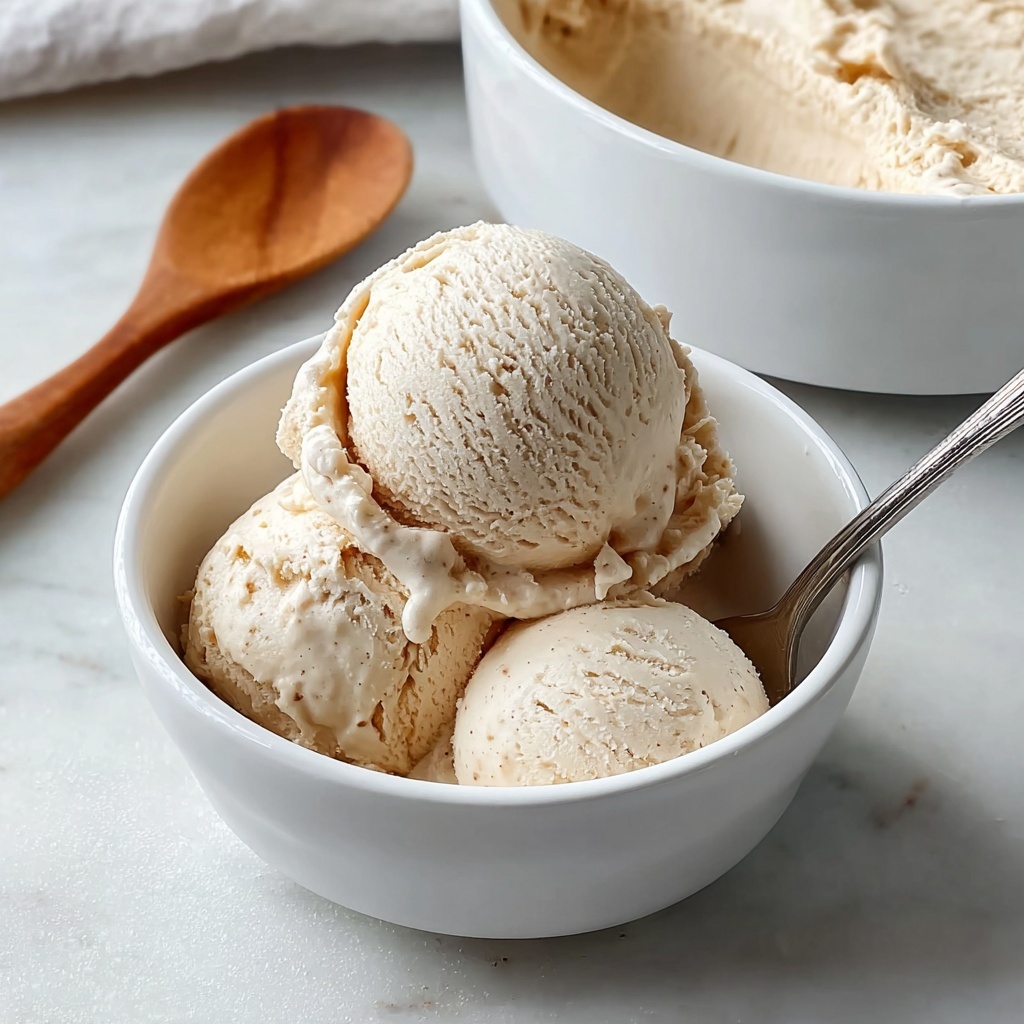
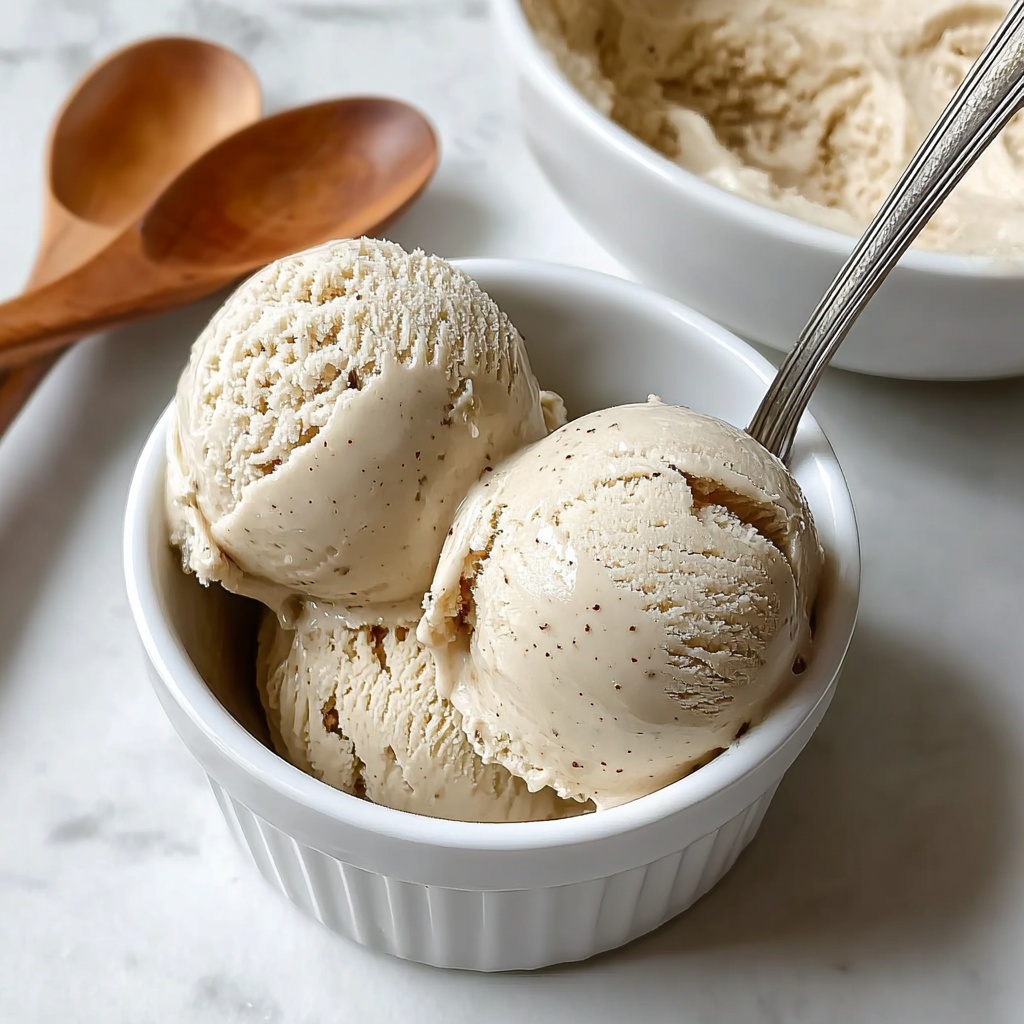
If you have been searching for a luscious and creamy treat that’s both kind to animals and indulgently satisfying, then you will absolutely adore this Vanilla Vegan Ice Cream Recipe. Crafted with silky coconut milk and a hint of pure vanilla extract, this dairy-free delight offers the perfect balance of sweetness and smooth texture that makes every spoonful feel like a celebration. Whether you are vegan, lactose-intolerant, or simply craving a fresh take on a classic favorite, this recipe will quickly become your go-to for comforting, homemade ice cream that does not sacrifice flavor or quality.
Ingredients You’ll Need
Simple yet essential, the ingredients for this Vanilla Vegan Ice Cream Recipe come together effortlessly, each playing a key role in achieving that creamy richness, perfect sweetness, and inviting aroma.
- 2 cups full-fat canned coconut milk: Provides a rich, creamy base with natural fat that gives the ice cream its smooth texture.
- 1 cup unsweetened almond milk: Adds lightness and balances the coconut flavor without overpowering it.
- 3/4 cup organic cane sugar: Sweetens the mixture naturally while allowing the vanilla notes to shine.
- 2 tablespoons cornstarch: Acts as a natural thickener for a silky, scoopable consistency.
- 1 tablespoon pure vanilla extract: The star ingredient that infuses the ice cream with classic vanilla aroma and flavor.
- 1/8 teaspoon salt: Enhances all the flavors and rounds out the sweetness perfectly.
How to Make Vanilla Vegan Ice Cream Recipe
Step 1: Whisk and Heat Your Base
In a medium saucepan, whisk together the coconut milk, almond milk, sugar, cornstarch, and salt until completely smooth. It’s important to get a silky mixture with no lumps at this stage because it sets the foundation for your creamy ice cream texture. Place the saucepan over medium heat, stirring frequently to avoid scorching, and watch as the mixture slowly thickens without ever reaching a boil. This gentle cooking takes about 5 to 7 minutes and lets the starch activate.
Step 2: Add Vanilla and Cool Down
Once your base has thickened to a light custard-like consistency, remove the pan from heat and stir in the pure vanilla extract. This is what makes the flavor unmistakably vanilla and aromatic. Next, allow the mixture to cool down to room temperature before transferring it to the refrigerator. Chilling it fully for at least 4 hours is non-negotiable to ensure your ice cream churns beautifully with a lush texture.
Step 3: Churn Until Dreamy
Pour the chilled mixture into your ice cream maker and churn according to the manufacturer’s instructions, usually between 20 and 25 minutes. During this process, the mixture aerates and thickens to the perfect soft-serve consistency. Feel free to add in some vegan chocolate chips, crushed nuts, or your favorite mix-ins during the last few minutes if you’re feeling adventurous.
Step 4: Freeze to Firmness
Transfer the churned ice cream into a freezer-safe container and freeze for 2 to 4 hours until it firms up enough to scoop. Let it sit at room temperature for 5 to 10 minutes before serving to soften slightly, making it easier to scoop creamy, dreamy portions.
How to Serve Vanilla Vegan Ice Cream Recipe
Garnishes
A beautifully made vanilla vegan ice cream deserves beautiful garnishes. Fresh berries, a sprinkle of toasted coconut flakes, or a drizzle of vegan caramel sauce add color, texture, and complementary flavors that elevate your dessert experience effortlessly.
Side Dishes
Pairing this ice cream with warm fruit pies, dairy-free brownies, or crisp vegan cookies creates an irresistible harmony of hot and cold, soft and crunchy. These combinations are perfect for when you want a sundae-style treat or a cozy dessert night.
Creative Ways to Present
Transform your serving style by swirling in a bit of dairy-free chocolate fudge after churning, or layering the ice cream in parfait glasses with fresh fruit and granola. Another fun idea is to sandwich scoops between vegan cookies for an easy handheld dessert that’s sure to impress.
Make Ahead and Storage
Storing Leftovers
Store your leftover vanilla vegan ice cream in an airtight container to prevent freezer burn and flavor absorption. Kept properly, it will maintain its creamy goodness for up to two weeks.
Freezing
After churning, placing the ice cream in a tightly sealed container before freezing is crucial to keep ice crystals at bay. Freezing for at least 2 hours is needed to achieve that perfect firmness, but avoiding excessively long freezer time preserves the freshest texture.
Reheating
No need to reheat; just take the ice cream out 5 to 10 minutes before serving to soften naturally at room temperature. This lets it scoop easily while maintaining that delightful iced texture.
FAQs
Can I make this Vanilla Vegan Ice Cream Recipe without an ice cream maker?
Absolutely! You can pour the chilled mixture into a shallow container and freeze it, stirring vigorously every 30 minutes to break up ice crystals until it reaches a creamy consistency. The texture will be a bit more solid but still delicious.
Is it possible to substitute the almond milk with another plant-based milk?
Yes, you can use soy, oat, or cashew milk instead. Just keep in mind that each milk has a slightly different flavor and fat content, which might subtly change the final taste and creaminess.
How rich is this ice cream compared to traditional dairy ice cream?
Using full-fat coconut milk gives this vegan version a wonderfully rich and satisfying creaminess, often rivaling traditional dairy ice creams in mouthfeel and flavor depth.
Can I add flavors or mix-ins to customize the recipe?
Definitely! This recipe is a wonderful base. Try adding mix-ins like crushed nuts, vegan chocolate chips, or swirl in fruit purees after churning for personalized, delectable variations.
What is the best type of sugar to use for this recipe?
Organic cane sugar is preferred here as it melts nicely and doesn’t overpower the vanilla flavor. You can also experiment with coconut sugar for a deeper caramel note, but results will slightly vary.
Final Thoughts
There is something truly magical about making your own Vanilla Vegan Ice Cream Recipe at home. It’s not just about creating a dairy-free dessert; it’s about crafting a luscious, flavorful experience that feels tailored just for you and your loved ones. Once you taste this delightfully creamy, smooth, and naturally sweet treat, you’ll be hooked—and it might just transform how you think about vegan desserts forever. So grab those simple ingredients and indulge in the joy of homemade vegan ice cream today!
Print
Vanilla Vegan Ice Cream Recipe
- Prep Time: 10 minutes
- Cook Time: 10 minutes
- Total Time: 4 hours 20 minutes
- Yield: 6 servings
- Category: Dessert
- Method: Churning
- Cuisine: American
- Diet: Vegan
Description
This Vanilla Vegan Ice Cream is a creamy, dairy-free dessert made with full-fat coconut milk and unsweetened almond milk, perfectly sweetened with organic cane sugar and flavored with pure vanilla extract. The ice cream is thickened naturally with cornstarch and churned to a smooth, soft-serve consistency before freezing to firmness. Ideal for those seeking a rich, plant-based treat without compromising on flavor or texture.
Ingredients
Liquid Ingredients
- 2 cups full-fat canned coconut milk
- 1 cup unsweetened almond milk
- 1 tablespoon pure vanilla extract
Dry Ingredients
- 3/4 cup organic cane sugar
- 2 tablespoons cornstarch
- 1/8 teaspoon salt
Instructions
- Combine Ingredients: In a medium saucepan, whisk together the coconut milk, almond milk, sugar, cornstarch, and salt until smooth to ensure no lumps remain.
- Cook Mixture: Place the saucepan over medium heat and cook, stirring frequently, until the mixture begins to thicken slightly, about 5 to 7 minutes; avoid boiling to prevent curdling.
- Add Vanilla: Remove the mixture from heat and stir in the pure vanilla extract, distributing the flavor evenly.
- Chill Base: Allow the mixture to cool to room temperature, then refrigerate for at least 4 hours until fully chilled to prepare for churning.
- Churn Ice Cream: Pour the chilled mixture into an ice cream maker and churn according to the manufacturer’s instructions, usually about 20 to 25 minutes, until it reaches a soft-serve consistency.
- Freeze to Firmness: Transfer the churned ice cream to a freezer-safe container and freeze for 2 to 4 hours until firm, ensuring the perfect scoopable texture.
- Serve: Before serving, let the ice cream sit at room temperature for 5 to 10 minutes to soften slightly for easy scooping.
Notes
- For a richer texture, use all coconut milk and omit the almond milk.
- Optional mix-ins such as dairy-free chocolate chips or crushed nuts can be added during the last few minutes of churning.
- Store leftover ice cream in an airtight container in the freezer for up to 2 weeks to maintain freshness.


