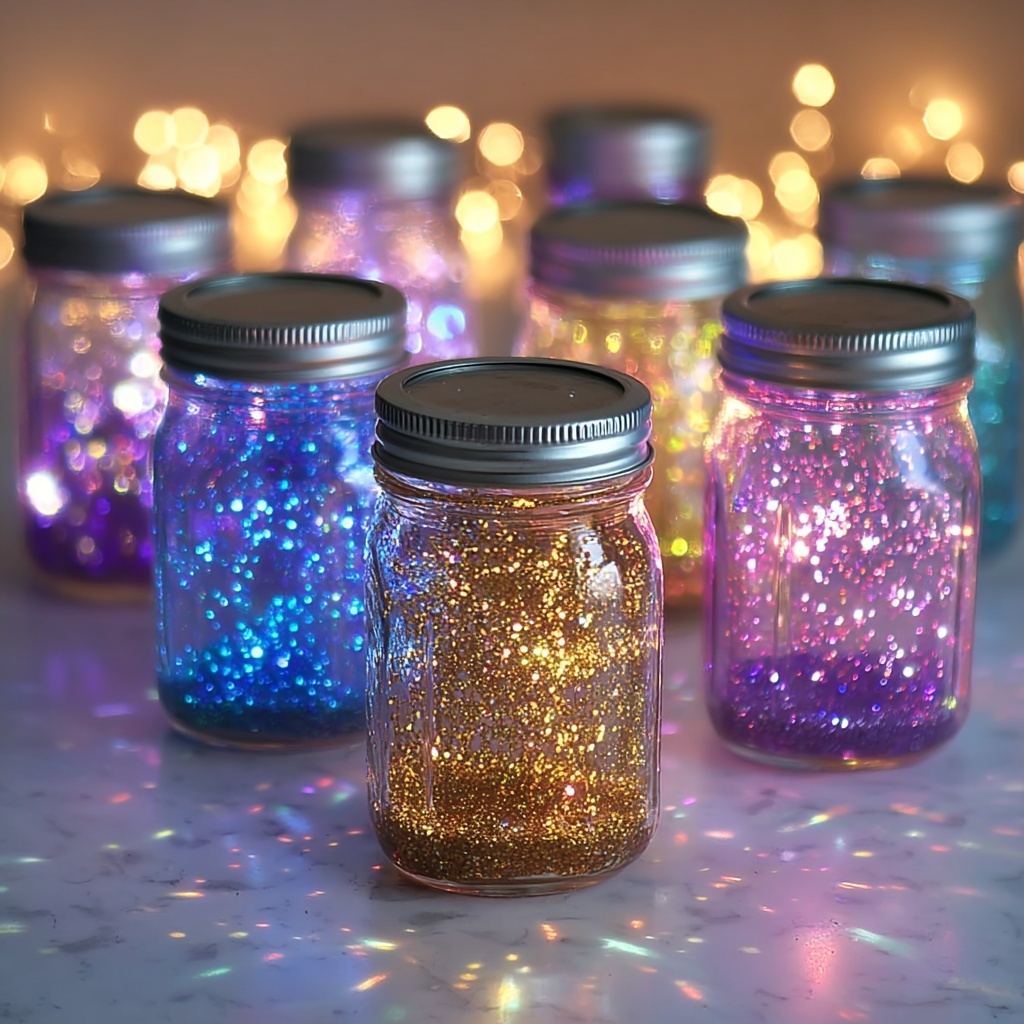
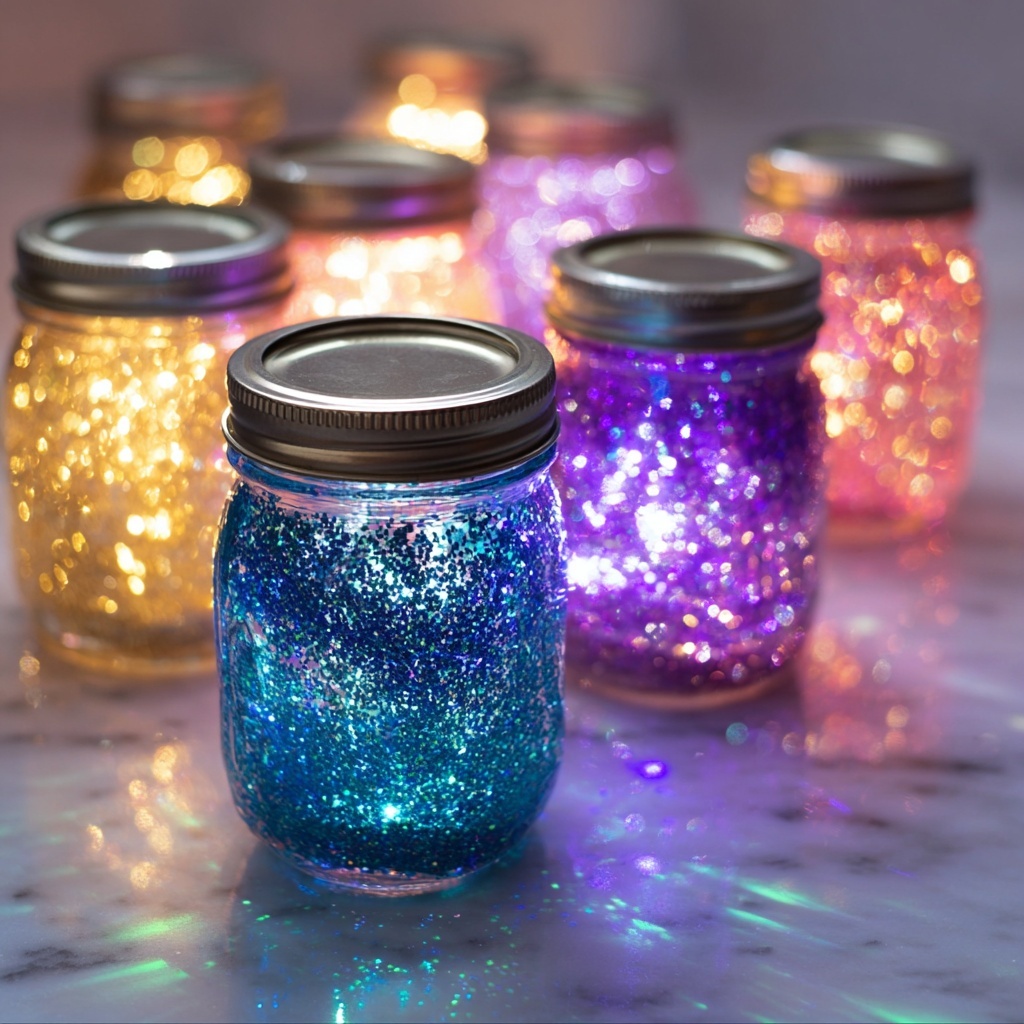
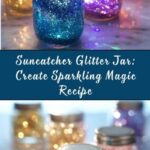
If you’ve ever wished to capture a tiny universe of shimmering beauty inside a jar, then this Suncatcher Glitter Jar: Create Sparkling Magic Recipe is about to become your new obsession. With just a handful of simple ingredients and minimal effort, you can make a mesmerizing glitter jar that catches the light and delights the eyes like a sparkling sunbeam trapped in glass. It’s perfect for relaxing moments, gifting, or simply adding a splash of whimsy to your day.
Ingredients You’ll Need
Getting started with the Suncatcher Glitter Jar: Create Sparkling Magic Recipe means gathering a few easy-to-find ingredients that each play a vital role in delivering that stunning, swirling sparkle. These components work together to create texture, movement, and vivid color magic that you’ll love watching.
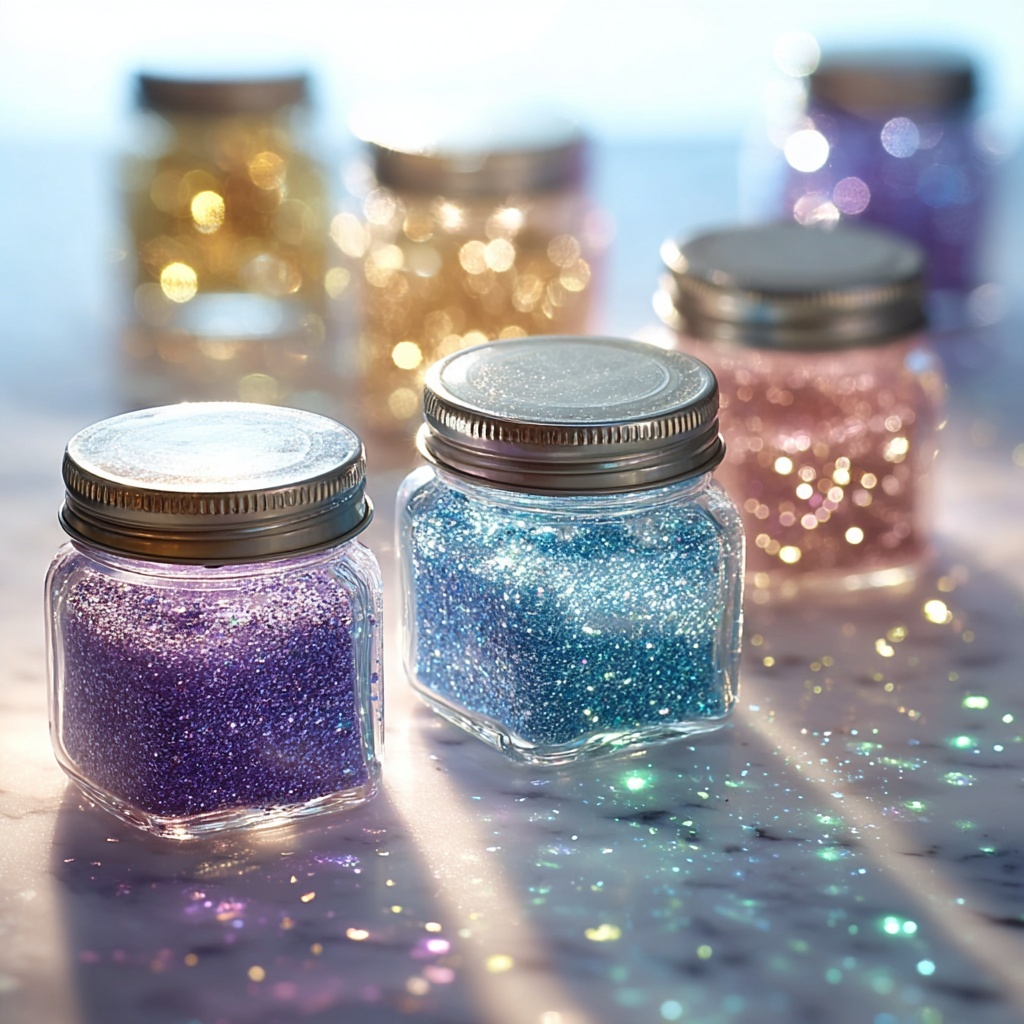
- Clear plastic or glass jar/bottle with tight-fitting lid: This serves as your glowing canvas, best in a size between 8 and 16 ounces for perfect handling and shimmer display.
- Clear glue or glitter glue (1–2 tablespoons): Acts as the thickening agent to slow glitter descent, giving you that hypnotic swirl effect.
- Warm water: Used to mix with glue and fill the jar, creating the liquid base that lets glitter glitter.
- Fine glitter in multiple colors: Your sparkly stars, ranging from gold and silver to rainbows or holographic glitter for eye-popping shimmer.
- Optional – Baby oil or clear liquid soap (1 teaspoon): Adds a lovely slow-motion swirl effect by creating a subtle resistance in the liquid.
- Optional – Food coloring (a drop or two): Just a hint of tint to customize your jar’s overall hue and mood.
- Superglue or hot glue: Essential for sealing the lid securely to prevent spills and keep your magic intact.
How to Make Suncatcher Glitter Jar: Create Sparkling Magic Recipe
Step 1: Add the Glue
Begin by pouring 1 to 2 tablespoons of clear glue or glitter glue directly into your empty jar. The glue is the heart of your glitter jar, thickening the liquid so that your sparkling particles don’t just plummet to the bottom but float as if they’re dancing in slow motion.
Step 2: Mix Warm Water
Next, pour warm water into the jar until it’s about three-quarters full. Warm water blends more easily with the glue, making it simpler to achieve a smooth, swirl-friendly base. Use a spoon or stick to stir gently until the glue and water meld into one clear, magical liquid.
Step 3: Sprinkle in the Glitter
Time to bring in the sparkles! Add generous pinches of your favorite fine glitter colors—think gold for warmth, silver for classic shimmer, or rainbow and holographic for playful, magical effects. The variety of colors will catch the light in all sorts of beautiful ways.
Step 4: Add Color (Optional)
If you want your glitter jar to have a soft tint, add just a drop or two of food coloring now. This subtle splash of color sets a dreamy background tone that makes the glitter pop even more vibrantly.
Step 5: Stir in Baby Oil or Soap (Optional)
For that slow, bewitching swirl, stir in 1 teaspoon of baby oil or clear liquid soap. This addition creates gentle moisture layers inside the jar that cause the glitter to float lazily and shimmer hypnotically—a truly mesmerizing effect perfect for calming moments.
Step 6: Fill and Seal
Fill up the rest of the jar with warm water, leaving a little space at the top to allow you to shake it freely. Screw on the lid tightly, then seal it with superglue or hot glue to ensure no spills sneak out and all your glittery magic stays put.
Step 7: Shake and Sparkle
Give your Suncatcher Glitter Jar a vigorous shake, then hold it up to a sunny window or lamp. Watch in awe as sparkling flecks spiral and twirl, creating an enchanting, little galaxy right before your eyes. This moment feels like magic, and it’s made by you!
How to Serve Suncatcher Glitter Jar: Create Sparkling Magic Recipe
Garnishes
While this glitter jar isn’t edible, you can make it even more special by decorating the jar itself. Tie a colorful ribbon around the neck, add stickers or labels with inspirational quotes, or even dab some glitter glue on the outside for extra sparkle. These little touches turn it into a wonderful gift or room accent.
Side Dishes
Since this is a craft and sensory delight, it pairs perfectly with quiet activities like reading, journaling, or meditative coloring. Think of your glitter jar as a companion that adds sparkle and calm to your creative or relaxation time.
Creative Ways to Present
Try placing your glitter jar on a windowsill where sunbeams hit just right, or cluster several jars together for a rainbow light show effect. You can also use smaller jars to create individual gifts or a collection of themed colors that reflect the seasons or special occasions.
Make Ahead and Storage
Storing Leftovers
You won’t have traditional leftovers with a glitter jar, but if you ever want to refresh or add more glitter later, simply add it to the jar and shake again. Just be sure the lid stays tightly sealed to avoid leaks and evaporation.
Freezing
Freezing your glitter jar is not recommended because the glue and water mixture could separate, and the jar might crack. It’s best to keep it at room temperature where the swirl effect stays fluid and smooth.
Reheating
There is no need to reheat a glitter jar. If the glitter seems stuck or sluggish, just give the jar a good shake and a gentle squeeze to loosen things up. The beauty of the Suncatcher Glitter Jar: Create Sparkling Magic Recipe is how effortlessly it stays magical.
FAQs
Can I use any type of glue for the glitter jar?
Clear glue or glitter glue works best because it thickens the water just enough to slow the glitter’s fall without making the liquid cloudy. Avoid white school glue as it can make the jar look murky.
How do I prevent the glitter from clumping together?
Using fine glitter helps it stay suspended smoothly. Also, stirring in baby oil or clear liquid soap creates layers that keep glitter drifting separately and beautifully.
Is it safe to give these glitter jars to children?
Absolutely! Just be sure the lid is tightly glued shut to prevent spills, especially if little ones plan to play with them. The materials are non-toxic, but supervision is always a good idea.
Can I reuse the jar for another glitter jar later?
Yes, just clean out the old glue and glitter thoroughly and let the jar dry completely before making a new batch. Reusing jars is eco-friendly and fun for making multiple versions.
What’s the best place to display my glitter jar?
Any spot with good natural or artificial light works wonders. A sunny window sill or near a desk lamp allows the glitter to catch and reflect light, enhancing its magical sparkle even more.
Final Thoughts
Making your own Suncatcher Glitter Jar: Create Sparkling Magic Recipe is a delightful and rewarding experience, perfect for anyone who loves a bit of sparkle and calm in their life. Whether you keep it for yourself or gift it to someone special, this simple craft brings joy and shimmering wonder to any day. Go on—grab your jar and glitter and create your own little cosmos of sparkling magic right now!
Print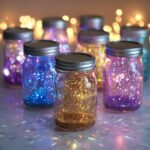
Suncatcher Glitter Jar: Create Sparkling Magic Recipe
- Prep Time: 5 minutes
- Cook Time: 5 minutes
- Total Time: 10 minutes
- Yield: 1 glitter jar
- Category: Craft
- Method: No-Cook
- Cuisine: N/A
Description
Create your own sparkling suncatcher glitter jar with just a few simple ingredients. This fun and easy craft project transforms a plain jar into a mesmerizing, shimmering decoration that catches and reflects sunlight beautifully. Perfect for a quick creative activity or a unique handmade gift.
Ingredients
Materials
- 1 clear plastic or glass jar/bottle with a tight-fitting lid (8–16 oz)
- 1–2 tablespoons clear glue or glitter glue
- Warm water (enough to fill the jar)
- Fine glitter (multiple colors for sun-catching sparkle)
- Optional: 1 teaspoon baby oil or clear liquid soap (for slow swirl effect)
- Optional: A drop or two of food coloring (for tint)
- Superglue or hot glue (for sealing the lid)
Instructions
- Add Glue: Start by adding 1–2 tablespoons of clear glue or glitter glue to the empty jar.
- Pour Water: Pour in warm water until the jar is about ¾ full, and stir gently to combine with the glue.
- Add Glitter: Sprinkle in your favorite glitter colors—think gold, silver, rainbow, or even holographic for extra dazzle.
- Add Color (Optional): Add a drop or two of food coloring if you want a soft tint to your liquid.
- Add Swirl Agent (Optional): For a slower, more hypnotic swirl, stir in 1 teaspoon of baby oil or clear liquid soap.
- Fill Jar: Fill the rest of the jar with warm water, leaving just a little space to shake it easily.
- Seal Jar: Tighten the lid securely and seal it with superglue or hot glue to prevent leaks.
- Shake and Display: Give the jar a good shake and hold it up to a sunny window or light source.
- Enjoy: Watch the glitter swirl and sparkle like a tiny galaxy in a jar!
Notes
- Use warm water to help the glue mix smoothly and prevent clumping.
- Make sure the lid is sealed tightly with glue to avoid leaks, especially if children will handle the jar.
- Experiment with different glitter colors and sizes for varied sparkle effects.
- Adding baby oil or liquid soap slows the descent of the glitter, making the swirl effect last longer.
- Use a clear jar for the best light-catching effect, and avoid colored jars.
- This jar is decorative and not meant for food or drink storage.