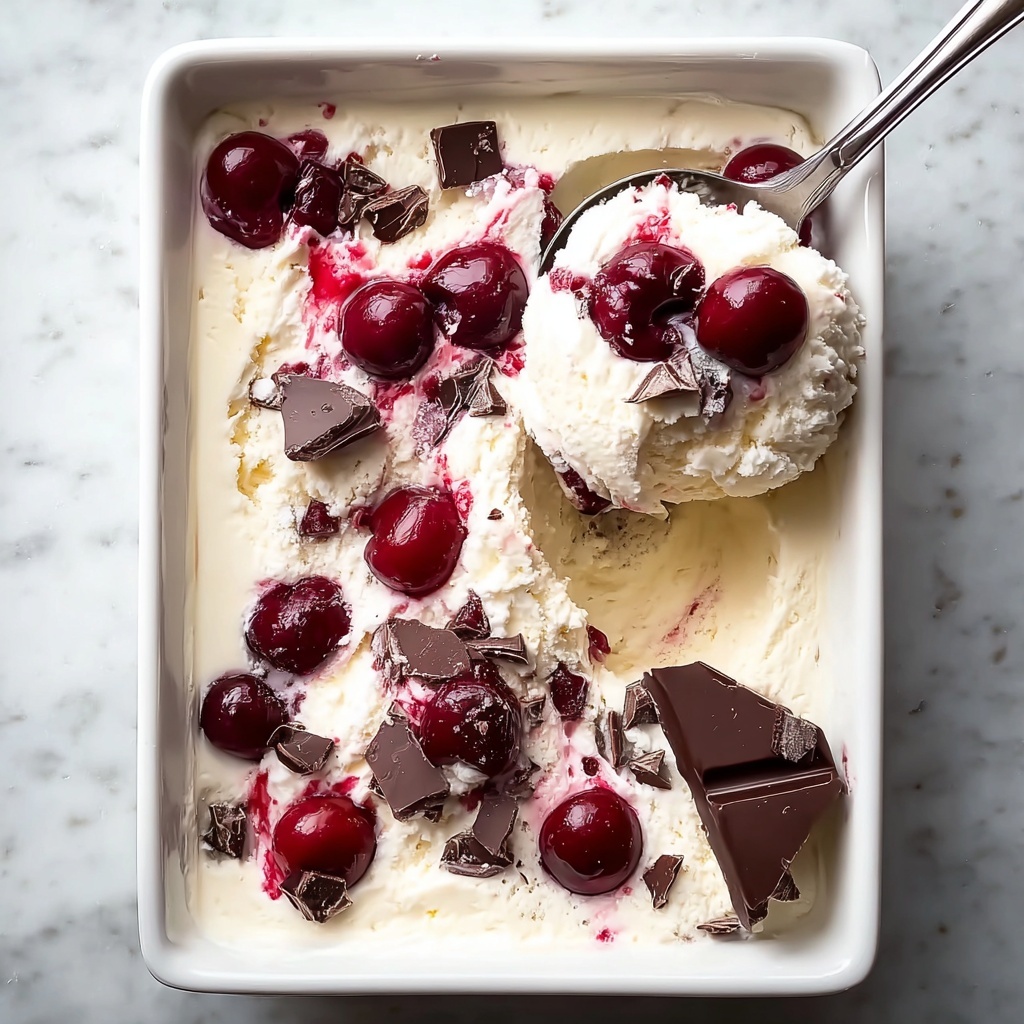
If you are craving a luscious, homemade treat that dazzles with rich chocolate and bursts of juicy cherries, you are in for a real delight with this No-Churn Chocolate Cherry Ice Cream Recipe. This recipe is an absolute game-changer for ice cream lovers who want all the deliciousness without fussing over complicated machines or lengthy processes. Smooth, creamy, and studded with luscious bits of cherry and chocolate, every bite feels like a decadent indulgence that you made yourself — and isn’t that just the best kind of dessert?
Ingredients You’ll Need
Gathering a few simple, kitchen-friendly ingredients is all you need to create this spectacular frozen treat. Each component plays a key role in giving the ice cream its creamy texture, sweet depth, and those delightful pops of fruit and chocolate that make it unforgettable.
- 16 oz carton whipping cream: The base for smooth, airy creaminess essential to the ice cream’s perfect texture.
- 10 oz can sweetened condensed milk: Adds sweetness and a luxuriously thick consistency that’s crucial for no-churn ice cream.
- 1 teaspoon vanilla: Enhances the flavors and adds a warm, inviting aroma.
- 1 cup cherries, pitted and chopped or quartered: Fresh or frozen cherries lend juicy bursts and a gorgeous contrast in color.
- 1 cup dark chocolate, chopped or chunks: Rich pieces of dark chocolate bring intense flavor and irresistible texture throughout.
How to Make No-Churn Chocolate Cherry Ice Cream Recipe
Step 1: Whip the Cream
Start by whipping the cream using a hand mixer or stand mixer. The magic moment here is when stiff peaks form, meaning the cream holds its shape firmly when you lift the beaters. This airy whipped cream is the secret to achieving that melt-in-your-mouth, creamy texture without any fancy ice cream maker.
Step 2: Incorporate Sweetened Condensed Milk and Vanilla
Slowly add the sweetened condensed milk along with the vanilla extract to the whipped cream. Carefully mix them together until everything is smooth and well combined. This step brings sweetness and body to your ice cream mixture, making it rich yet perfectly balanced.
Step 3: Fold in Cherries and Chocolate
Gently fold in those luscious, chopped cherries and dark chocolate chunks. Taking care to fold rather than stir ensures that the whipped cream stays fluffy while evenly distributing the fruity and chocolatey goodness throughout. Feel free to save some cherries and chocolate for sprinkling on top later — it makes for a fabulous presentation and extra flavors.
Step 4: Freeze Your Ice Cream
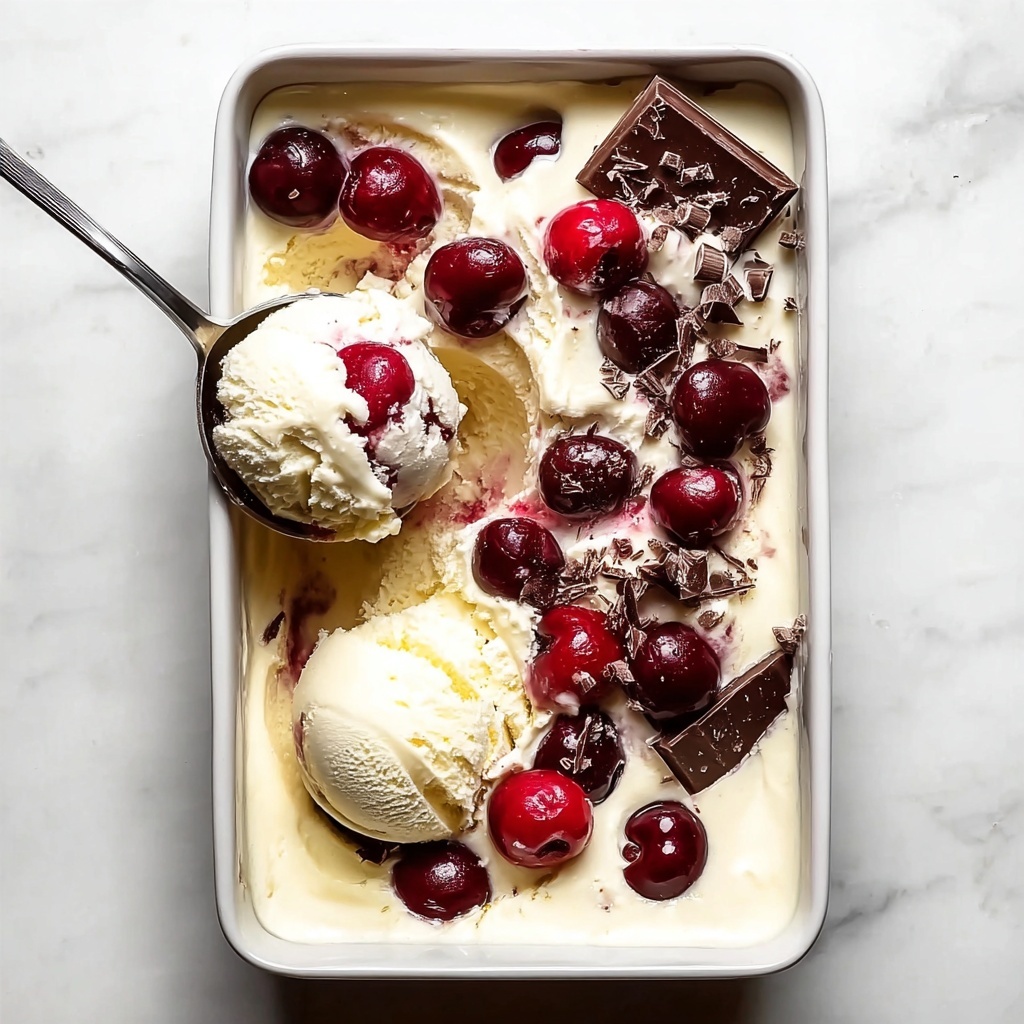
Transfer the mixture into a loaf pan, then scatter your reserved cherries and chocolate on the surface. Cover it tightly to keep out freezer odors and freeze for 5 to 6 hours, or until firm. This chilling time allows all the flavors to meld beautifully while the texture sets to that wonderful homemade ice cream consistency.
Step 5: Serve and Enjoy
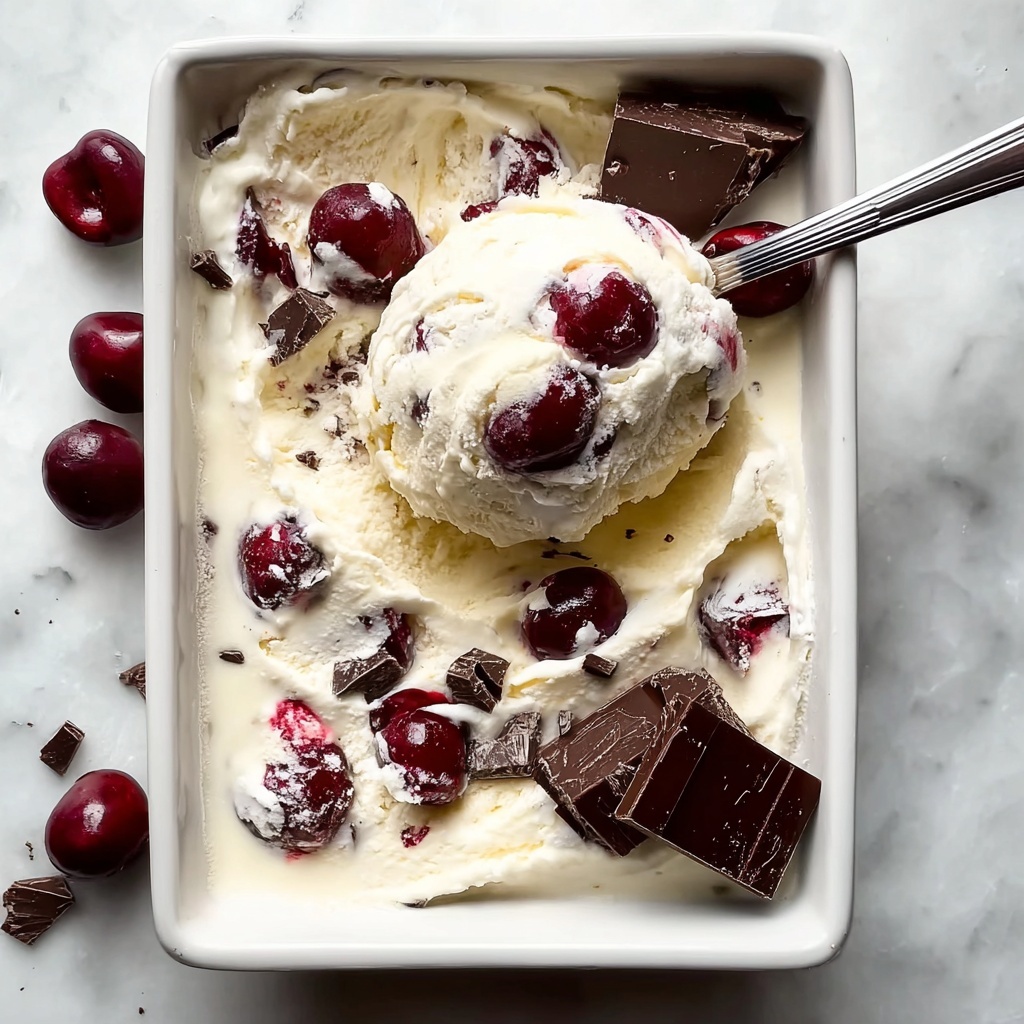
When ready to serve, take the ice cream out and let it soften for a few minutes at room temperature for easier scooping. Then, scoop it into bowls, cones, or dessert glasses for an instant crowd-pleaser that tastes like a luxurious treat crafted with love and simplicity.
How to Serve No-Churn Chocolate Cherry Ice Cream Recipe
Garnishes
This ice cream is already a star on its own, but adding a few thoughtful garnishes makes it shine even brighter. Try sprinkling finely chopped dark chocolate, whole cherries, or even a drizzle of cherry syrup for that extra wow factor and tempting look.
Side Dishes
Pair your No-Churn Chocolate Cherry Ice Cream Recipe with warm brownies, chocolate cake slices, or crisp waffle cones to add texture and complementary flavors. Fresh fruit salads or almond biscotti also make delightful companions to round out the dessert experience.
Creative Ways to Present
Make your serving truly unforgettable by layering the ice cream with cherry compote in clear glasses, creating parfait-style desserts. You can also pipe softened ice cream into decorative swirls on a platter or build an ice cream sandwich by sandwiching it between chocolate cookies for a fun twist.
Make Ahead and Storage
Storing Leftovers
Once you’ve enjoyed your frozen creation, any leftovers should be covered well with plastic wrap or an airtight lid to prevent ice crystals and preserve flavor. Stored properly in the freezer, your ice cream stays creamy and delicious for up to two weeks.
Freezing
This No-Churn Chocolate Cherry Ice Cream Recipe is perfectly designed for freezing without the need for ice cream machines. Just freeze the mixture solid in a loaf pan or a freezer-friendly container, making it easy to prepare ahead and enjoy whenever you please.
Reheating
Since this is a frozen dessert, reheating is not recommended. Instead, simply allow the ice cream to soften at room temperature for about 5 to 10 minutes before scooping to make serving easier while maintaining its perfect creamy texture.
FAQs
Can I use frozen cherries in this recipe?
Absolutely! Just make sure to thaw and drain the cherries well to avoid adding extra water to your ice cream mixture, which could affect the texture.
Is it possible to substitute the dark chocolate with milk chocolate?
Yes, you can swap dark chocolate for milk chocolate if you prefer a sweeter, creamier flavor. Both work beautifully in this No-Churn Chocolate Cherry Ice Cream Recipe.
Do I really need to whip the cream to stiff peaks?
Yes, whipping to stiff peaks is crucial as it creates the light, airy base that gives this ice cream its creamy texture without churning.
Can I make this recipe vegan or dairy-free?
This recipe relies on dairy ingredients for texture and flavor but you can experiment with coconut cream and sweetened condensed coconut milk as vegan substitutes, though results may vary.
How long should I freeze the ice cream before serving?
Freeze for at least 5 to 6 hours to ensure the ice cream is fully set and scoopable. Longer freezing won’t hurt but give it some time at room temperature before serving for easier scooping.
Final Thoughts
Trust me, once you try this No-Churn Chocolate Cherry Ice Cream Recipe, it will quickly become a beloved favorite for hot days or anytime you want a sweet indulgence without fuss. It’s simple, flavorful, and wonderfully satisfying — a recipe you’ll want to make again and again to share with friends and family.
Print
No-Churn Chocolate Cherry Ice Cream Recipe
- Prep Time: 15 minutes
- Cook Time: 0 minutes
- Total Time: 6 hours 15 minutes
- Yield: 6 servings
- Category: Dessert
- Method: No-Cook
- Cuisine: American
Description
This no-churn chocolate cherry ice cream is a luscious, easy-to-make dessert combining rich dark chocolate and sweet cherries. With no need for an ice cream maker, this creamy treat uses whipped cream and sweetened condensed milk for a smooth texture, perfect for quick homemade indulgence.
Ingredients
Ice Cream Base
- 16 oz carton whipping cream
- 10 oz can sweetened condensed milk
- 1 teaspoon vanilla extract
Mix-ins
- 1 cup cherries, pitted and chopped or quartered
- 1 cup dark chocolate, chopped or chunks
Instructions
- Whip the cream: Using a hand mixer or stand mixer, whip the cold whipping cream until stiff peaks form, which ensures the ice cream base will be light and airy.
- Incorporate ingredients: Gradually add the sweetened condensed milk and vanilla extract to the whipped cream. Continue mixing gently until all ingredients are fully combined and the mixture is smooth.
- Add mix-ins: Carefully fold in the chopped cherries and dark chocolate pieces into the ice cream base, reserving some for topping if you like a visually appealing finish.
- Freeze the ice cream: Pour the ice cream mixture into a loaf pan or freezer-safe container. Top with the reserved cherries and chocolate pieces. Cover the container tightly and freeze for 5 to 6 hours, or until firm.
- Serve: Remove the ice cream from the freezer and allow it to soften slightly at room temperature for a few minutes. Scoop into bowls or cones and serve immediately for the best flavor and texture experience.
Notes
- Make sure the whipping cream is very cold before whipping to achieve stiff peaks.
- Use fresh or frozen cherries; if using frozen, thaw and drain before folding in.
- You can substitute dark chocolate with semi-sweet or milk chocolate according to your preference.
- Store leftover ice cream in an airtight container to prevent ice crystals from forming.
- For extra crunch, add chopped nuts or cookie pieces along with the cherries and chocolate.

