
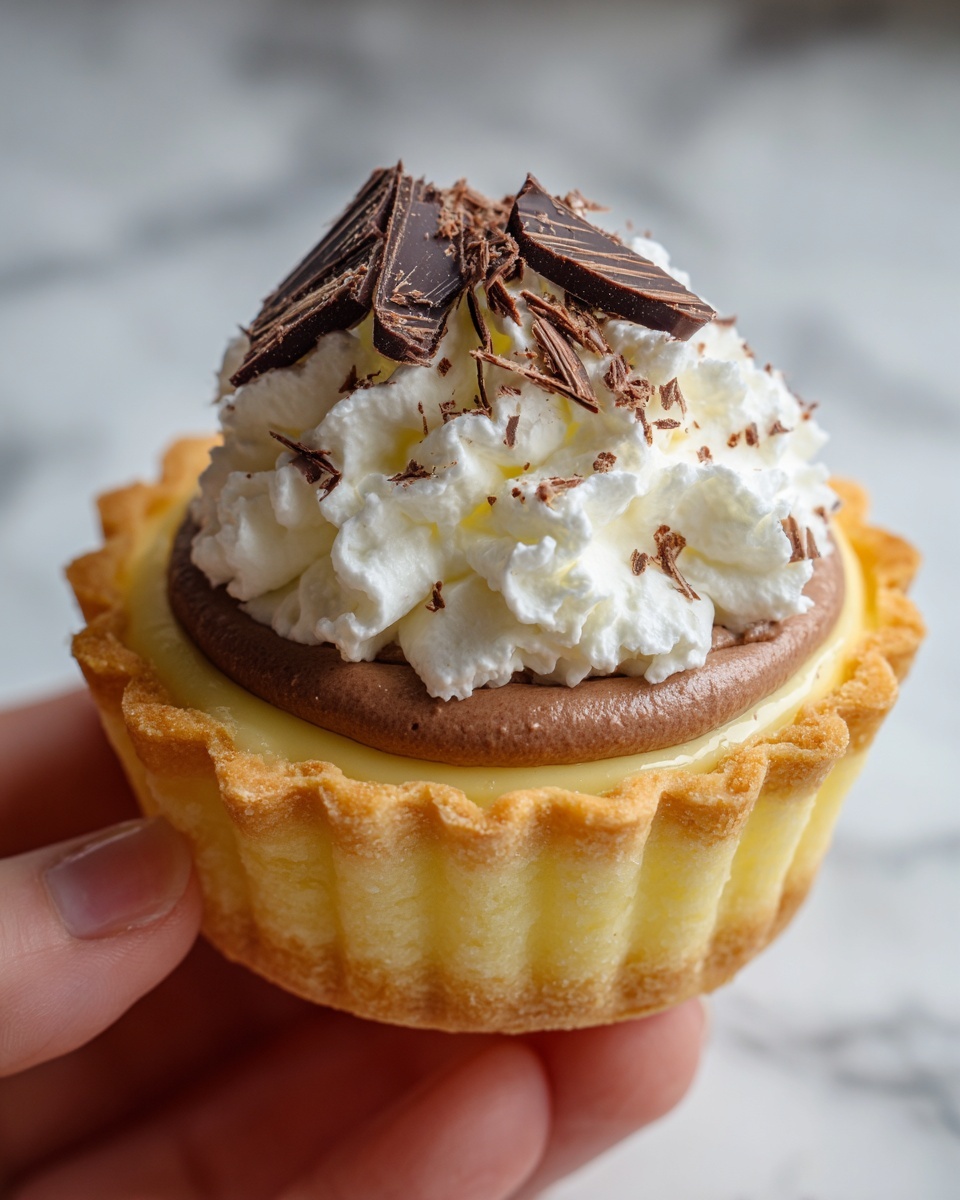
If you have a soft spot for silky, chocolatey treats that melt in your mouth and look absolutely adorable, then you’re going to fall head over heels for this Mini French Silk Pies Recipe. These little wonders combine the rich, luscious texture of classic French silk filling with cute, individual-sized crusts that make sharing (or not sharing) delightfully easy. Perfect for any occasion where you want to impress without spending hours baking, this recipe brings together simple ingredients into a dessert that feels both glamorous and comforting.
Ingredients You’ll Need
Every ingredient in this Mini French Silk Pies Recipe plays a crucial role, whether it’s creating that velvety texture, adding a burst of decadent chocolate flavor, or giving the pies their perfect foundation and finish. The simplicity of these components proves that you don’t need many fancy elements to make something truly special.
- 1 cup heavy whipping cream: Whipped to stiff peaks, it provides that airy, creamy softness that balances the richness of the chocolate.
- 1 cup semisweet chocolate chips: Carefully melted to bring a deep, smooth chocolate flavor that is essential for authentic French silk taste.
- ¾ cup unsalted butter, softened: The base fat that creates the pie filling’s silky texture and richness.
- 1 cup granulated sugar: Sweetness that perfectly complements the bittersweet chocolate without overpowering it.
- 1 teaspoon vanilla extract: Adds warmth and enhances the chocolate’s natural flavors.
- 4 large pasteurized eggs: These ensure a safe, creamy filling since this is a no-bake recipe.
- 12 mini graham cracker pie crusts: The crisp, buttery foundation that holds all that luscious filling – store-bought or homemade, your call!
- Whipped cream and chocolate shavings for topping: The finishing touch to add elegance and extra indulgence.
How to Make Mini French Silk Pies Recipe
Step 1: Whip the Cream
Start by whipping the heavy cream until stiff peaks form. This aeration is what gives the filling its beautiful lightness that cuts through the richness of the chocolate and butter. Cover it and pop it in the fridge while you prepare everything else.
Step 2: Melt the Chocolate
Gently melt the semisweet chocolate chips in a microwave-safe bowl in 30-second bursts, stirring in between until silky smooth. This slow melting ensures your chocolate won’t seize up and keeps the texture luscious.
Step 3: Cream Butter and Sugar
In a large bowl, cream the softened butter and sugar together until the mixture is light and fluffy, about 3 to 4 minutes. This step is key for that ultra-smooth consistency that makes French silk pie so irresistible.
Step 4: Add Vanilla and Chocolate
Stir in the vanilla extract and the cooled melted chocolate to your butter and sugar mixture. Make sure the chocolate is not too warm, or it might melt the butter again.
Step 5: Incorporate Eggs
Add the eggs one at a time, beating each for a full 1 to 2 minutes. This vigorous beating creates the classic silky texture that gives French silk pie its name, a step worth every second.
Step 6: Fold in Whipped Cream
Finally, gently fold the chilled whipped cream into the chocolate mixture. This delicate step ensures the filling stays light and airy while still rich and creamy.
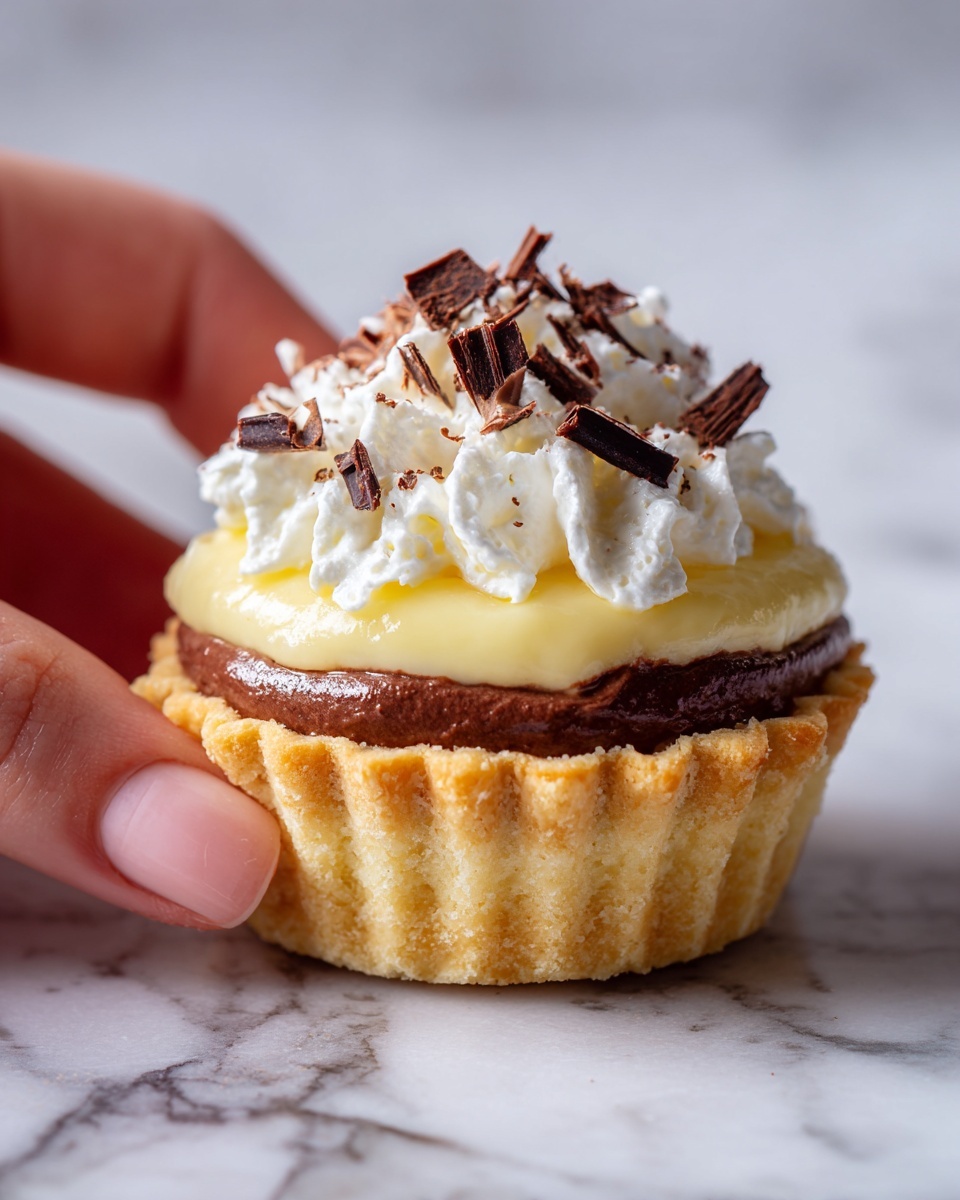
Step 7: Assemble the Pies
Spoon the finished filling evenly into your mini graham cracker pie crusts and smooth the tops. Refrigerate for at least 3 hours so everything sets beautifully.
Step 8: Garnish and Serve
Top each mini pie with a dollop of whipped cream and a sprinkle of chocolate shavings just before serving for that picture-perfect final touch.
How to Serve Mini French Silk Pies Recipe
Garnishes
Whipped cream and chocolate shavings are a classic pairing, but you can also try fresh raspberries, a dusting of cocoa powder, or a drizzle of caramel for an extra special twist. These little additions bring freshness and elegance that elevate your mini pies.
Side Dishes
While these pies are rich and filling on their own, serving them alongside a light fruit salad or a small scoop of vanilla ice cream provides a lovely balance. The contrast of textures and flavors makes the experience even more delightful.
Creative Ways to Present
Serve your Mini French Silk Pies Recipe on a tiered dessert tray for an elegant party display or place each pie in a decorative cupcake liner to keep things tidy and festive. Adding edible gold leaf or powdered sugar can bring an extra wow factor for special occasions.
Make Ahead and Storage
Storing Leftovers
Leftover mini pies are best stored in an airtight container in the refrigerator. They’ll stay fresh and creamy for up to 3 days, making them an ideal make-ahead dessert for busy days or unexpected guests.
Freezing
You can freeze these mini pies before garnishing. Wrap each pie tightly in plastic wrap and place them in a freezer-safe container. When you’re ready to enjoy, thaw them overnight in the fridge for a perfectly preserved texture and flavor.
Reheating
Since this is a no-bake dessert, reheating isn’t recommended. Instead, let your mini pies thaw naturally in the fridge or serve chilled straight from the refrigerator for the best texture and taste.
FAQs
Can I use regular eggs instead of pasteurized eggs?
For safety reasons, it’s best to use pasteurized eggs in this Mini French Silk Pies Recipe since the filling is not cooked. This helps avoid any risk of bacteria while still delivering that rich, creamy texture.
What if I don’t have graham cracker crusts?
You can definitely swap out the graham cracker crusts for chocolate cookie crusts or even homemade pie crust shells if you prefer. Each gives a slightly different texture but pairs wonderfully with the luscious filling.
How long do the pies need to chill?
At minimum, chilling for 3 hours is essential to set the filling properly. If you have extra time, chilling longer only helps deepen the flavors and firm up the texture even more.
Can I double or halve the recipe?
Absolutely! This Mini French Silk Pies Recipe scales well, so feel free to adjust the quantities depending on your crowd or how many mini pies you want to enjoy.
Is there a non-dairy alternative?
While traditional ingredients shine in this recipe, you can experiment with non-dairy whipping cream and butter substitutes. Keep in mind the texture might vary slightly, but it can still be delicious!
Final Thoughts
Making and sharing this Mini French Silk Pies Recipe is like bringing a little bit of magic to your dessert table. It’s creamy, chocolatey, and beautifully simple, perfect for impressing friends or indulging yourself. Trust me, once you taste these little pies, they’ll become a go-to favorite in your dessert repertoire – so go ahead and give them a try!
Print
Mini French Silk Pies Recipe
- Prep Time: 25 minutes
- Cook Time: 0 minutes
- Total Time: 3 hours 25 minutes
- Yield: 12 mini pies
- Category: Dessert
- Method: No-Cook
- Cuisine: American
- Diet: Vegetarian
Description
Indulge in these delightful Mini French Silk Pies, featuring a rich and silky chocolate filling nestled in crisp mini graham cracker crusts. This no-bake dessert combines smooth melted chocolate, whipped cream, and a touch of vanilla to create an elegant treat perfect for any occasion.
Ingredients
Filling
- 1 cup heavy whipping cream
- 1 cup semisweet chocolate chips
- ¾ cup unsalted butter, softened
- 1 cup granulated sugar
- 1 teaspoon vanilla extract
- 4 large pasteurized eggs
Crusts and Toppings
- 12 mini graham cracker pie crusts (store-bought or homemade)
- Whipped cream, for topping
- Chocolate shavings, for topping
Instructions
- Whip the Cream: In a small bowl, whip the heavy cream until stiff peaks form. Once whipped, cover and refrigerate it to keep chilled and ready to fold into the chocolate filling later.
- Melt the Chocolate: Place chocolate chips in a microwave-safe bowl and heat in 30-second intervals, stirring between each, until smooth and fully melted. Set aside to cool to avoid cooking the eggs in the next step.
- Cream Butter and Sugar: Using a large mixing bowl, cream together the softened butter and granulated sugar until the mixture becomes light and fluffy, which should take about 3 to 4 minutes.
- Add Vanilla and Chocolate: Mix the vanilla extract and cooled melted chocolate into the butter and sugar mixture until fully combined and smooth.
- Incorporate the Eggs: Add the pasteurized eggs one at a time, beating well for 1 to 2 minutes after each addition to ensure a light, silky texture and to fully emulsify the filling.
- Fold in Whipped Cream: Gently fold the chilled whipped cream into the chocolate mixture, taking care to retain its lightness and volume until it’s fully incorporated.
- Fill Pie Crusts: Spoon the chocolate filling evenly into the mini graham cracker crusts, smoothing the tops for an elegant finish.
- Chill to Set: Place the filled pies in the refrigerator and chill for at least 3 hours, allowing the filling to firm up properly.
- Garnish and Serve: Just before serving, top each mini pie with a dollop of whipped cream and sprinkle with chocolate shavings for extra indulgence and a beautiful presentation.
Notes
- Be sure to use pasteurized eggs since the filling is no-bake to ensure food safety.
- These mini pies can be prepared a day ahead and refrigerated until serving, making them perfect for entertaining.
- For added texture and flavor, consider using a chocolate cookie crust instead of the traditional graham cracker crust.


