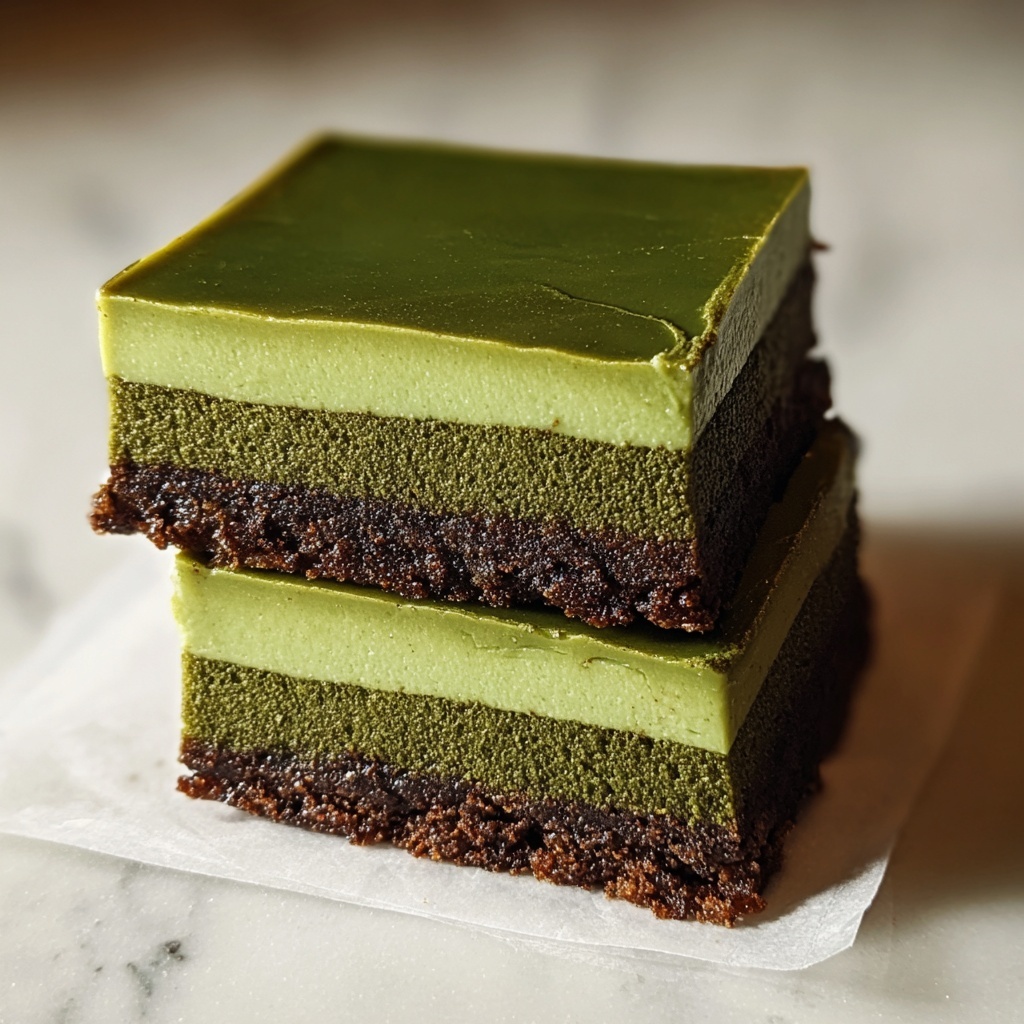
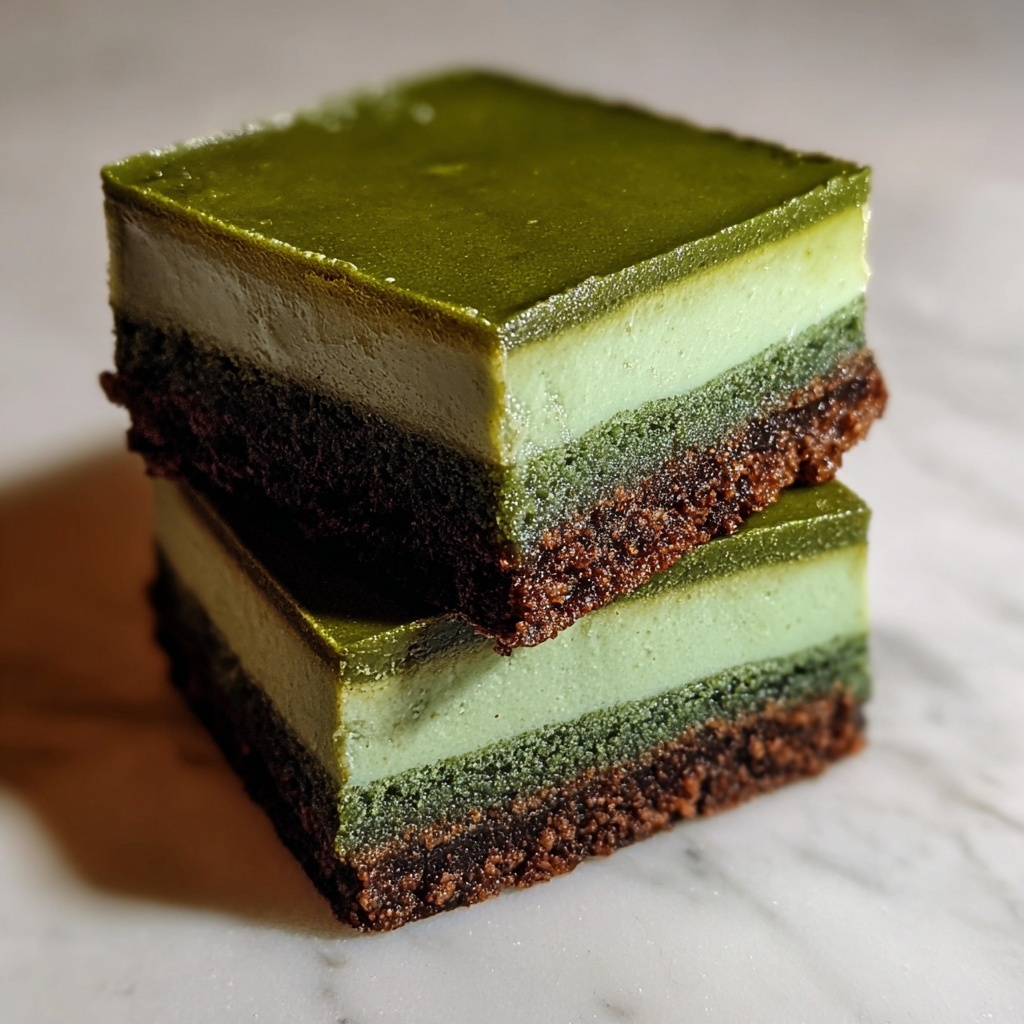
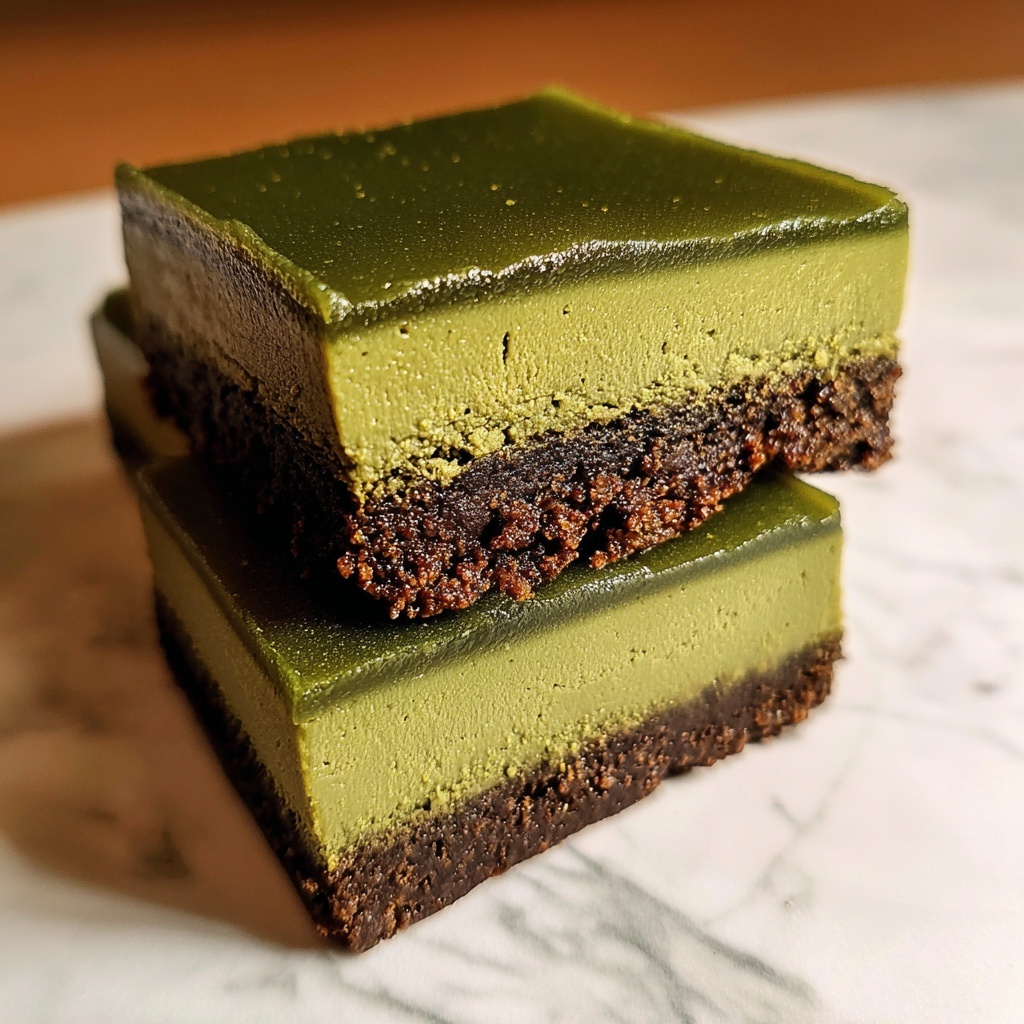
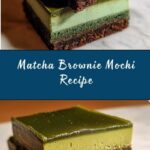
If you are craving something uniquely delightful that combines the rich earthiness of matcha with the chewy softness of mochi and the fudgy goodness of a brownie, then this Matcha Brownie Mochi Recipe is exactly what you need. This treat effortlessly marries traditional Japanese flavors with a Western-inspired texture, creating a dessert that is both comforting and exciting to the palate. Each bite surprises with a tender chew that’s complemented by the vibrant green tea flavor and just the right touch of sweetness. Whether you’re making it for a special occasion or an everyday indulgence, this recipe is sure to become a beloved favorite.
Ingredients You’ll Need
Gathering the right ingredients is key to making the perfect Matcha Brownie Mochi Recipe. The list is simple but every component plays a crucial role in achieving the ideal balance of flavor, texture, and color.
- Mochiko (glutinous rice flour): This is the star ingredient that gives mochi its signature chewy texture and structure.
- Baking powder: Helps the brownie mochi rise just enough for a tender crumb without compromising chewiness.
- Sea salt: Enhances the matcha and balances the sweetness perfectly.
- Matcha powder: Delivers that vibrant green color and the earthy, slightly bitter flavor that makes this treat special.
- Large egg: Binds everything together and adds richness to the batter.
- Granulated sugar: Sweetens the mochi brownie just right—feel free to adjust to your liking.
- Vegetable oil: Keeps the mochi moist and tender; you can omit it if you prefer a richer version using coconut milk.
- Full-fat coconut milk (or whole milk): Provides creaminess and depth of flavor, enhancing the brownie mochi’s luscious texture.
How to Make Matcha Brownie Mochi Recipe
Step 1: Preheat and Prepare Your Pan
Start by preheating your oven to 350°F (177°C). Line an 8-inch square baking pan with parchment paper, which makes it much easier to lift the mochi brownies out after baking. Both glass and metal pans work wonderfully for this recipe, so use what you have on hand.
Step 2: Mix Dry Ingredients
In a large bowl, combine mochiko, baking powder, and sea salt. Then sift in the matcha powder to avoid any clumps, ensuring a smooth, even green color and robust tea flavor throughout your batter. Whisk all the dry ingredients together so they are perfectly blended.
Step 3: Whisk Wet Ingredients
Grab a medium bowl and whisk together the egg, granulated sugar, vegetable oil, and coconut milk. This mixture creates a rich base to balance the earthy bitterness of the matcha and the chewiness of the mochiko.
Step 4: Combine & Mix Batter
Pour the wet ingredients into the dry ingredients bowl. Use a spatula to fold everything together gently until the batter is just combined with no lumps. Be careful not to overmix — you want every bite to be tender and chewy, not dense.
Step 5: Bake Your Mochi Brownies
Pour the batter evenly into your prepared pan. Tap the pan gently a few times on the counter to release any air bubbles trapped in the batter. This ensures a smooth, uniform surface as it bakes. Place the pan in the center of your preheated oven and bake for 35 to 40 minutes. The brownies are done when a toothpick inserted into the center comes out clean or with just a few moist crumbs.
Step 6: Cool and Slice
Allow the mochi brownies to cool completely on a wire rack. Once cooled, slice into 16 small squares for perfectly portioned treats. For an extra touch, dust the top with additional matcha powder to amp up the vibrant color and flavor before serving.
How to Serve Matcha Brownie Mochi Recipe
Garnishes
A sprinkle of extra matcha powder adds a beautiful green finish, but you can also try dusting with powdered sugar or placing a dollop of whipped cream on top for a richer experience. Toasted sesame seeds or a drizzle of white chocolate can introduce a lovely contrast that complements the matcha’s earthiness.
Side Dishes
These chewy, fudgy matcha brownie mochi snacks pair wonderfully with a cup of hot green tea, jasmine tea, or simply black coffee. For a cool accompaniment, serve alongside a scoop of vanilla or coconut ice cream — the creamy sweetness balances the mochi’s bold matcha flavor beautifully.
Creative Ways to Present
Try arranging the mochi brownie squares on a bamboo leaf or a stylish plate for a striking presentation. You could also carefully layer them with red bean paste or sweetened condensed milk in transparent cups for a trendy dessert parfait. These ideas transform your Matcha Brownie Mochi Recipe from a simple treat into a show-stopping centerpiece.
Make Ahead and Storage
Storing Leftovers
If you have any leftovers (though that might be unlikely!), keep them at room temperature inside an airtight container. The chewy texture stays best this way for up to two days. Refrigeration is not recommended, as it can cause the mochi to harden and lose its delightful texture.
Freezing
You can freeze the brownies by wrapping individual pieces tightly in plastic wrap and then placing them in a freezer-safe container or bag. They will keep beautifully for up to one month. When ready to eat, thaw at room temperature to maintain that chewy, soft consistency.
Reheating
To enjoy the perfect chewy texture again, warm the mochi brownies gently in the microwave for 10 to 15 seconds. Avoid overheating, as that can dry them out. This quick step revives the soft, luscious feel that makes this Matcha Brownie Mochi Recipe so irresistible.
FAQs
Can I use regular rice flour instead of mochiko for this recipe?
Mochiko is glutinous rice flour, which has a unique sticky and chewy property essential for the correct texture of mochi brownies. Regular rice flour lacks this characteristic, so it’s best to stick to mochiko to achieve that authentic chewy bite.
What if I don’t have coconut milk? Can I use another type of milk?
Yes, you can substitute full-fat coconut milk with whole milk. The texture will remain rich, but coconut milk adds a subtle tropical flavor that complements matcha wonderfully. Avoid using skim or low-fat milk as it might yield a less tender texture.
My brownies didn’t come out chewy. What could be wrong?
Chewiness comes from the mochiko flour and the correct baking time. If overbaked, the brownies can become firmer or dry. Make sure to check with a toothpick around the 35-minute mark and avoid baking beyond 40 minutes. Also, don’t forget the balance of wet and dry ingredients!
Can I make this recipe vegan?
To make this recipe vegan, you can replace the egg with a flax egg (1 tablespoon ground flaxseed mixed with 3 tablespoons water) and ensure the milk you use is plant-based (coconut milk is perfect). This will alter the texture slightly but still provide a delicious chewy matcha mochi experience.
Is this recipe gluten-free?
Yes! Since mochiko is made from glutinous rice flour, it is naturally gluten-free despite the name. Just make sure your baking powder is gluten-free if you have strict dietary needs.
Final Thoughts
There is something truly magical about making and sharing the Matcha Brownie Mochi Recipe. It offers a beautiful blend of textures and flavors that can brighten any day or impress at your next gathering. With simple ingredients and straightforward steps, you can create a dessert that feels both indulgent and comforting. Give it a try—you might just find your new go-to sweet treat that beckons for seconds!
Print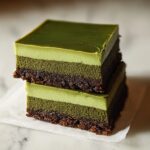
Matcha Brownie Mochi Recipe
- Prep Time: 10 minutes
- Cook Time: 35-40 minutes
- Total Time: 45-50 minutes
- Yield: 16 small squares
- Category: Dessert
- Method: Baking
- Cuisine: Japanese
- Diet: Vegetarian
Description
This Matcha Brownie Mochi is a delightful fusion dessert combining the chewy texture of traditional mochi with the rich, earthy flavor of matcha. Baked to perfection, these soft and fudgy squares make a unique treat that’s perfect for sharing or a special snack. They achieve a perfect balance of sweetness, subtle bitterness from matcha, and a moist texture from coconut milk, making them an irresistible Asian-inspired dessert.
Ingredients
Dry Ingredients
- 1 cup mochiko (glutinous rice flour)
- 1 teaspoon baking powder
- Pinch of sea salt
- 1 tablespoon matcha powder (sifted)
Wet Ingredients
- 1 large egg
- 1/2 cup granulated sugar (reduce to 1/3 cup if less sweet preferred)
- 2 tablespoons vegetable oil (omit if using full-fat coconut milk)
- 1 cup full-fat coconut milk or whole milk
Instructions
- Preheat Oven: Preheat your oven to 350°F (177°C) to prepare for baking the mochi brownies.
- Prepare Pan: Line an 8-inch by 8-inch square baking pan with parchment paper. You can use either glass or metal pans for this recipe.
- Mix Dry Ingredients: In a large bowl, combine mochiko, baking powder, and sea salt. Sift in the matcha powder and whisk together until evenly combined.
- Combine Wet Ingredients: In a medium glass bowl, whisk the egg, sugar, vegetable oil, and coconut milk thoroughly until smooth.
- Combine Wet and Dry: Pour the wet mixture over the dry ingredients. Using a spatula, fold carefully until the batter is smooth and free of lumps.
- Pour Batter: Transfer the batter into the prepared baking pan, spreading evenly.
- Remove Air Bubbles: Gently tap the pan a few times on the countertop to release any trapped air bubbles for an even bake.
- Bake: Place the pan in the center of the preheated oven and bake for 35 to 40 minutes. Check doneness by inserting a toothpick; it should come out clean.
- Cool: Remove from oven and allow to cool completely on a wire rack.
- Slice and Serve: Cut into 16 small squares and dust with additional matcha powder for a beautiful presentation.
- Storage and Serving Tips: Enjoy fresh for best texture. Store at room temperature in an airtight container for up to 2 days. Avoid refrigeration to maintain mochi’s chewy texture.
Notes
- For a less sweet mochi brownie, reduce granulated sugar to 1/3 cup.
- If using full-fat coconut milk, you can omit the vegetable oil for richer flavor.
- Use parchment paper to prevent sticking and ease removal from pan.
- Do not refrigerate leftovers as it will harden the chewy texture.
- Matcha powder should be sifted to prevent clumping and ensure even flavor distribution.
- Use a toothpick test to avoid overbaking and maintain moist texture.

