
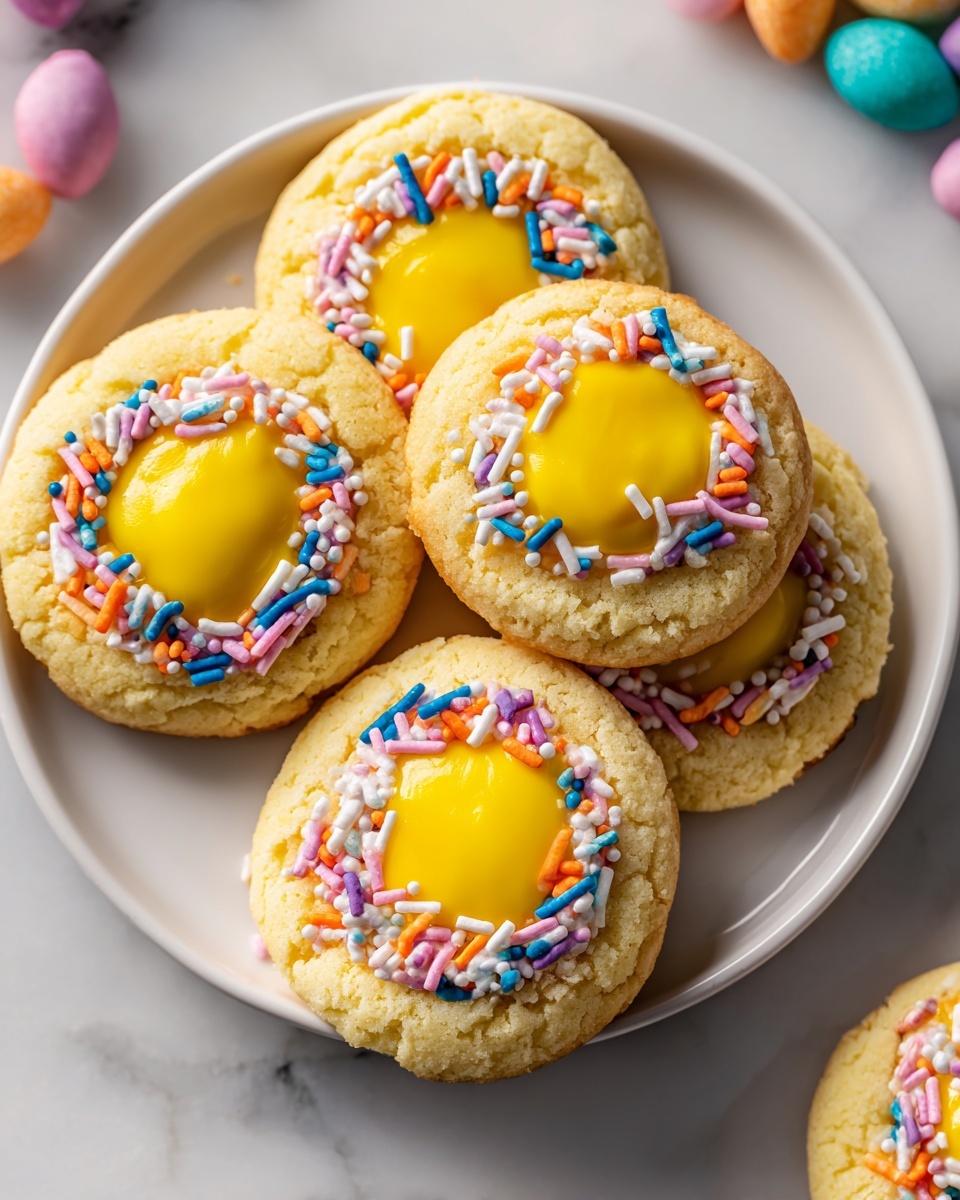
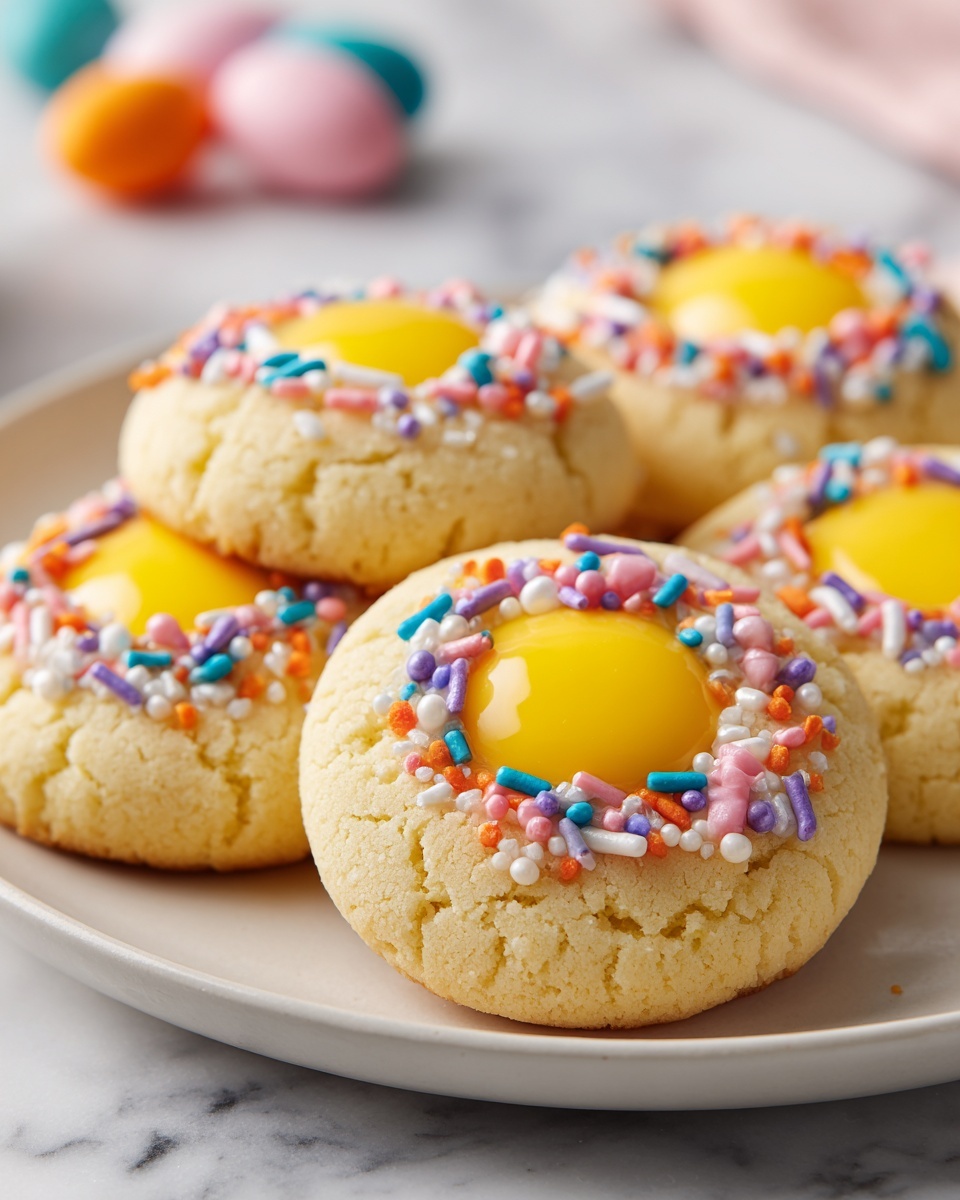
If you’re looking to brighten up your springtime celebrations with a sweet treat that’s as delightful to make as it is to eat, you have to try this Easter Thumbprint Cookies Recipe. These charming little cookies balance a buttery, tender base with a gooey, colorful filling, beautifully topped with festive sprinkles and mini chocolate eggs. They are perfect for sharing with family and friends or as a cheerful centerpiece on your holiday dessert table. Plus, the playful pastel hues make them an instant hit for any Easter gathering!
Ingredients You’ll Need
The magic of this Easter Thumbprint Cookies Recipe lies in its simplicity. Each ingredient brings something special to the party, from the creamy texture of softened butter to the subtle warmth of vanilla, creating a cookie that’s soft, flavorful, and irresistible. Here’s what you’ll need:
- 1 cup unsalted butter (softened): Provides a rich, tender base crucial for soft cookies.
- 2/3 cup granulated sugar: Sweetens and helps create a light, fluffy texture when creamed with butter.
- 1 large egg yolk: Adds richness and helps bind the dough together perfectly.
- 1 teaspoon vanilla extract: Brings a warm, aromatic note that elevates the cookie’s flavor.
- 2 cups all-purpose flour: The main structure-builder, giving a delicate crumb that’s just right.
- 1/4 teaspoon salt: Balances sweetness and enhances the overall flavors.
- Pastel-colored candy melts or white chocolate (for filling): Creates that luscious, melty center every thumbprint cookie needs.
- Pastel sprinkles (optional): Adds festive color and a playful crunch.
- Mini chocolate eggs or jelly beans (for topping): Perfect little finishing touches that scream Easter celebration.
How to Make Easter Thumbprint Cookies Recipe
Step 1: Prepare Your Oven and Baking Sheet
Start by preheating your oven to 350°F (175°C). Preparing early means your cookies will bake at just the right temperature for that soft, golden edge. Line a baking sheet with parchment paper to ensure the cookies bake evenly without sticking, making cleanup a breeze.
Step 2: Cream the Butter and Sugar
In a large mixing bowl, cream together the softened butter and granulated sugar until the mixture becomes light and fluffy. This step is essential because it incorporates air into the dough, giving your cookies a tender lift and delicate texture that melts in your mouth.
Step 3: Add Egg Yolk and Vanilla
Once your butter-sugar mixture is perfectly creamed, add the egg yolk and vanilla extract. Mixing these in thoroughly will create a flavorful, smooth dough that’s easy to work with and wonderfully rich in taste.
Step 4: Combine Flour and Salt
Gradually add the all-purpose flour and salt to the wet ingredients, mixing gently until a soft, cohesive dough forms. Over-mixing can make cookies tough, so stop as soon as everything is combined. The dough should be soft but not sticky.
Step 5: Shape and Make the Thumbprints
Roll the dough into 1-inch balls with your hands, spacing them about 2 inches apart on your prepared baking sheet. Using your thumb or the back of a spoon, gently press a well into the center of each ball. This “thumbprint” is where your delicious filling will go, so be careful not to press too hard or too shallow.
Step 6: Bake the Cookies
Bake the cookies in your preheated oven for 10 to 12 minutes, or until the edges just start to turn a light golden color. This timing keeps the cookies tender and soft while lightly crisping the edges for a perfectly balanced bite. If the thumbprints have lost their indent during baking, gently press them again while the cookies are still warm.
Step 7: Add the Melty Filling and Toppings
While the cookies cool completely, melt your pastel-colored candy melts or white chocolate using short bursts in the microwave, stirring every 20 to 30 seconds for a silky smooth finish. Spoon or pipe this luscious filling into each cookie’s thumbprint indentation. Top each one with a mini chocolate egg or jelly bean for an adorable and tasty touch. If you’re feeling extra festive, sprinkle some pastel-colored sprinkles over the top before the filling sets.
How to Serve Easter Thumbprint Cookies Recipe
Garnishes
Adding garnishes is a fun way to put your personal stamp on this Easter Thumbprint Cookies Recipe. Besides the mini chocolate eggs and jelly beans, consider a light dusting of powdered sugar or a few edible flower petals to bring vibrant spring colors and an elegant flair to your presentation. These little details make your cookies stand out and invite eager hands to grab one.
Side Dishes
For a complete springtime treat plate, serve these cookies alongside fresh fruit salads, a variety of tea blends, or a chilled glass of lemonade. The light sweetness of the cookies pairs beautifully with tart or citrusy flavors, creating a balanced and refreshing dessert experience perfect for Easter brunch or afternoon tea.
Creative Ways to Present
Presentation is half the fun! Arrange your Easter Thumbprint Cookies on a festive platter lined with fresh greenery or pastel-colored doilies. For an irresistibly cute touch, serve them in a vintage-style cookie tin or place each one in mini cupcake liners before arranging on a tiered dessert stand. Whether for a party or gifting, appealing presentation will have everyone excited to try these gems.
Make Ahead and Storage
Storing Leftovers
These cookies will keep beautifully at room temperature for up to 5 days when stored in an airtight container. Keeping them sealed ensures they stay soft and fresh, preserving the tender crumb and the gooey, melty center just as delightful as the first day.
Freezing
You can freeze the cookies either before or after adding the filling. To freeze before filling, shape the dough, create the thumbprints, and freeze the unbaked cookies on a sheet tray, then transfer them to a freezer-safe bag. When ready to bake, just add a few extra minutes to baking time. For baked cookies, freeze in airtight containers with parchment layers between. Thaw in the refrigerator before adding any melted filling and toppings.
Reheating
If you’d like to enjoy your cookies warm, pop them in a preheated oven at 300°F (150°C) for about 5 minutes. This gently reheats the cookies without drying them out and re-softens the filling for that fresh-from-the-oven feeling. Avoid microwaving to keep the texture perfect.
FAQs
Can I use different fillings for the thumbprints?
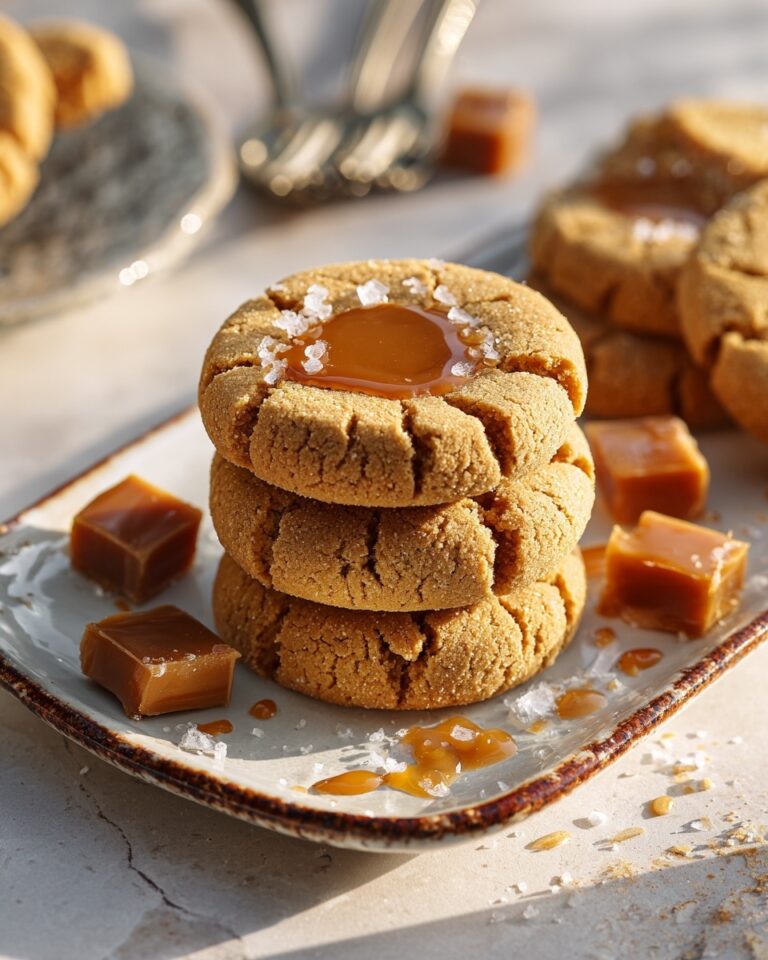
Absolutely! While pastel candy melts and white chocolate are fantastic for Easter, you can experiment with jams, fruit preserves, or even caramel. Just ensure your filling complements the cookie’s buttery flavor and doesn’t make the dough soggy.
What if I don’t have pastel-colored candy melts?
No worries. White chocolate can be effortlessly tinted with a few drops of food-safe coloring, or you can use plain milk or dark chocolate for a richer taste. Adding colorful sprinkles afterward can still keep the festive vibe alive.
How do I make sure the thumbprint indentations don’t disappear during baking?
Press your thumbprints gently but firmly and don’t press too deep. If the indentations puff up during baking, simply re-press them with a spoon handle or your thumb while the cookies are still warm but cool enough to handle. This ensures the perfect hollow for your filling.
Can I add flavor twists to the cookie dough?
Yes! Adding a pinch of lemon zest or a splash of almond extract can lend a lovely festive twist. Just remember to keep additions subtle so the classic buttery base remains the star.
How many cookies does this recipe make?
This Easter Thumbprint Cookies Recipe yields about 24 cookies, perfect for sharing at Easter gatherings or saving a few for yourself to enjoy with a cup of tea or coffee.
Final Thoughts
There’s just something wonderfully comforting and festive about making and sharing these Easter Thumbprint Cookies Recipe. They’re not only a treat to eat but also a joy to craft with their soft dough, colorful fillings, and adorable toppings. Whether baking with kids or surprising your guests, these cookies are sure to bring smiles and a little extra cheer to your Easter celebrations. So, grab your ingredients and dive into this fun, delicious baking adventure today!
Print
Easter Thumbprint Cookies Recipe
- Prep Time: 20 minutes
- Cook Time: 12 minutes
- Total Time: 32 minutes
- Yield: 24 cookies
- Category: Dessert
- Method: Baking
- Cuisine: American
- Diet: Vegetarian
Description
These Easter Thumbprint Cookies are delightful buttery treats filled with smooth pastel-colored candy melts or white chocolate and topped with festive mini chocolate eggs or jelly beans. Perfect for spring celebrations and holiday gatherings, these cookies combine a tender, flavorful dough with a sweet, colorful center for a charming seasonal dessert.
Ingredients
Cookie Dough
- 1 cup unsalted butter, softened
- 2/3 cup granulated sugar
- 1 large egg yolk
- 1 teaspoon vanilla extract
- 2 cups all-purpose flour
- 1/4 teaspoon salt
Filling and Toppings
- Pastel-colored candy melts or white chocolate (for filling)
- Pastel sprinkles (optional)
- Mini chocolate eggs or jelly beans (for topping)
Instructions
- Preheat Oven: Preheat your oven to 350°F (175°C) and line a baking sheet with parchment paper to prevent sticking and provide an even baking surface.
- Make Dough: In a large mixing bowl, cream together the softened butter and granulated sugar until the mixture becomes light and fluffy. Add the egg yolk and vanilla extract, mixing thoroughly until smooth. Gradually incorporate the flour and salt, mixing just until a soft dough forms.
- Shape Cookies: Roll the dough into 1-inch balls and arrange them on the prepared baking sheet, spacing them about 2 inches apart to allow for spreading. Use your thumb or the back of a spoon to gently press a small well into the center of each cookie ball.
- Bake: Bake the cookies for 10 to 12 minutes or until the edges are just lightly golden. Carefully remove from the oven and, while still warm, gently re-press the centers to maintain the thumbprint indent if necessary. Allow the cookies to cool completely on a wire rack.
- Melt Filling: In a heatproof bowl, melt the pastel-colored candy melts or white chocolate in the microwave, stirring every 20 to 30 seconds until smooth and fully melted, being careful not to burn the chocolate.
- Fill and Decorate: Spoon or pipe the melted chocolate into the thumbprint wells of each cooled cookie. Immediately top with a mini chocolate egg or jelly bean and add pastel sprinkles if you like for extra festive flair. Let the filling set completely before serving or storing.
Notes
- For a festive twist, enhance the cookie dough with a teaspoon of lemon zest or almond extract.
- Store cookies in an airtight container at room temperature for up to 5 days to maintain freshness.


