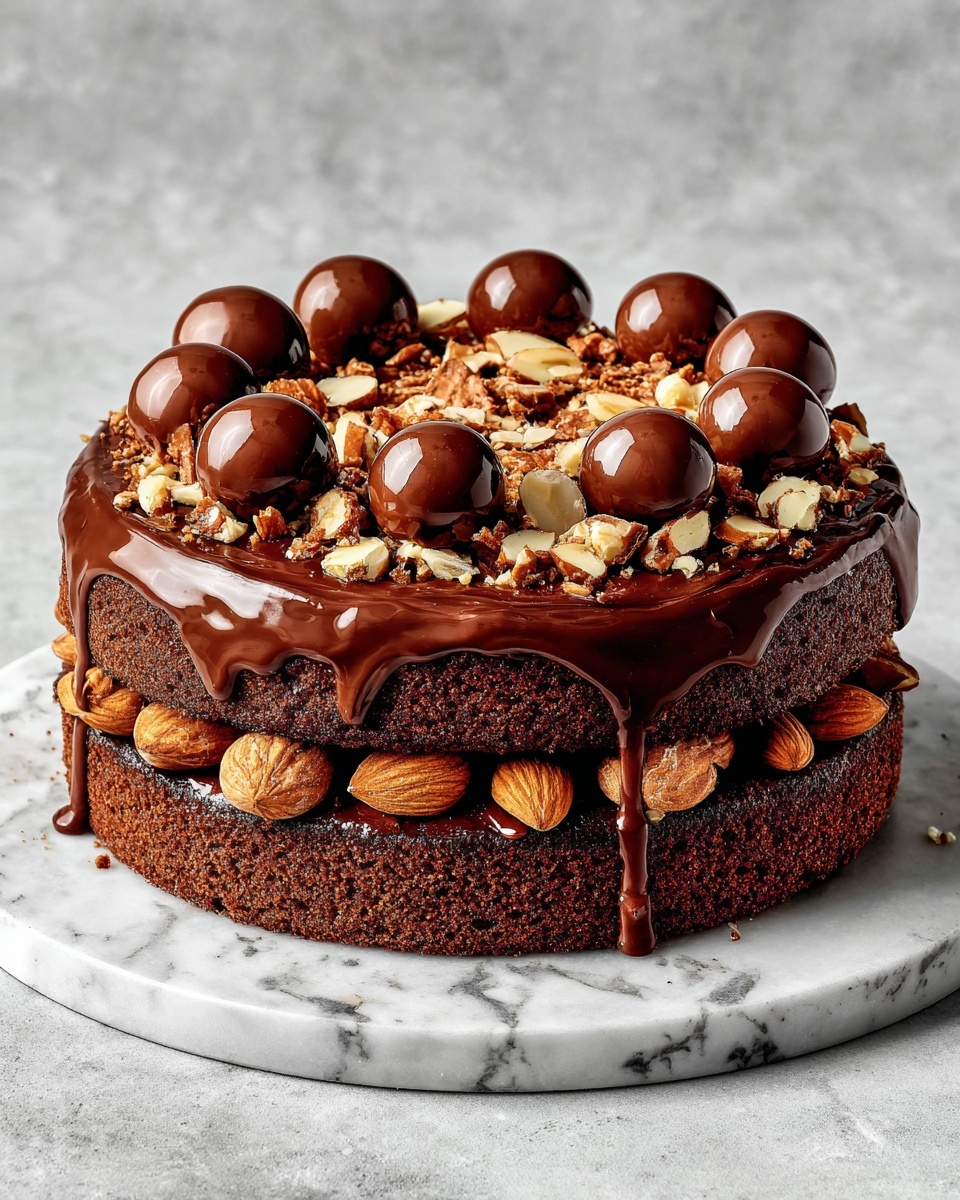
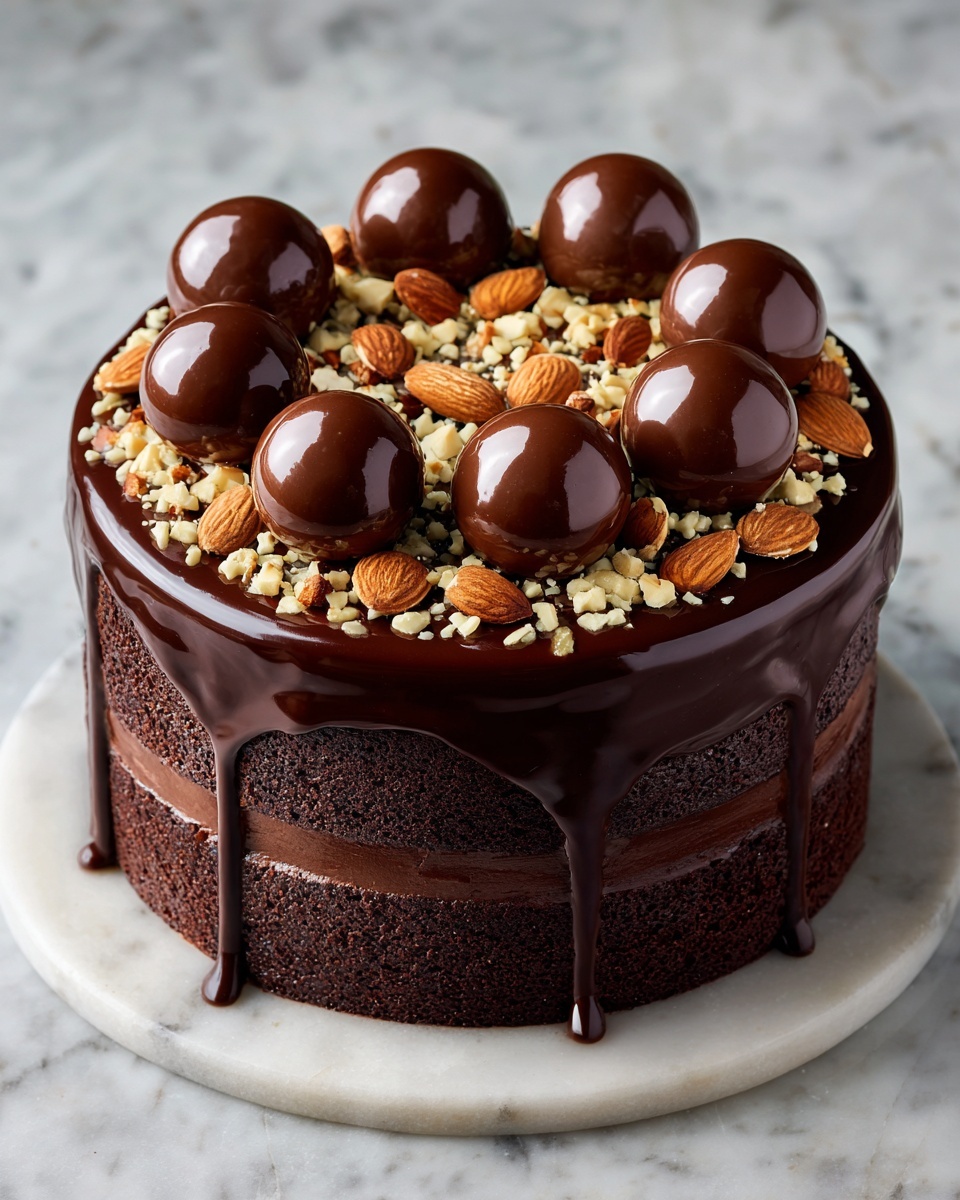
If you have a soft spot for the classic combination of rich chocolate and crunchy, nutty flavor, this Chocolate Hazelnut Cake Recipe is going to become your new go-to dessert. It’s packed with intense cocoa goodness, crowned with toasted hazelnuts, and perfectly moist from the buttermilk and butter balance. Every bite delivers a warm, comforting hug of flavors and textures that’s just as stunning on the eyes as it is on the palate. Whether you’re baking for a special occasion or just because chocolate makes everything better, this recipe is straightforward, rewarding, and positively irresistible.
Ingredients You’ll Need
These ingredients are simple pantry staples, yet each one plays a crucial role in building the flavor, texture, and overall magic of this cake. From the rich cocoa powder to the toasty hazelnuts, the components come together in perfect harmony.
- 1 1/2 cups all-purpose flour: The foundation for the cake’s structure and crumb.
- 1 cup unsweetened cocoa powder: Provides deep, chocolatey richness that’s not too sweet.
- 1 1/2 tsp baking powder: Ensures the cake rises beautifully and stays light.
- 1/2 tsp baking soda: Helps balance acidity and contribute to the moist crumb.
- 1/2 tsp salt: Enhances the chocolate flavor and balances sweetness.
- 1 cup sugar: Adds essential sweetness while keeping the texture tender.
- 1/2 cup packed brown sugar: Brings a hint of molasses for warmth and depth.
- 3/4 cup unsalted butter, softened: Adds richness and moisture for a tender crumb.
- 2 large eggs: Bind everything together and add richness.
- 1 tsp vanilla extract: Enhances the chocolate and adds a subtle fragrance.
- 1/2 cup buttermilk: Lends tanginess and moisture, keeping the cake delightfully soft.
- 1/2 cup hot water: Unlocks the cocoa’s full flavor and smoothes the batter.
- 1 1/2 cups chopped hazelnuts (or ground hazelnuts): Provide crunch and that signature nutty twist.
How to Make Chocolate Hazelnut Cake Recipe
Step 1: Prepare Your Pans and Oven
Start by preheating your oven to 350°F (175°C). Greasing and flouring two 9-inch round cake pans or lining them with parchment paper creates the perfect non-stick environment so your cakes slide out cleanly after baking.
Step 2: Mix Dry Ingredients
In a medium bowl, whisk together the all-purpose flour, cocoa powder, baking powder, baking soda, and salt. This step ensures all your dry ingredients are evenly distributed, so your cake bakes with perfect texture throughout.
Step 3: Cream Sugars and Butter
Using a large bowl, beat the granulated sugar, brown sugar, and softened butter together until the mixture becomes light and fluffy. This creates a creamy base that adds airiness and moisture to your cake.
Step 4: Add Eggs and Vanilla
Beat in the eggs, one at a time, mixing well after each addition. Then stir in the vanilla extract. This enriches the batter, adding depth of flavor and smooth texture.
Step 5: Incorporate Dry Ingredients and Buttermilk Alternately
Add the flour mixture and buttermilk alternately to the butter mixture, beginning and ending with the flour. This careful folding prevents overmixing, which keeps your cake tender and light.
Step 6: Add Hot Water and Hazelnuts
Slowly pour in the hot water, mixing until the batter is smooth and luscious. Finally, fold in the chopped hazelnuts, distributing that irresistible crunch evenly throughout the batter.
Step 7: Bake the Cake
Divide the batter evenly between your prepared pans. Bake the cakes for 30 to 35 minutes or until a toothpick inserted into the center comes out clean. The warmth fills your kitchen with an irresistible chocolate aroma during this stage.
Step 8: Cool the Cakes
Allow the cakes to cool in their pans for 10 minutes, then transfer them to wire racks to cool completely. This step ensures your cake sets perfectly before you move on to decorating or serving.
How to Serve Chocolate Hazelnut Cake Recipe

Garnishes
Giving your cake a pretty finish elevates the experience. Try sprinkling a handful of toasted hazelnuts or a dusting of cocoa powder on top for a rustic, elegant look. A drizzle of melted chocolate or a spoonful of chocolate ganache can add decadent flair that pairs perfectly with the cake’s richness.
Side Dishes
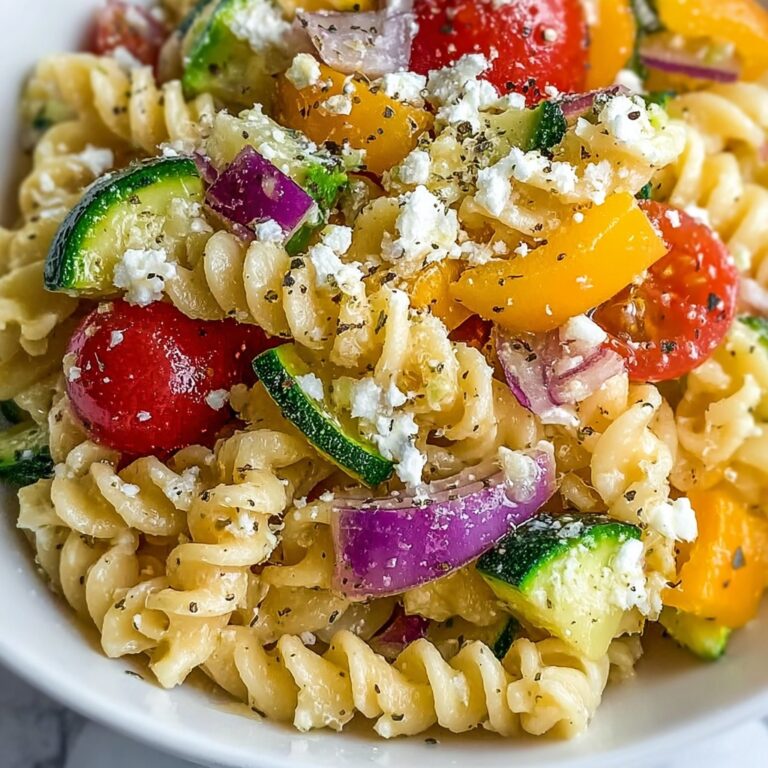
Serve this cake with fresh berries, like raspberries or strawberries, whose natural tartness cuts through the chocolate’s richness. A scoop of vanilla ice cream or lightly whipped cream makes a refreshing counterbalance and adds creamy texture.
Creative Ways to Present
Turn your Chocolate Hazelnut Cake Recipe into cupcake form for an easy handheld treat or use round cookie cutters to create petite layered mini cakes for party platters. Alternatively, stack the layers with hazelnut spread or whipped cream between them for a fun twist that’s perfect for sharing.
Make Ahead and Storage
Storing Leftovers
Once baked and cooled, store your cake in an airtight container at room temperature for up to 3 days, or in the refrigerator if you want it to last longer. Proper storage keeps the hazelnuts crunchy and the cake moist.
Freezing
You can freeze the cake layers tightly wrapped in plastic wrap and then aluminum foil for up to 2 months. When ready to enjoy, thaw overnight in the fridge and bring to room temperature before serving for best texture.
Reheating
Warm individual slices slightly in the microwave for about 15 seconds or leave at room temperature to let their flavor bloom before eating. Avoid overheating to prevent drying out this lush Chocolate Hazelnut Cake Recipe.
FAQs
Can I substitute the hazelnuts with other nuts?
Absolutely! Walnuts or pecans work well as alternatives, offering a similar crunchy texture and nutty flavor. Just adjust the quantity to your preference.
Is it possible to make this cake gluten-free?
Yes, by swapping the all-purpose flour for a gluten-free blend designed for baking, you can enjoy this recipe gluten-free without sacrificing flavor or texture.
What’s the best way to toast hazelnuts?
Spread hazelnuts on a baking sheet and roast at 350°F (175°C) for about 10 minutes until fragrant and lightly browned. Rub them in a towel afterward to remove skins for a smooth texture.
Can I prepare the batter in advance?
It’s best to bake the batter immediately for optimal rise and texture; however, you can prepare the dry and wet ingredients separately and combine when ready to bake.
How do I keep the cake moist without overbaking?
Keep a close eye on the baking time and use a toothpick to test doneness just as the cake starts to pull away from the pan edges. Removing it promptly ensures moistness.
Final Thoughts
This Chocolate Hazelnut Cake Recipe is a true celebration of chocolate lovers’ dreams, combining simple ingredients with thoughtful technique to bring out the best in every bite. I encourage you to dive in and give it a try—it’s one of those recipes you’ll want to bake again and again to share warmth and happiness with everyone lucky enough to taste it.
Print
Chocolate Hazelnut Cake Recipe
- Prep Time: 15 minutes
- Cook Time: 35 minutes
- Total Time: 50 minutes
- Yield: 8 servings
- Category: Dessert
- Method: Baking
- Cuisine: American
Description
This rich and moist Chocolate Hazelnut Cake combines deep cocoa flavor with the crunch and nuttiness of chopped hazelnuts, perfect for chocolate lovers seeking an indulgent homemade dessert.
Ingredients
Dry Ingredients
- 1 1/2 cups all-purpose flour
- 1 cup unsweetened cocoa powder
- 1 1/2 tsp baking powder
- 1/2 tsp baking soda
- 1/2 tsp salt
Wet Ingredients
- 1 cup sugar
- 1/2 cup packed brown sugar
- 3/4 cup unsalted butter, softened
- 2 large eggs
- 1 tsp vanilla extract
- 1/2 cup buttermilk
- 1/2 cup hot water
Other Ingredients
- 1 1/2 cups chopped hazelnuts (or ground hazelnuts)
Instructions
- Preheat and prepare pans: Preheat your oven to 350°F (175°C). Grease and flour two 9-inch round cake pans or line them with parchment paper to prevent sticking.
- Mix dry ingredients: In a medium bowl, whisk together the all-purpose flour, unsweetened cocoa powder, baking powder, baking soda, and salt. This ensures even distribution of leavening agents and cocoa.
- Cream sugars and butter: In a large bowl, beat together the sugar, brown sugar, and softened butter until the mixture is light and fluffy, creating a smooth base for the batter.
- Add eggs and vanilla: Add the eggs one at a time to the creamed mixture, beating well after each addition to incorporate air and structure. Stir in the vanilla extract for flavor.
- Alternate adding dry ingredients and buttermilk: Add the dry ingredient mixture and buttermilk alternately to the wet mixture, starting and ending with the dry ingredients. Mix gently until just combined to keep the batter light.
- Add hot water and hazelnuts: Gradually mix in the hot water until the batter is smooth and slightly thin, then fold in the chopped hazelnuts to distribute throughout the batter.
- Divide batter into pans: Evenly pour the batter into the two prepared cake pans, smoothing the tops for even baking.
- Bake the cakes: Bake in the preheated oven for 30-35 minutes, or until a toothpick inserted into the center comes out clean, indicating doneness.
- Cool the cakes: Allow the cakes to cool in the pans for 10 minutes to set before transferring them to wire racks to cool completely, preventing sogginess and aiding frosting application.
Notes
- For an extra moist cake, use freshly ground hazelnuts.
- Ensure butter is softened, not melted, for proper creaming.
- If you don’t have buttermilk, substitute with 1/2 cup milk plus 1/2 tsp lemon juice or vinegar.
- Allow cakes to cool fully before frosting to avoid melting the frosting.
- Hazelnut pieces can be toasted beforehand to enhance flavor.


