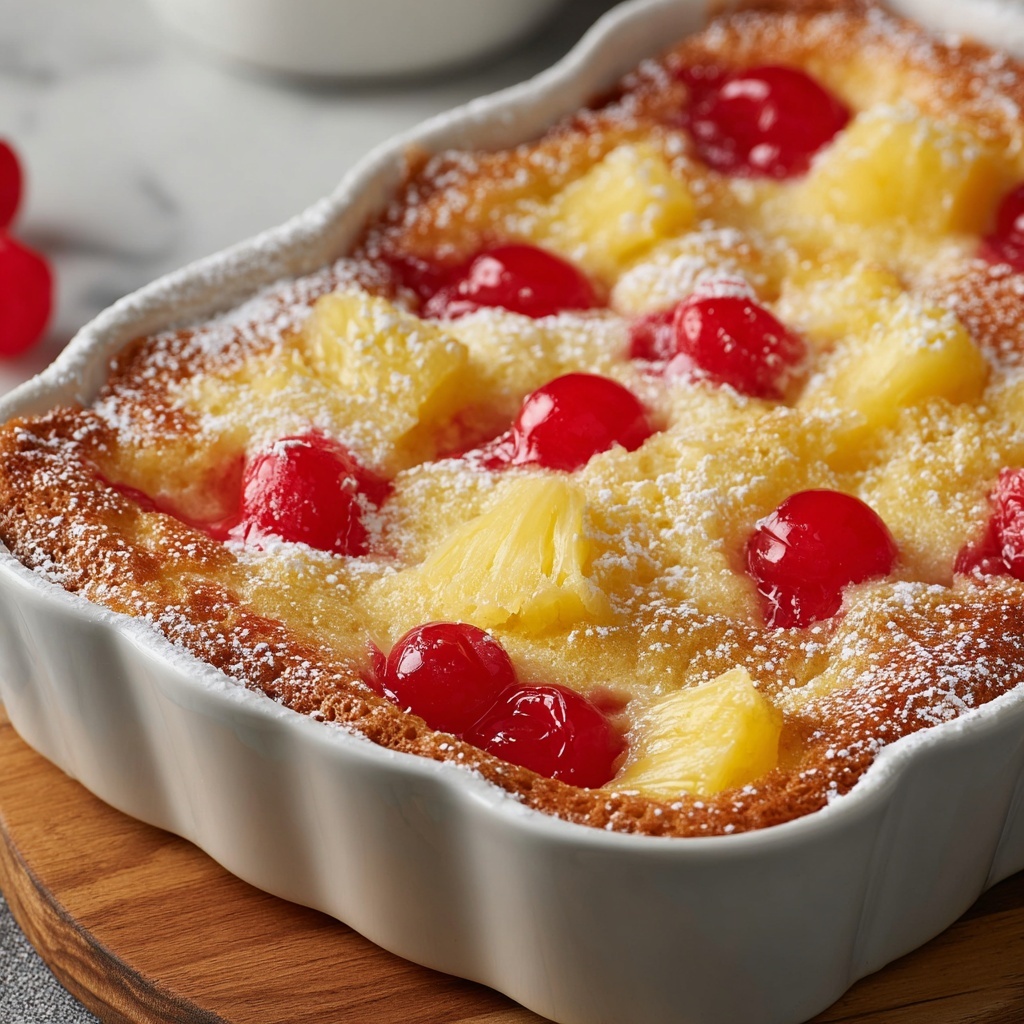
If you’re looking for a dessert that feels like a warm hug on a plate, you’ve got to try this Cherry Pineapple Dump Cake Recipe. It combines the sweet-tart burst of cherry pie filling with the tropical zing of crushed pineapple, all crowned with a buttery, golden cake topping. What’s incredibly charming about this dessert is how effortless it is to make—just layer, dump, and bake. Whether you’re welcoming guests, celebrating a special occasion, or simply craving a delicious treat, this Cherry Pineapple Dump Cake Recipe will quickly become your go-to comfort dessert that’s both nostalgic and refreshing.
Ingredients You’ll Need
This Cherry Pineapple Dump Cake Recipe shines because of its straightforward, pantry-friendly ingredients. Each one plays a distinct role: the cherry and pineapple contribute vibrant flavor and moisture, the yellow cake mix creates a sweet, cakey crust, and butter brings richness and that irresistible golden finish. Together, they create a textural and flavor harmony that’s as pleasing as it is simple.
- Cherry pie filling (1 can, 21 oz): Delivers the perfect balance of sweet and tart cherries, bringing a luscious, fruity base to this cake.
- Crushed pineapple with juice (1 can, 20 oz): Adds tropical juiciness and moisture, making the cake wonderfully tender and bursting with flavor.
- Yellow cake mix (1 box, 15.25 oz): Provides an easy-to-use powdered batter that crisps up beautifully when baked on top.
- Unsalted butter (1/2 cup or 1 stick, thinly sliced): Essential for creating that golden, buttery crust and adding richness without overpowering the fruit flavors.
- Chopped nuts (1/2 cup, optional): A crunchy topping option that adds texture and a hint of nuttiness.
How to Make Cherry Pineapple Dump Cake Recipe
Step 1: Preheat and Prepare Your Dish
Begin by setting your oven to 350°F (175°C) so it’s ready to go once you’ve assembled your ingredients. Lightly grease a 9×13-inch baking dish to prevent sticking and make cleanup a breeze. This step ensures your dump cake maintains that perfect crust without leaving bits behind after serving.
Step 2: Layer the Cherry Pie Filling
Spread the entire can of cherry pie filling evenly across the bottom of your prepared baking dish. This layer is the star of the show, offering juicy cherries that will bubble with sweetness as it bakes. Making sure it’s spread evenly helps the flavor come through in every bite.
Step 3: Add the Crushed Pineapple
Next, pour the crushed pineapple along with its juice over the cherry layer. The combination of juices from both fruits infuses the dessert with extra moisture and vibrant flavor, creating that wonderfully gooey, mouthwatering filling that everyone loves.
Step 4: Sprinkle on the Dry Cake Mix
Evenly dust the yellow cake mix over the fruit layers without mixing. This dry topping will absorb some of the fruit juices as it bakes, transforming into a golden, cakey crust that’s soft in some spots and delightfully crisp in others.
Step 5: Add Butter Slices and Nuts
Arrange thin slices of unsalted butter over the dry cake mix in an even layer. The butter melts slowly during baking, creating pockets of richness and helping the topping brown perfectly. If you’re using nuts, sprinkle them on top now for added crunch and a lovely finishing touch.
Step 6: Bake and Cool
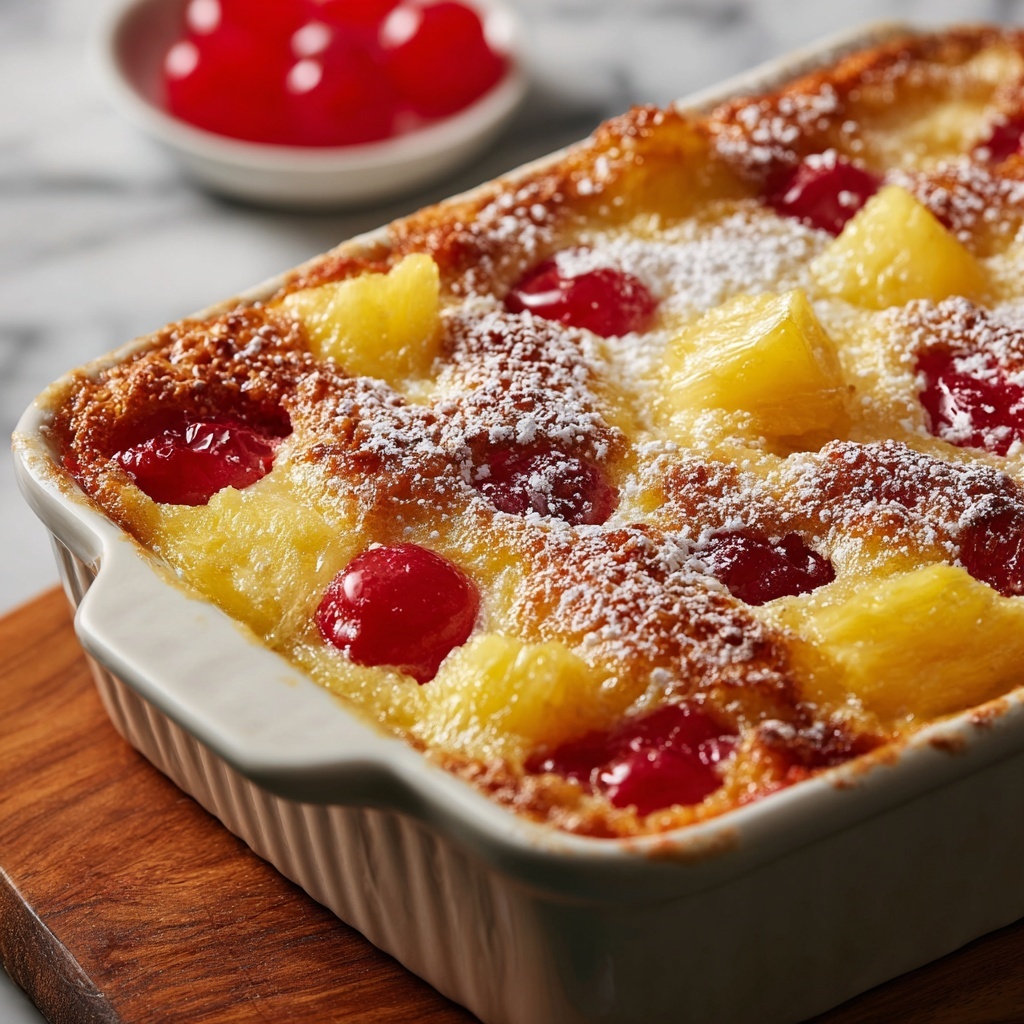
Place the dish in your preheated oven and bake for 50 to 60 minutes. You’ll know it’s done when the top is golden brown and the filling is bubbling up around the edges. Let it cool slightly before serving so the filling sets a bit, making it easier to scoop and savor.
How to Serve Cherry Pineapple Dump Cake Recipe

Garnishes
To elevate your Cherry Pineapple Dump Cake Recipe, think about adding a scoop of vanilla ice cream or a dollop of whipped cream right on top. The cold creaminess contrasts perfectly with the warm, fruity cake and enhances the overall indulgence. Fresh mint leaves or a sprinkle of toasted coconut are also delightful garnishes that add a pop of color and aroma.
Side Dishes
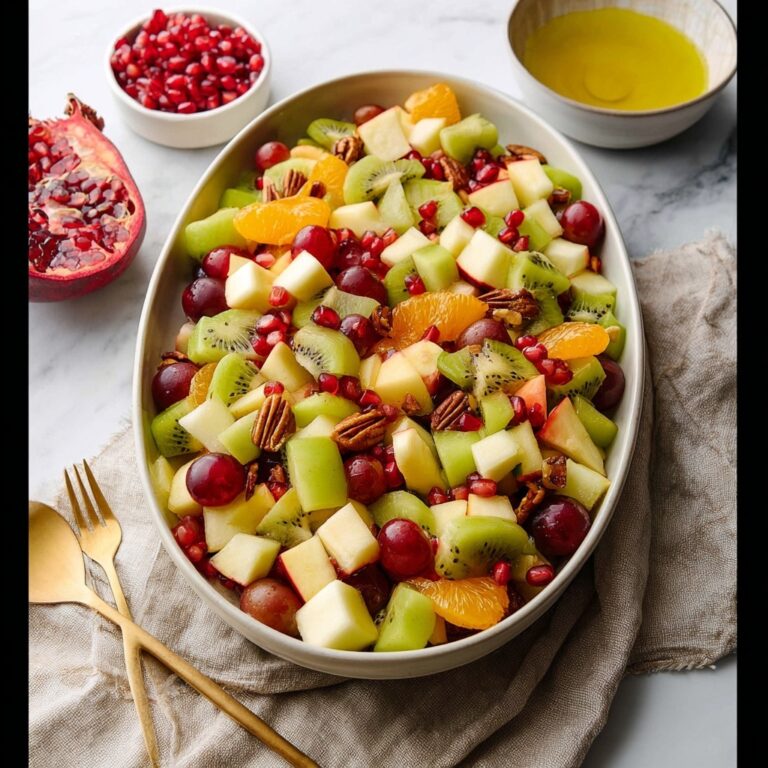
This dump cake pairs beautifully with light, refreshing sides like a crisp green salad with citrus vinaigrette or a simple scoop of lemon sorbet for extra zest. If you want to keep the focus firmly on the dessert, serving it alongside a cup of hot coffee or herbal tea is a cozy, satisfying choice.
Creative Ways to Present
Get playful with presentation by serving the Cherry Pineapple Dump Cake Recipe in individual ramekins for a charming touch at parties. You can also layer it in parfait glasses, alternating with whipped cream or mascarpone for a dessert that looks as incredible as it tastes. A sprinkling of extra chopped nuts or fresh fruit on top adds both texture and visual appeal.
Make Ahead and Storage
Storing Leftovers
You can store any leftover dump cake in an airtight container in the refrigerator for up to 4 days. This keeps the flavors vibrant and the topping moist. When ready to enjoy again, simply bring it to room temperature or reheat gently for that fresh-from-the-oven feel.
Freezing
This dessert freezes beautifully, making it an excellent make-ahead option. Wrap the cooled cake tightly in plastic wrap and then foil to prevent freezer burn. Freeze for up to 3 months. When ready to eat, thaw overnight in the fridge and warm up before serving for the best texture.
Reheating
To reheat your Cherry Pineapple Dump Cake Recipe, pop it into a preheated 350°F oven for about 15 minutes or until warmed through. If reheating a single portion, a quick zap in the microwave for 30 to 45 seconds works well too. Adding a little ice cream on top freshens the experience with every bite.
FAQs
Can I use fresh fruit instead of canned?
While fresh fruit offers a different texture and flavor, canned cherry pie filling and crushed pineapple with juice provide the ideal sweetness and moisture needed for this recipe. Using fresh fruit might require additional sugar and liquid adjustments, but it’s definitely possible with a few tweaks.
Is it necessary to use unsalted butter?
Unsalted butter is preferred because it lets you control the salt content in your dessert more precisely. However, if you only have salted butter on hand, it will still work—just skip adding any extra salt elsewhere in your ingredients.
What if I’m allergic to nuts?
Feel free to omit the chopped nuts entirely. The cake will still have a fantastic texture and flavor. If you want some crunch, try substituting with toasted coconut flakes or leave it plain for a classic feel.
Can I make this dessert gluten-free?
To make a gluten-free version of the Cherry Pineapple Dump Cake Recipe, substitute the yellow cake mix for a gluten-free dry cake mix. Just make sure to pick one designed for baking without flour additions to maintain the same texture.
How long does it take to bake? Can I shorten it?
The recommended baking time of 50 to 60 minutes ensures the fruit filling is bubbly and the topping is golden. Shortening it may result in undercooked topping or runny filling. It’s best to stick to the timing for that perfect balance.
Final Thoughts
I can’t recommend this Cherry Pineapple Dump Cake Recipe enough—it’s that magical blend of sweet fruitiness, buttery cake, and simple preparation that makes life easier and taste buds happier. Whether it’s a weeknight treat or a showstopper at your next gathering, it’s guaranteed to bring smiles and requests for seconds. Give it a try and watch it become your favorite go-to dessert in no time!
Print
Cherry Pineapple Dump Cake Recipe
- Prep Time: 10 minutes
- Cook Time: 50-60 minutes
- Total Time: 1 hour 10 minutes
- Yield: 12 servings
- Category: Dessert
- Method: Baking
- Cuisine: American
Description
Cherry Pineapple Dump Cake is an easy, crowd-pleasing dessert that layers sweet cherry pie filling and crushed pineapple under a buttery yellow cake mix topping, baked until golden and bubbly. This simple recipe requires minimal prep and results in a moist, flavorful treat perfect for gatherings or a cozy night in.
Ingredients
Fruit Layers
- 1 can (21 oz) cherry pie filling
- 1 can (20 oz) crushed pineapple (with juice)
Cake Topping
- 1 box (15.25 oz) yellow cake mix
- 1/2 cup (1 stick) unsalted butter, thinly sliced
- 1/2 cup chopped nuts (optional)
Instructions
- Preheat Oven: Preheat your oven to 350°F (175°C) to prepare for baking the cake.
- Grease Baking Dish: Lightly grease a 9×13-inch baking dish to prevent sticking and allow easy serving.
- Layer Cherry Filling: Spread the cherry pie filling evenly across the bottom of the prepared baking dish, creating the first layer.
- Add Pineapple: Pour and spread the crushed pineapple with juice evenly over the cherry layer for a sweet, tangy second layer.
- Sprinkle Cake Mix: Evenly sprinkle the dry yellow cake mix over the fruit layers; do not mix them together.
- Top with Butter Slices: Arrange thin slices of unsalted butter evenly across the surface of the cake mix to ensure moistness and a golden crust.
- Add Nuts (Optional): Sprinkle chopped nuts over the top if desired for extra texture and flavor.
- Bake: Place the dish in the preheated oven and bake for 50–60 minutes, or until the top is golden brown and the fruit filling is bubbling.
- Cool and Serve: Allow the dump cake to cool slightly before serving warm. It pairs beautifully with ice cream or whipped cream.
Notes
- For a nut-free version, simply omit the chopped nuts.
- If you prefer a sweeter topping, add a sprinkle of cinnamon or nutmeg to the cake mix layer before baking.
- Use fresh pineapple if canned is not available; drain slightly to avoid excess liquid.
- Serve with vanilla ice cream or whipped cream to complement the warm fruit and cake.
- Store leftovers covered in the refrigerator for up to 3 days; warm before serving.


