
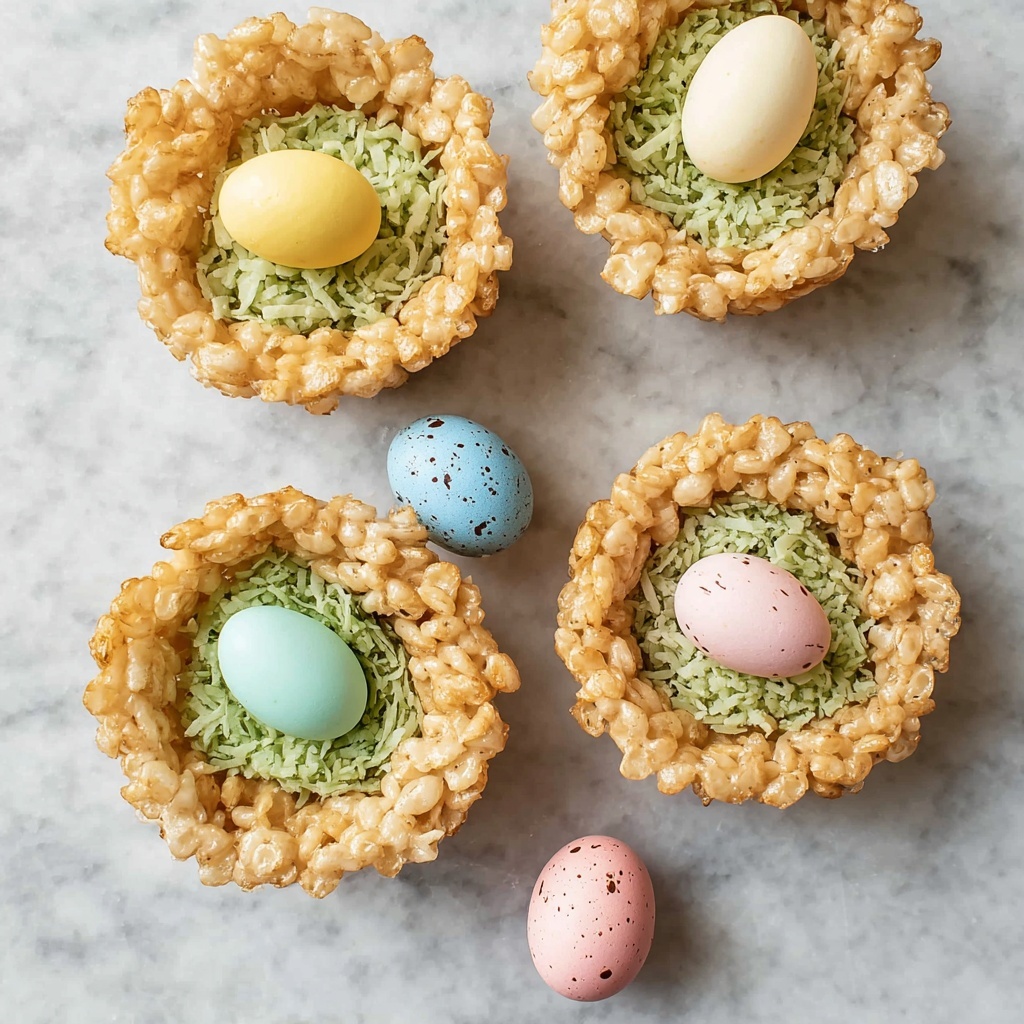
If you’re looking for a charming and delightful treat that brings a bit of springtime cheer any time of the year, the Adorable Rice Krispie Nests Recipe is exactly what you need. These sweet, crispy nests are not only irresistibly tasty but also visually captivating with their grassy coconut texture and colorful candy eggs. Perfect for parties, gatherings, or simply as a fun baking project with friends or family, this recipe beautifully combines simple ingredients into a show-stopping dessert that everyone will adore.
Ingredients You’ll Need
This Adorable Rice Krispie Nests Recipe keeps things wonderfully straightforward with ingredients that you probably already have in your pantry. Each component plays a special role, whether it’s the melt-in-your-mouth sweetness, that satisfying crunch, or the vibrant colors that bring these nests to life.
- 4 Tbsp unsalted butter: Adds richness and helps melt the marshmallows smoothly.
- 10 oz marshmallows (regular or mini): The sticky, sweet binder that holds everything together perfectly.
- 1 ½ tsp vanilla extract: Infuses a warm, comforting flavor to enhance the sweetness.
- ¼ tsp salt: Balances the sweetness and elevates overall flavor depth.
- 5 cups Rice Krispies cereal: The crispy core providing classic texture in every bite.
- 1 cup sweetened shredded coconut: Creates the luscious “grass” for the nests with a hint of chewiness.
- Green food coloring: Transforms the coconut into vibrant grass for an authentic nest look.
- 48 mini candy robin eggs: Adds a playful, colorful, and edible “eggs” finishing touch.
How to Make Adorable Rice Krispie Nests Recipe
Step 1: Prepare the muffin pans
Start by greasing two muffin pans with baking spray to prevent your nests from sticking. This step makes it so much easier to remove your delicate nests after setting, keeping them perfectly intact for decorating.
Step 2: Create the marshmallow mixture
Over medium-low heat, melt the butter in a large pot or Dutch oven until it’s just shimmering. Then add the marshmallows, stirring continuously until they are completely melted and blended beautifully with the butter. Remove from the heat and add in the vanilla extract and salt, mixing well to distribute those warm, complementary flavors evenly.
Step 3: Incorporate the cereal
Pour in the Rice Krispies cereal and fold them gently but thoroughly into the marshmallow mixture. You want to coat every crispy piece without crushing them, maintaining that light crunch that’s quintessential to this treat.
Step 4: Form the nests
Scoop heaping quarter-cup portions of the mixture into each muffin cup. Using a 1-tablespoon measuring spoon is perfect to press down a little in the center to create a classic nest shape, with a shallow well to hold your “eggs” later on.
Step 5: Allow to set
Patience is key! Let the nests sit in the pans for about one hour until they are firm and set. This ensures they hold their shape beautifully when popped out and decorated.
Step 6: Prepare the coconut “grass”
Place the shredded coconut into a large resealable plastic bag and add 3 to 4 drops of green food coloring. Shake the bag vigorously until the coconut is evenly tinted a fresh, vibrant green reminiscent of spring grass for your bird’s nests.
Step 7: Decorate the nests
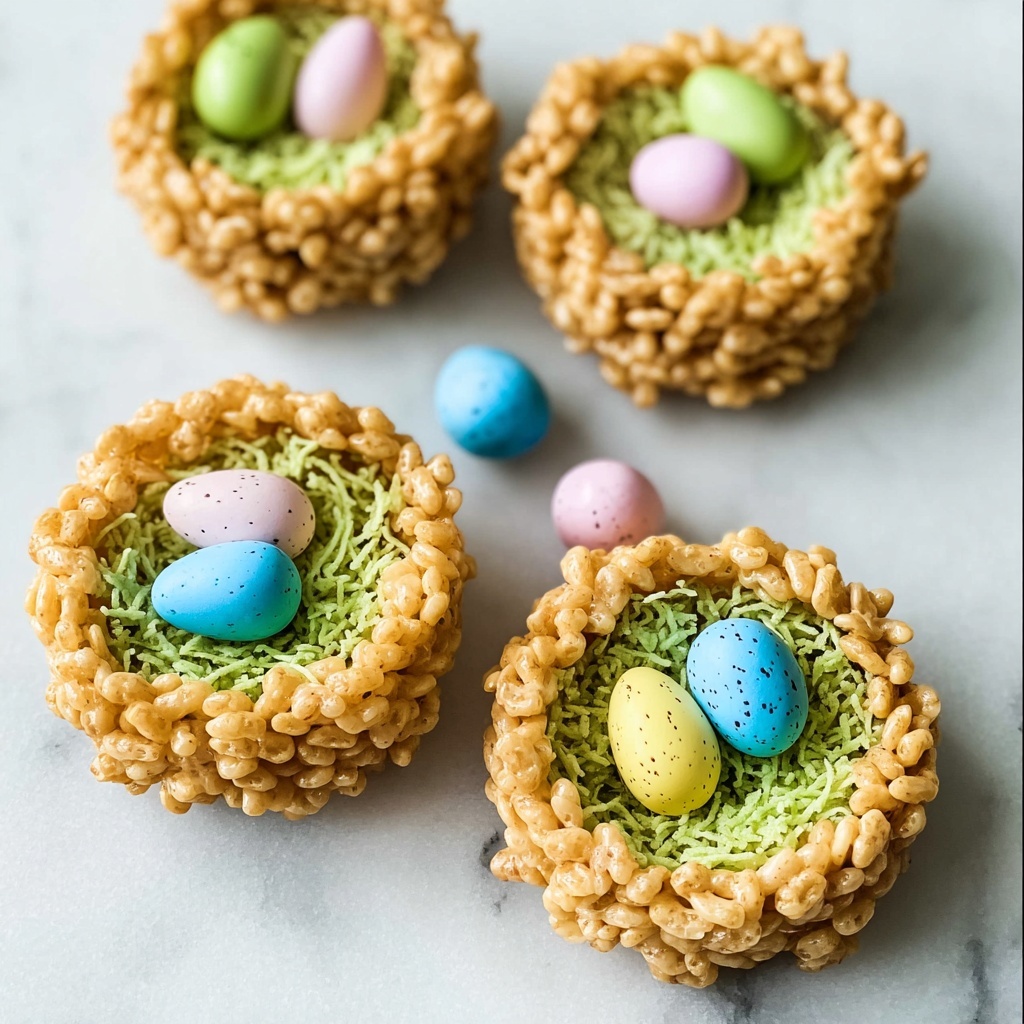
Carefully transfer the nests to a board or platter. Spoon about one tablespoon of the green coconut into the center of each nest to form “grass,” then top with three mini candy robin eggs. The colorful, speckled candies bring the nests to life and make them truly adorable!
How to Serve Adorable Rice Krispie Nests Recipe
Garnishes
For an extra touch of whimsy, sprinkle additional green coconut around the serving platter or add tiny edible flowers for a spring garden vibe. You can even drizzle a little white chocolate over the nests to mimic morning dew.
Side Dishes
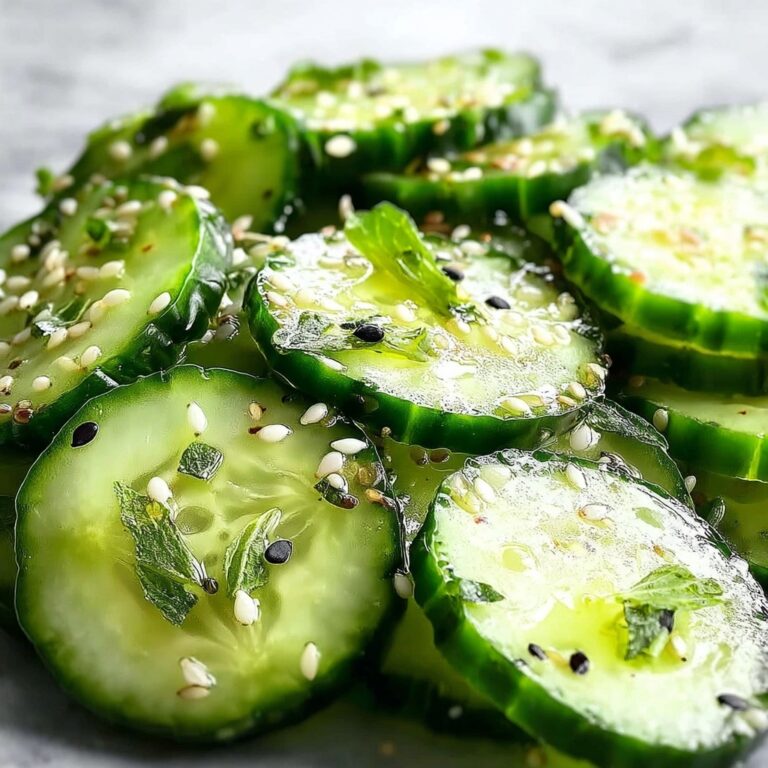
These nests pair beautifully with light refreshments like fresh fruit platters or lemonade to keep the focus on the sweet crunchiness of the Rice Krispy nests. They’re also a fun addition alongside other themed treats during holiday celebrations or birthday parties.
Creative Ways to Present
Serve the nests in colorful mini cupcake liners for easy serving and mess-free enjoyment. You can also place them in clear cellophane bags with ribbon for charming party favors or gift them as delightful homemade goodies for friends and family.
Make Ahead and Storage
Storing Leftovers
Leftover nests should be stored in an airtight container at room temperature, where they’ll stay fresh and scrumptiously crisp for up to five days. Keep them away from humidity to prevent sogginess.
Freezing
You can freeze the nests for extended storage by arranging them in a single layer on a baking sheet until solid, then stacking them in a freezer-safe container separated by parchment paper. Thaw at room temperature for about 30 minutes before serving.
Reheating
These treats are best enjoyed at room temperature, so reheating isn’t usually necessary. However, if you prefer softer nests, a quick zap in the microwave for 5 to 10 seconds can soften the marshmallow just a bit without melting the shape.
FAQs
Can I use other cereals besides Rice Krispies?
While Rice Krispies are traditional for their light crispness, you can experiment with other puffed rice or corn cereals, but keep in mind the texture and density might change the final nests.
What if I don’t have mini candy robin eggs?
No worries! You can substitute with jelly beans, chocolate-covered candies, or even colorful sprinkles to create a similar festive look.
Is there a way to make this recipe gluten-free?
Absolutely. Just ensure you use gluten-free Rice Krispies or a comparable certified gluten-free cereal, and check that your marshmallows are gluten-free as well.
Can I make these nests without butter?
Butter helps with flavor and smooth melting but you can substitute it with margarine or coconut oil if needed; just expect a slightly different taste and texture.
How long do the nests stay fresh?
Stored properly in an airtight container at room temperature, these nests will stay fresh for about five days, making them perfect for making ahead for an event.
Final Thoughts
There’s something so joyful about creating and sharing the Adorable Rice Krispie Nests Recipe—it’s a sweet, nostalgic treat that lights up any occasion with its playful look and delicious crunch. Whether you’re baking with kids or looking for a bright, cheerful dessert, this recipe promises smiles and happy taste buds every time. Give it a try and watch how these charming nests become an instant favorite in your recipe collection!
Print
Adorable Rice Krispie Nests Recipe
- Prep Time: 20 minutes
- Cook Time: 10 minutes
- Total Time: 1 hour 15 minutes
- Yield: 16 nests
- Category: Dessert
- Method: Stovetop
- Cuisine: American
- Diet: Vegetarian
Description
This delightful Adorable Rice Krispie Nests recipe transforms classic Rice Krispies treats into charming edible bird nests perfect for spring celebrations or Easter. Crispy cereal coated in a sweet marshmallow mixture is shaped into nests, then topped with green-tinted coconut ‘grass’ and colorful mini candy robin eggs for a festive and fun dessert everyone will love.
Ingredients
Base Mixture
- 4 Tbsp unsalted butter
- 10 oz marshmallows (regular or mini)
- 1 ½ tsp vanilla extract
- ¼ tsp salt
- 5 cups Rice Krispies cereal
Decoration
- 1 cup sweetened shredded coconut
- Green food coloring (3-4 drops)
- 48 mini candy robin eggs
Instructions
- Prepare the muffin pans: Spray two muffin pans liberally with baking spray to prevent sticking and ensure easy removal of the nests.
- Create the marshmallow mixture: In a large pot or Dutch oven, melt the butter over medium-low heat. Add the marshmallows and cook, stirring constantly until completely melted and smooth. Remove from heat and stir in the vanilla extract and salt to enhance flavor.
- Incorporate the cereal: Add the Rice Krispies cereal to the melted marshmallow mixture and stir carefully until all cereal pieces are evenly coated.
- Form the nests: Using a heaping ¼ cup of the mixture for each, press portions into 16 muffin cups. Use a 1-tablespoon measuring spoon to create an inward depression in the center of each to resemble a bird’s nest.
- Allow to set: Let the nests cool and set in the muffin pans for one hour at room temperature until firm enough to handle without losing shape.
- Prepare the coconut ‘grass’: Place the shredded coconut in a large resealable plastic bag. Add 3 to 4 drops of green food coloring, seal the bag, and shake vigorously until the coconut is evenly tinted green.
- Decorate the nests: Remove the nests carefully from the pans and place on a serving board or platter. Spoon about 1 tablespoon of the green coconut into the center of each nest. Top with three mini candy robin eggs to complete the look.
Notes
- Use regular or mini marshmallows based on preference but mini melt faster for ease.
- Pressing the center with a tablespoon ensures a consistent nest shape for each treat.
- Allowing the nests to set fully helps maintain their shape during handling and decorating.
- The green food coloring can be adjusted depending on desired intensity of the coconut ‘grass’.
- These treats are best enjoyed within 2-3 days stored in an airtight container to maintain freshness and texture.


