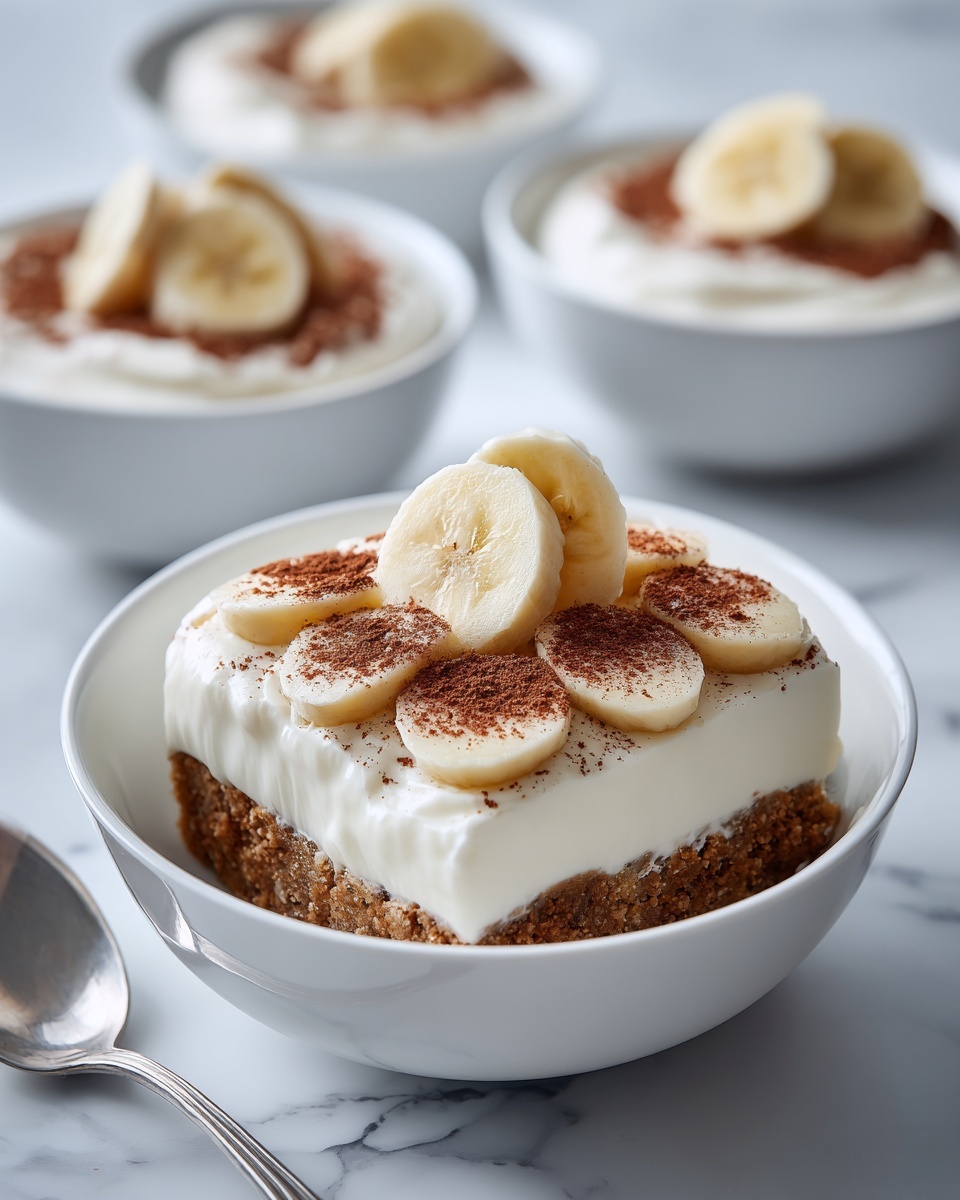
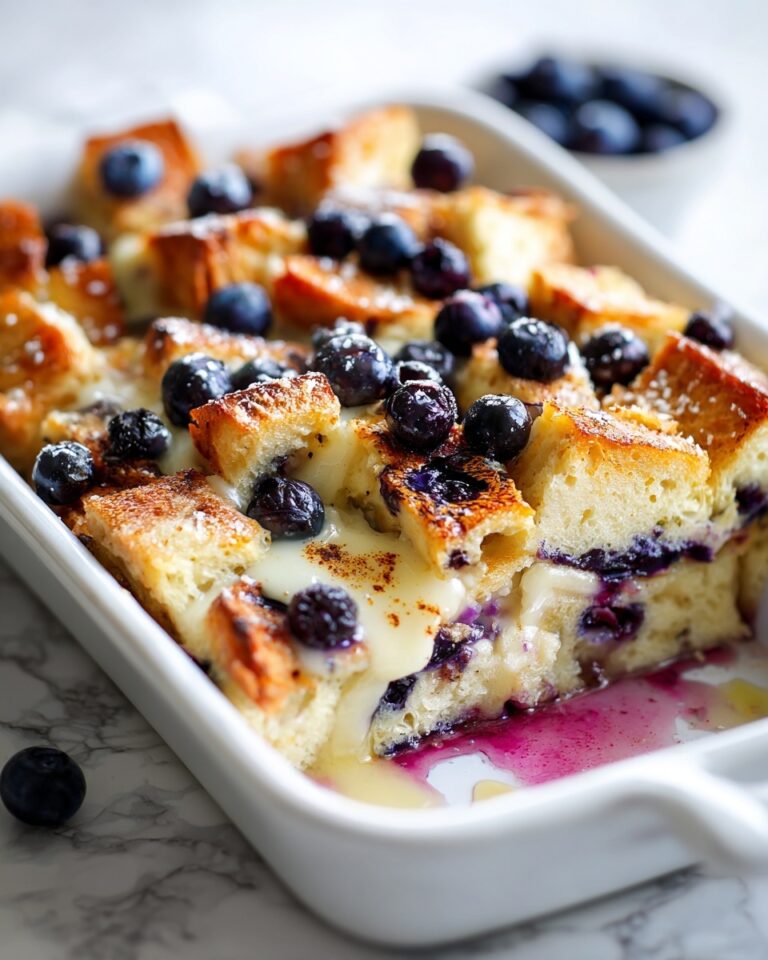
If you have a sweet tooth and a love for nostalgic comfort desserts, then you are absolutely going to fall head over heels for Magnolia Bakery’s Famous Banana Pudding: A Classic Dessert Everyone Will Love Recipe. This iconic southern treat brings together velvety layers of creamy vanilla pudding, perfectly ripe bananas, and crisp vanilla wafers, creating a harmonious melody of flavors and textures that’s guaranteed to brighten any occasion. It’s no wonder this dessert has a devoted following—the balance of rich, smooth pudding and refreshing fruit with just the right crunch is honestly irresistible. Whether you’re reminiscing about childhood favorites or discovering this gem for the first time, this recipe is pure dessert magic.
Ingredients You’ll Need
One of the best parts about Magnolia Bakery’s Famous Banana Pudding: A Classic Dessert Everyone Will Love Recipe is how straightforward and approachable the ingredients are. Each plays a vital role, whether it’s lending sweetness, creaminess, or that delightful crunch, bringing together a classic and comforting dessert with minimal fuss.
- Sweetened condensed milk: Provides the perfect creamy sweetness base without overpowering the pudding.
- Ice-cold water: Essential for whisking the instant pudding mix to the perfect silky consistency.
- Instant vanilla pudding mix (Jell-O brand recommended): The secret to that unmistakable, smooth vanilla pudding flavor.
- Heavy cream: Whipped to soft peaks, it lightens the pudding, adding fluffy richness and a luscious mouthfeel.
- Vanilla wafers (Nabisco Nilla Wafers recommended): Classic crispy layers that soak slightly but still keep the perfect texture contrast.
- Ripe bananas: Freshly sliced for natural sweetness and creamy softness that complements every bite.
How to Make Magnolia Bakery’s Famous Banana Pudding: A Classic Dessert Everyone Will Love Recipe
Step 1: Make the Pudding
Start with the most important part—the pudding itself. Whisk together the sweetened condensed milk and ice-cold water in a large bowl until you get a smooth base. Then add the instant vanilla pudding mix and whip it vigorously for two minutes until it thickens to a luscious, creamy consistency. Setting this aside to firm up helps the flavors develop beautifully.
Step 2: Whip the Cream
While the pudding is resting, whip that heavy cream. Using an electric mixer on high speed, beat it until soft peaks form—about 3 to 5 minutes. This airy cream is what makes the pudding dreamy and light, preventing it from being too dense or overly sweet.
Step 3: Combine the Pudding and Whipped Cream
Gently fold the whipped cream into the prepared pudding mixture. The key here is to mix carefully so you retain all that wonderful fluffiness. The result is a smooth, rich pudding that’s perfectly balanced in texture and flavor.
Step 4: Assemble the Banana Pudding
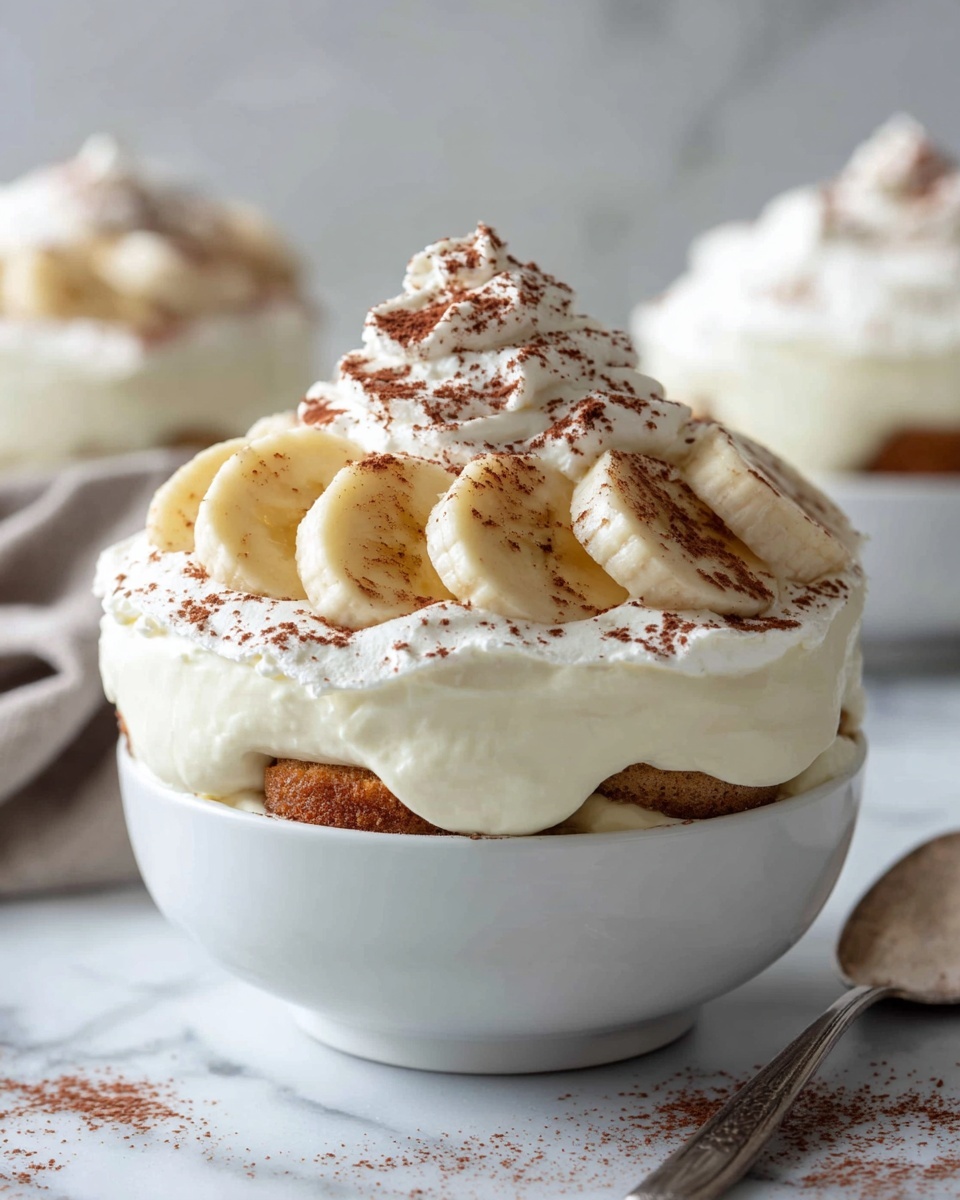
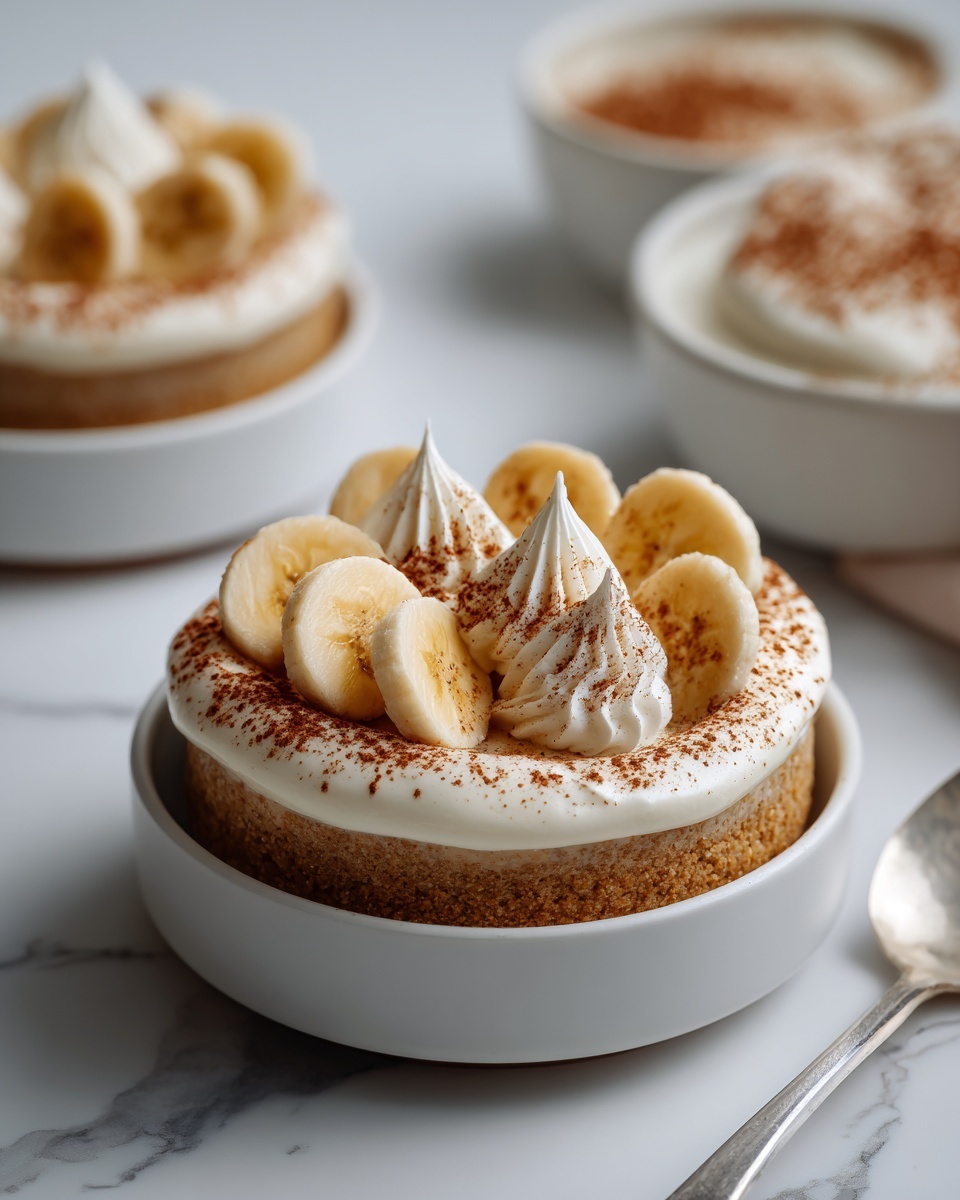
Time to build the magic. Grab a 9×13-inch dish or a large trifle bowl and start by laying down a layer of those crisp vanilla wafers. Next, add a layer of sliced bananas for that fresh fruit brightness. Spoon about a third of the pudding mixture over the bananas and wafers, spreading it evenly. Repeat these layers two more times, finishing with a final layer of pudding on top. This layered construction creates delightful textural contrasts that make every forkful exciting.
Step 5: Chill and Serve
Cover the dish tightly with plastic wrap and pop it into the refrigerator for at least 4 hours, or better yet, overnight. This chilling step allows all the flavors to marry and the dessert to firm up to the perfect texture. Before serving, you can garnish with a few extra vanilla wafers whole or crushed for a delightful finishing touch.
How to Serve Magnolia Bakery’s Famous Banana Pudding: A Classic Dessert Everyone Will Love Recipe
Garnishes
A few creative garnishes can elevate this classic even further. Whole vanilla wafers arranged artistically, a sprinkle of crushed wafers for crunch, or even a light dusting of cinnamon can add a subtle warmth. If you want to get a little fancy, topping with fresh whipped cream rosettes or thin banana slices makes it look stunning on any dessert table.
Side Dishes
This banana pudding pairs beautifully with simple accompaniments. Think fresh berries for a tart contrast or a small scoop of good-quality vanilla ice cream for those who want extra indulgence. Light, citrusy salads or a cup of rich coffee also make excellent matches to balance the sweet and creamy profile.
Creative Ways to Present
Consider serving the pudding in individual glass jars or pretty parfait glasses for elegant single servings. Layering it attractively so the beautiful bands of pudding, bananas, and wafers are visible can be a real crowd-pleaser. Or, try serving it in mini mason jars for parties—super cute and perfect for grab-and-go indulgence!
Make Ahead and Storage
Storing Leftovers
This pudding keeps beautifully in the refrigerator for up to 3 days. Just make sure it’s tightly covered to prevent it from absorbing any fridge odors. The flavors tend to deepen after resting, making leftovers taste even better the next day.
Freezing
While freezing banana pudding isn’t typically recommended because the bananas can turn mushy, if you must, freeze it in an airtight container for up to one month. Thaw in the fridge overnight and expect a slightly altered texture—still tasty but best enjoyed fresh.
Reheating
This dessert is best served chilled, so no reheating needed. If you like your pudding at a slightly warmer temperature, simply let it sit out for 10–15 minutes before serving to take the chill off and let the flavors shine.
FAQs
Can I use homemade banana pudding instead of instant mix?
Definitely! While this recipe calls for instant vanilla pudding mix for quick and reliable results, you can substitute with homemade pudding if you’re up for it. Just be sure it’s chilled fully before combining with the whipped cream to maintain the right texture.
What’s the best way to slice bananas so they don’t brown?
Slice the bananas just before layering to prevent browning. If you need to prep ahead, toss the slices in a little lemon juice or pineapple juice to keep them fresh and vibrant.
Can I make this dessert vegan or dairy-free?
While the original recipe relies on dairy, you can experiment with coconut whipped cream and dairy-free pudding mixes. Keep in mind this will change the flavor and texture but can still be a delicious alternative.
How long should I chill the banana pudding?
A minimum of 4 hours is essential, but chilling overnight is ideal. This gives the wafers time to soften just enough and all the flavors to blend perfectly for that classic luscious texture.
Is there a substitute for vanilla wafers?
If you can’t find vanilla wafers, shortbread cookies or ladyfingers make good alternatives. They provide a similar texture and sweetness that complements the creamy pudding and bananas nicely.
Final Thoughts
This recipe truly captures the heart and soul of a beloved classic with every spoonful. Magnolia Bakery’s Famous Banana Pudding: A Classic Dessert Everyone Will Love Recipe makes dessert time joyful and effortlessly memorable. Whether you’re indulging after dinner or bringing it to a gathering with friends, this banana pudding is a delightful way to share comfort and happiness in dessert form. Give it a try—you’ll soon understand why it’s a dessert that’s cherished by so many!
Print
Magnolia Bakery’s Famous Banana Pudding: A Classic Dessert Everyone Will Love Recipe
- Prep Time: 15 minutes
- Cook Time: 0 minutes
- Total Time: 4 hours 15 minutes
- Yield: 8 servings
- Category: Dessert
- Method: No-Cook
- Cuisine: American
- Diet: Vegetarian
Description
Magnolia Bakery’s Famous Banana Pudding is a classic, creamy dessert loved by many. It features layers of rich vanilla pudding, fluffy whipped cream, ripe bananas, and crunchy vanilla wafers, all chilled to perfection for a refreshing and indulgent treat.
Ingredients
Banana Pudding
- 1 (14 oz) can sweetened condensed milk
- 1 ½ cups ice-cold water
- 1 (3.4 oz) package instant vanilla pudding mix (Jell-O brand recommended)
Whipped Cream
- 3 cups heavy cream
Assembly
- 1 (11 oz) box vanilla wafers (Nabisco Nilla Wafers recommended)
- 5 ripe bananas, sliced
Instructions
- Make the Pudding: In a large bowl, whisk together the sweetened condensed milk and ice-cold water until smooth to create the base mixture.
- Add Pudding Mix: Add the instant vanilla pudding mix to the milk and water mixture. Whisk vigorously for about 2 minutes until the pudding thickens and becomes smooth.
- Set Aside: Let the pudding mixture rest to firm up slightly while preparing the whipped cream and other ingredients.
- Whip the Cream: In a separate chilled bowl, use an electric mixer to beat the heavy cream on high speed until soft peaks form, which should take approximately 3 to 5 minutes.
- Combine Mixtures: Gently fold the whipped cream into the thickened pudding mixture, combining thoroughly but carefully to keep the mixture light and airy.
- Assemble the Layers: In a 9×13-inch dish or trifle dish, start with a layer of vanilla wafers evenly spread at the bottom.
- Add Bananas: Place a layer of sliced ripe bananas over the vanilla wafers, ensuring coverage.
- Add Pudding Layer: Spoon about one-third of the pudding and whipped cream mixture evenly on top of the bananas and wafers.
- Repeat Layers: Continue layering wafers, bananas, and pudding mixture, finishing off with a final pudding layer on top.
- Chill: Cover the assembled dish tightly with plastic wrap and refrigerate for at least 4 hours or preferably overnight, allowing the flavors to meld and the dessert to firm up.
- Serve: Before serving, garnish with extra vanilla wafers on top or sprinkle lightly crushed wafers for added texture and crunch.
Notes
- For best results, use ripe but firm bananas to avoid sogginess.
- Chilling overnight allows the flavors to meld together and the pudding to set perfectly.
- Use freshly whipped cream for the lightest texture; canned whipped topping is not recommended.
- You can substitute vanilla wafers with gluten-free cookies if needed.
- For an extra touch, add a sprinkle of cinnamon or nutmeg on top before serving.
