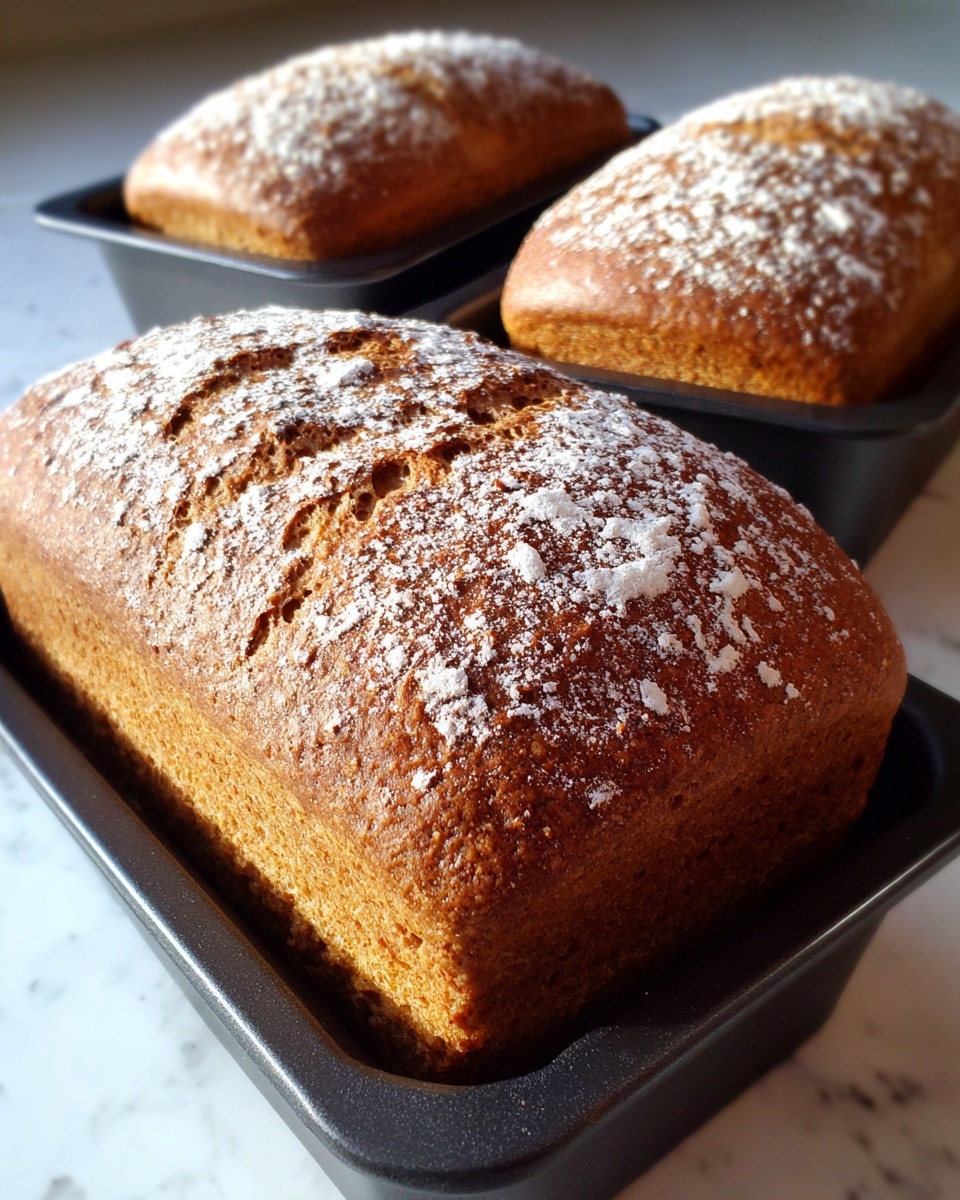
There is something truly magical about homemade bread, especially when it has that irresistible crust and airy crumb you crave from a bakery loaf. The No-Knead Artisan Bread Recipe brings that magic right into your kitchen without the fuss of traditional kneading. With just a handful of simple ingredients and some patience, you’ll create a crusty, flavorful bread that impresses everyone you share it with. From the golden crackling crust to the tender interior, this bread is a testament to how easy it can be to make artisan-quality bread at home.
Ingredients You’ll Need
The beauty of this recipe lies in its simplicity. Each ingredient plays a crucial role in the bread’s flavor, texture, and that rustic look that makes it so special. Ready to gather your essentials? Here’s what you’ll need:
- All-purpose flour: The base of our bread, providing structure and that wonderful chewiness every loaf needs.
- Warm water: Activates the yeast and hydrates the flour to create the perfect dough consistency.
- Active dry yeast or instant yeast: The tiny ingredient that helps our dough rise without any kneading effort.
- Salt: Enhances the flavor and controls yeast activity for balanced fermentation.
How to Make No-Knead Artisan Bread Recipe
Step 1: Mix the Dough
Start by combining the flour, yeast, and salt in a large bowl. Stir those dry ingredients to distribute everything evenly, then pour in the warm water. Mix it until you form a shaggy, sticky dough—don’t worry about kneading at all; that’s the beauty of this recipe. Just a simple mix is all it takes to start transforming these humble ingredients into something extraordinary.
Step 2: Let the Dough Rise
Cover your bowl loosely with plastic wrap or a kitchen towel, then let it rest at room temperature for 12 to 18 hours. Patience is key here as the dough slowly bubbles and doubles in size, developing flavor and that airy structure you want. The long rise helps create a bread with complex taste and a delightfully chewy texture.
Step 3: Shape the Dough
Once the dough has risen, dust your hands and a clean surface with flour. Gently scoop the dough out and shape it into a rough round loaf. This step is all about guiding the dough into the right shape without deflating all the lovely bubbles formed during fermentation. Place the dough on parchment paper and let it rest for another 30 minutes to an hour to relax and puff up slightly.
Step 4: Preheat the Oven and Dutch Oven
Preheating is crucial to get that perfect crust. Heat your oven to 450°F (230°C) and place your Dutch oven inside for about 30 minutes. This preheating step ensures that the baking vessel is piping hot, which helps the bread develop a blistered, crunchy exterior while locking in moisture.
Step 5: Bake the Bread
Carefully transfer the rested dough on its parchment paper into the blazing hot Dutch oven. Cover with the lid and bake for 30 minutes to trap steam and create that signature crust. Then, remove the lid and bake for an additional 10 to 15 minutes until the bread turns a beautiful golden brown. The interior will be soft and tender, just right for slicing.
Step 6: Cool and Enjoy
Remove your loaf from the Dutch oven and let it cool on a wire rack for at least an hour before slicing. This step allows the crumb to set and the flavors to deepen. Once cooled, you’re ready to enjoy one of the simplest and most rewarding breads you’ll ever make!
How to Serve No-Knead Artisan Bread Recipe

Garnishes
Your bread’s crusty exterior is a canvas for creativity. Consider brushing warm slices with garlic-infused olive oil or sprinkling fresh herbs like rosemary or thyme on butter for a fragrant twist. A touch of sea salt flakes on warm crumb adds a satisfying crunch that pairs perfectly with the soft interior.
Side Dishes
This bread is wonderfully versatile alongside countless dishes. It’s perfect with creamy soups like tomato bisque or butternut squash soup, and it also shines as a base for bruschetta with fresh tomatoes and basil. Or simply serve it with a charcuterie board filled with cheeses, olives, nuts, and cured meats for a rustic delight.
Creative Ways to Present
Slice your loaf thick and use it to make loaded open-faced sandwiches or rustic paninis. Tear pieces off for a casual bread basket at your next gathering. You can also hollow out the center after baking and fill it with cheesy spinach dip or a warm stew for an unforgettable presentation that inspires conversation.
Make Ahead and Storage
Storing Leftovers
If you have leftovers, store your bread in a paper bag or loosely wrapped in a clean kitchen towel at room temperature to keep the crust crisp. Avoid plastic wrap for storage longer than a day as it will soften the crust, but for a day or two, your bread will stay fresh and inviting.
Freezing
The No-Knead Artisan Bread Recipe freezes beautifully. Slice first or freeze the whole loaf wrapped tightly in plastic wrap and then in a freezer bag. It will keep well for up to three months, so you can enjoy fresh bread even on a busy day.
Reheating
To revive frozen or day-old bread, sprinkle it lightly with water and warm it in a preheated oven at 350°F (175°C) for 10 to 15 minutes. This refreshes the crust and heats the crumb without drying it out—like magic bringing your bread back to life.
FAQs
Can I use whole wheat flour instead of all-purpose flour?
Yes, you can substitute part or all of the all-purpose flour with whole wheat flour, though the texture will be denser and the flavor nuttier. Adjust water slightly as whole wheat absorbs more liquid.
Do I really not need to knead the dough?
That’s correct! This recipe relies on a long fermentation time to develop gluten and texture, so kneading is unnecessary. It makes bread making much more accessible.
What if I don’t own a Dutch oven?
You can bake this bread on a baking stone or heavy baking sheet and create steam by placing a pan of hot water in the oven. However, a Dutch oven does provide the best environment for rising and crust formation.
How long can I let the dough rise?
The dough can rise between 12 to 18 hours at room temperature. Longer rises develop richer flavor but shouldn’t exceed this time frame to prevent over-fermentation.
Can I add herbs, cheese, or other mix-ins?
Absolutely! Adding herbs, cheese, olives, or nuts can personalize your loaf beautifully. Fold them in gently at the end of the mixing step to avoid deflating the dough.
Final Thoughts
The No-Knead Artisan Bread Recipe is truly a game changer for anyone who loves homemade bread but feels intimidated by traditional methods. With minimal effort and maximized flavor, you’ll be pulling gorgeous, crusty loaves from your oven regularly. Trust me, once you try this recipe, you’ll never look back. So go ahead, warm up your kitchen, and create a loaf worth sharing with friends and family today!
Print
No-Knead Artisan Bread Recipe
- Prep Time: 15 minutes
- Cook Time: 45 minutes
- Total Time: 12 hours 45 minutes
- Yield: 12 servings (1 large loaf)
- Category: Bread
- Method: Baking
- Cuisine: American
- Diet: Vegetarian
Description
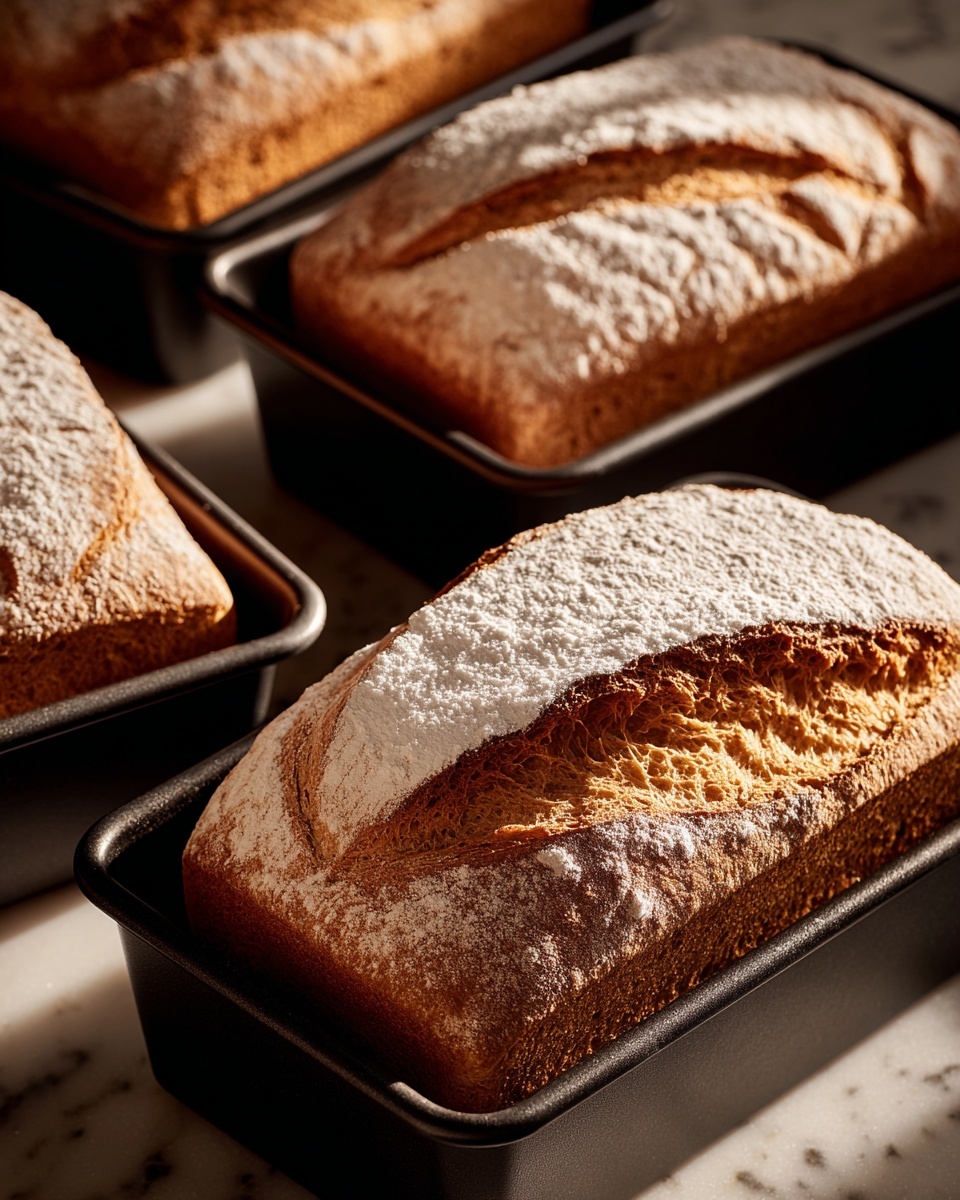
This No-Knead Artisan Bread recipe delivers a rustic, crusty loaf with minimal effort. Using only basic ingredients and a long fermentation time, the bread develops rich flavor and a chewy texture without the need for kneading. Baked in a preheated Dutch oven, it emerges with a crisp, golden crust and a soft, airy interior—perfect for sandwiches, toast, or serving alongside soups and salads.
Ingredients
Dry Ingredients
- 3 cups (375g) all-purpose flour
- 1 teaspoon (3g) active dry yeast or instant yeast
- 1 teaspoon (5g) salt
Wet Ingredients
- 1 1/2 cups (355ml) warm water
Instructions
- Mix the Dough: In a large bowl, combine the all-purpose flour, yeast, and salt. Stir the dry ingredients to distribute evenly. Pour in the warm water and mix until a shaggy dough forms. The dough will be sticky and no kneading is required.
- Let the Dough Rise: Cover the bowl with a lid or plastic wrap and let the dough rise at room temperature for 12 to 18 hours. The dough should become bubbly and approximately double in size, indicating it is ready for the next step.
- Shape the Dough: Sprinkle flour on your hands and a clean surface. Carefully turn the risen dough out and shape it into a round loaf by folding it gently. Place the shaped dough on a sheet of parchment paper and let it rest for 30 minutes to 1 hour to develop structure.
- Preheat the Oven and Dutch Oven: Preheat your oven to 450°F (230°C). Meanwhile, place a Dutch oven inside the oven to heat up for 30 minutes; this ensures it is very hot when the bread is baked for a crisp crust.
- Bake the Bread: Carefully transfer the parchment paper with the dough into the heated Dutch oven. Cover with the lid and bake for 30 minutes. Then remove the lid and continue baking for an additional 10 to 15 minutes, or until the bread turns golden brown with a crunchy crust.
- Cool and Enjoy: Remove the bread from the Dutch oven and let it cool on a wire rack for at least 30 minutes before slicing. This allows the crumb to set and enhances the texture and flavor.
Notes
- Use warm water around 100°F (38°C) to activate the yeast effectively without killing it.
- The long fermentation time develops flavor, so avoid rushing the rising process.
- For best crust, ensure the Dutch oven is thoroughly preheated before baking.
- Store leftover bread in a paper bag or bread box to maintain crust texture.
- This bread can be frozen after baking; slice before freezing for convenience.


