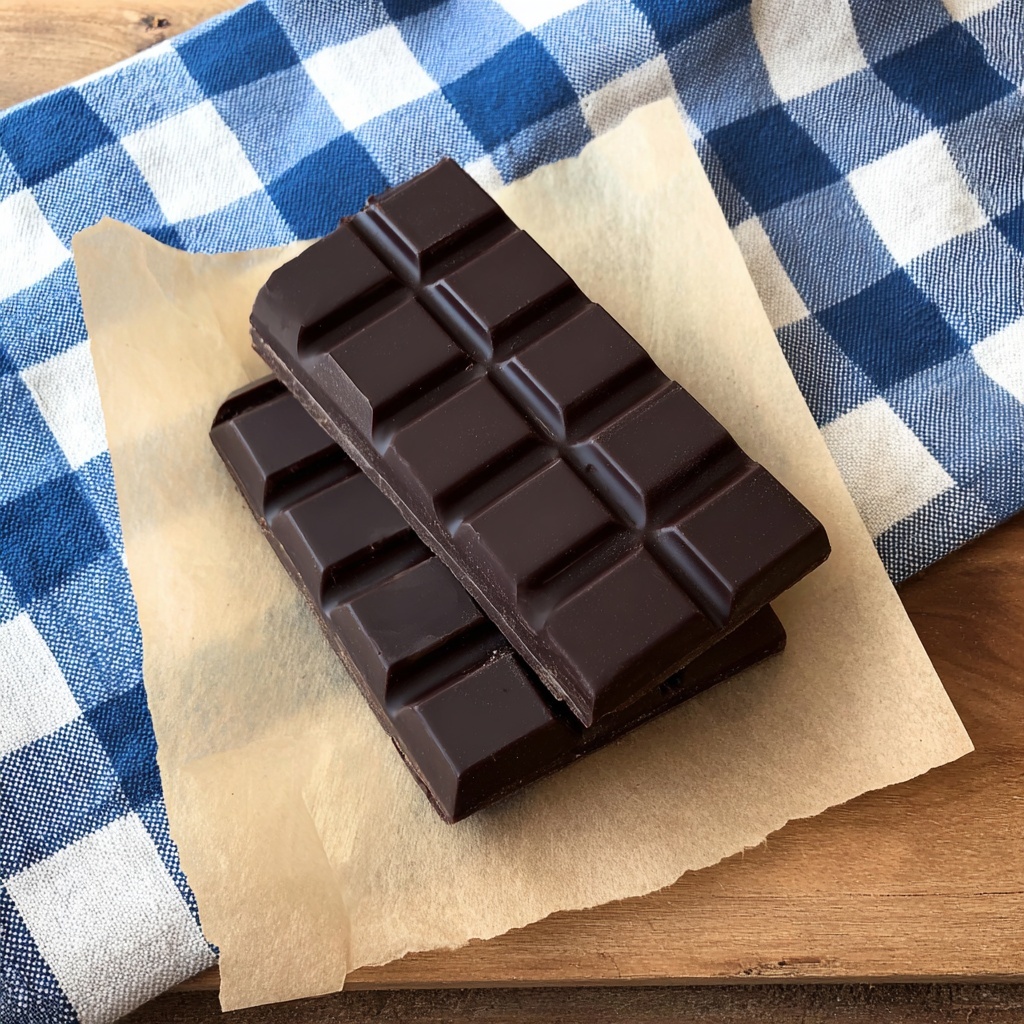
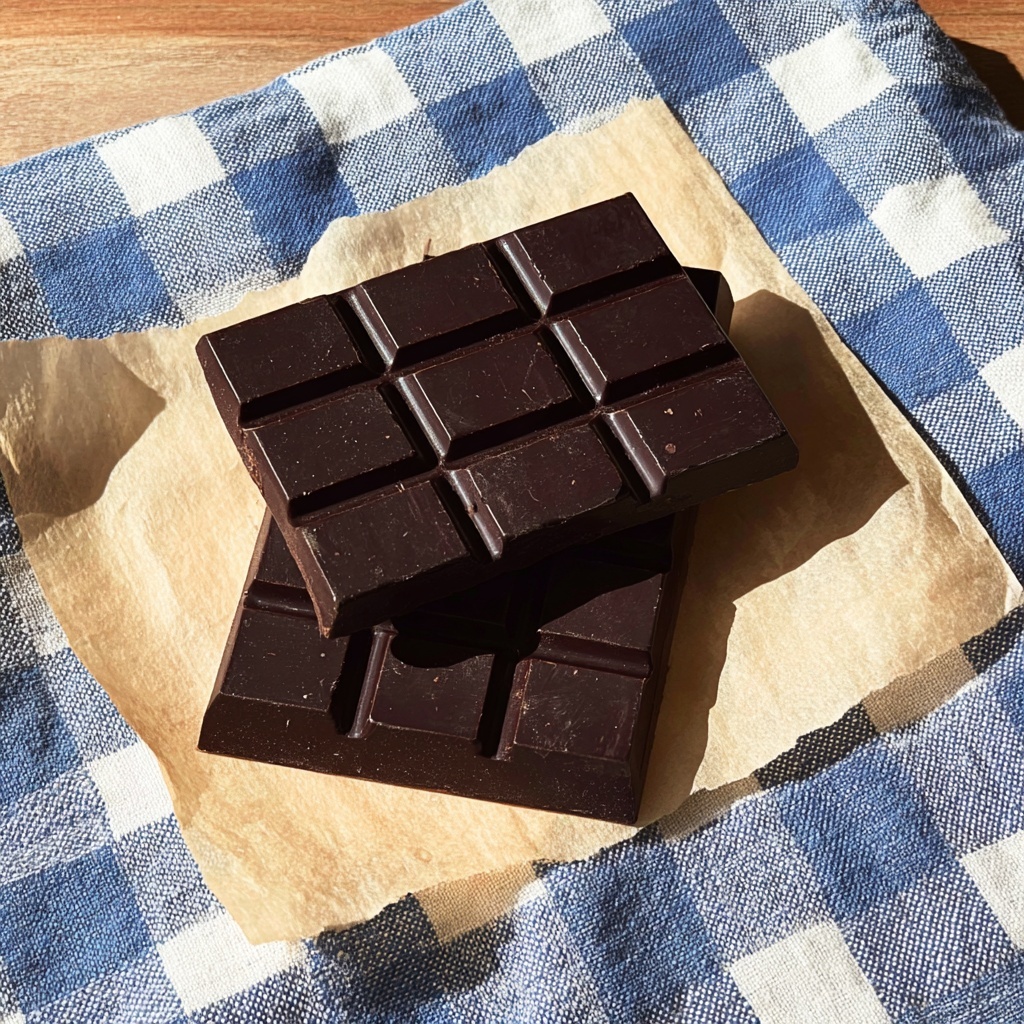
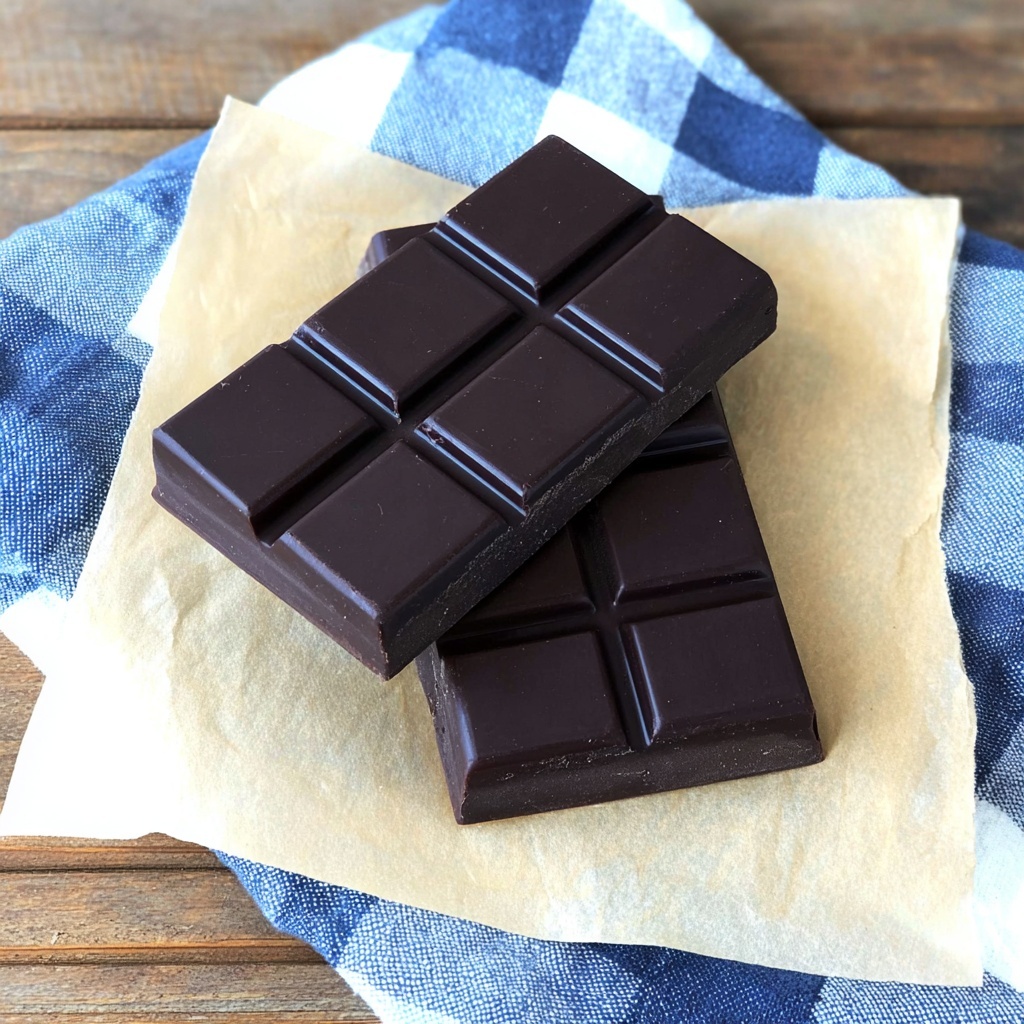
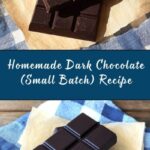
If you’ve ever wanted to craft your own decadent treat that’s pure magic in every bite, you’re going to adore this Homemade Dark Chocolate (Small Batch) Recipe. It’s simple, satisfying, and allows you to customize your chocolate with whatever add-ins you love most. With just a few wholesome ingredients, this recipe transforms into silky, rich dark chocolate that melts effortlessly on your tongue and leaves you craving more. Whether you’re gifting it or savoring a quiet moment, making chocolate from scratch is truly a special delight.
Ingredients You’ll Need
The beauty of this Homemade Dark Chocolate (Small Batch) Recipe is how straightforward yet essential each ingredient is. Every component brings something unique to the table—from the creamy smoothness of cacao butter to the natural sweetness of honey, creating a perfect balance that’s both rich and pure.
- 1/2 cup cacao butter: Provides the luscious, melt-in-your-mouth texture that’s key to authentic chocolate.
- 1/3 cup raw honey (or maple syrup for vegan): Adds natural sweetness without overpowering the deep chocolate flavor.
- 1/2 cup cacao powder (or unsweetened cocoa powder): Bursts with intense chocolate richness, giving that signature dark chocolate taste.
- Pinch of sea salt: Highlights and enhances the chocolate’s depth, balancing sweetness perfectly.
- Chopped almonds, cashews, or peanuts: For delightful crunch and a nutty contrast.
- Chopped dried cranberries: Introduce a tangy pop that complements the chocolate’s boldness.
How to Make Homemade Dark Chocolate (Small Batch) Recipe
Step 1: Prep Your Add-Ins
Begin by finely chopping your optional nuts and dried cranberries. These add wonderful texture and bursts of flavor, so sprinkle them thoughtfully into your chocolate mold sections to mix things up or concentrate flavors. Prepping this first makes the molding process smooth and fun.
Step 2: Melt the Cacao Butter
Use a double boiler method by simmering about an inch of water in the bottom of a pot, then gently place the cacao butter in the top section. Slowly melt it over medium heat, stirring occasionally until it’s silky and smooth. Patience during this step ensures your chocolate won’t scorch or seize, which is critical for that luxurious mouthfeel.
Step 3: Mix in Sweetener and Cacao
Once your cacao butter is melted, whisk in the raw honey or maple syrup until well combined. Then gradually add the cacao powder and sea salt, whisking continuously to form a glossy, rich mixture. Take a moment here to taste your chocolate and adjust sweetness if needed—this step allows you to personalize the flavor exactly to your liking.
Step 4: Pour Into Molds
Set your chocolate mold on a flat surface like a cutting board to keep things steady. Pour the chocolate evenly into each section, filling them to the top. If any chocolate remains, pour it into a parchment-lined container to chill separately. This step is all about careful and even distribution for perfect bars.
Step 5: Chill and Set
Transfer your molds to the refrigerator, again placing them on that cutting board to keep the mold flat. Let the chocolate chill for at least 30 minutes until fully firm. This cooling step helps develop that satisfying snap and glossy finish characteristic of great dark chocolate.
Step 6: Remove and Enjoy
When your chocolate has set, gently peel the sides of the mold away and pop out your homemade bars. Store them in an airtight container in the fridge to keep freshness and enjoy treats that taste like a labor of love every time.
How to Serve Homemade Dark Chocolate (Small Batch) Recipe
Garnishes
Enhance your chocolate bars with a sprinkle of sea salt, a drizzle of melted additional cacao butter, or even a dusting of edible gold flakes for an elegant touch. These subtle garnishes make your chocolate look as stunning as it tastes.
Side Dishes
Pair your chocolate with fresh berries, a cup of rich coffee, or a glass of robust red wine to elevate your indulgence. The interplay between the chocolate’s bitterness and the side’s complementary flavors creates a wonderfully balanced tasting experience.
Creative Ways to Present
Wrap your homemade bars in parchment paper tied with twine, or arrange bite-sized pieces in a beautiful decorative bowl for sharing. You can also melt the chocolate to drizzle over desserts like ice cream or fruit, turning any simple dish into a gourmet treat.
Make Ahead and Storage
Storing Leftovers
Keep your homemade dark chocolate bars fresh by storing them in an airtight container in the refrigerator. This protects them from moisture and preserves the bite and flavor, allowing you to savor each piece days later just as if it were freshly made.
Freezing
If you want to enjoy your Homemade Dark Chocolate (Small Batch) Recipe over a longer period, you can freeze the bars. Wrap them tightly in plastic wrap and place them in an airtight container before freezing to prevent any freezer burn or absorption of other odors.
Reheating
For those who prefer their chocolate slightly softened, briefly warm your bars at room temperature or hold them in your hands for a few minutes so they gently melt and reveal that velvety texture, perfect for in-the-moment enjoyment.
FAQs
Can I use regular cocoa powder instead of cacao powder?
Absolutely! Unsweetened cocoa powder works well as a substitute though the flavor may be a bit less intense. Cacao powder tends to be less processed and retains more antioxidants, but either will yield delicious chocolate.
Is it possible to make this recipe vegan?
Yes! Simply swap the raw honey for maple syrup or another plant-based liquid sweetener to keep the recipe 100% vegan without sacrificing sweetness or texture.
How long does homemade dark chocolate last?
Stored properly in an airtight container in the fridge, your chocolate bars can last up to two weeks. For longer storage, freezing is your best bet and they’ll maintain quality for a few months.
Can I add flavors like vanilla or spices?
Definitely. A dash of vanilla extract, cinnamon, or even cayenne pepper can add exciting layers of flavor. Just add them during the mixing stage before pouring into molds.
Why is it important to use a double boiler to melt cacao butter?
The double boiler gently melts the cacao butter without direct heat, preventing it from burning or seizing. This method helps maintain the smooth texture and a glossy finish that’s essential for great homemade chocolate.
Final Thoughts
If you’ve been dreaming about crafting your own rich, velvety chocolate at home, this Homemade Dark Chocolate (Small Batch) Recipe is your perfect place to start. It’s approachable, endlessly customizable, and incredibly rewarding to make. So gather your ingredients, follow the simple steps, and get ready to savor a truly special treat made just by you.
Print
Homemade Dark Chocolate (Small Batch) Recipe
- Prep Time: 10 minutes
- Cook Time: 10 minutes
- Total Time: 45 minutes
- Yield: 6 servings
- Category: Dessert
- Method: Stovetop
- Cuisine: International
- Diet: Vegetarian
Description
This homemade dark chocolate recipe yields rich, velvety chocolate bars made with natural ingredients like cacao butter, raw honey, and cacao powder. Perfect for chocolate lovers looking to create a small batch of delicious, customizable dark chocolate at home. Optional add-ins like chopped nuts and dried cranberries add a delightful crunch and flavor contrast. The process is simple, involving melting, mixing, molding, and chilling, resulting in indulgent treats that can be stored in the fridge for freshness.
Ingredients
Main Ingredients
- 1/2 cup cacao butter (see notes)
- 1/3 cup raw honey (or maple syrup for vegan option, see notes)
- 1/2 cup cacao powder (or unsweetened cocoa powder)
- Pinch of sea salt
Optional Add-ins
- Chopped almonds, cashews, or peanuts
- Chopped dried cranberries
Instructions
- Prep: Finely chop any optional add-ins such as nuts or dried cranberries if you want to include them in your chocolate bars. Place these chopped ingredients in one or more sections of a chocolate bar mold for even distribution.
- Melt: Set up a double boiler by placing about an inch of water in the bottom pot and bringing it to medium heat. Place the cacao butter in the upper bowl of the double boiler and heat it slowly, stirring occasionally, until it just melts. Remove from heat.
- Mix: To the melted cacao butter, whisk in the raw honey (or maple syrup) until fully incorporated. Then whisk in the cacao powder and a pinch of sea salt until the mixture is smooth and glossy. Taste the mixture and adjust sweetness by adding a little more honey if desired.
- Mold: Place your chocolate bar mold on a flat surface such as a cutting board to keep it stable. Carefully pour the melted chocolate mixture evenly into the mold sections, filling each one to the top. If you have leftover chocolate, pour it into a parchment-lined container to cool separately.
- Chill: Transfer the chocolate mold gently into the refrigerator. Let the chocolate chill and solidify for at least 30 minutes or until fully set.
- Enjoy: Once set, remove the bars from the mold by slowly pulling the sides of the mold away to release them. Store your homemade chocolate bars in an airtight container in the refrigerator for optimal freshness. Enjoy your delicious, homemade dark chocolate treats!
Notes
- Cacao butter can be found at specialty health food stores or online. It is important for the smooth texture of the chocolate.
- For a vegan version, substitute raw honey with maple syrup or another preferred plant-based sweetener.
- If you prefer a sweeter chocolate, adjust the amount of honey or syrup as per taste.
- Using good quality cacao powder or unsweetened cocoa powder will enhance the flavor.
- Be sure to pour the chocolate evenly into molds for uniform bars.
- Store the finished chocolate bars in the fridge to prevent melting and maintain freshness.
