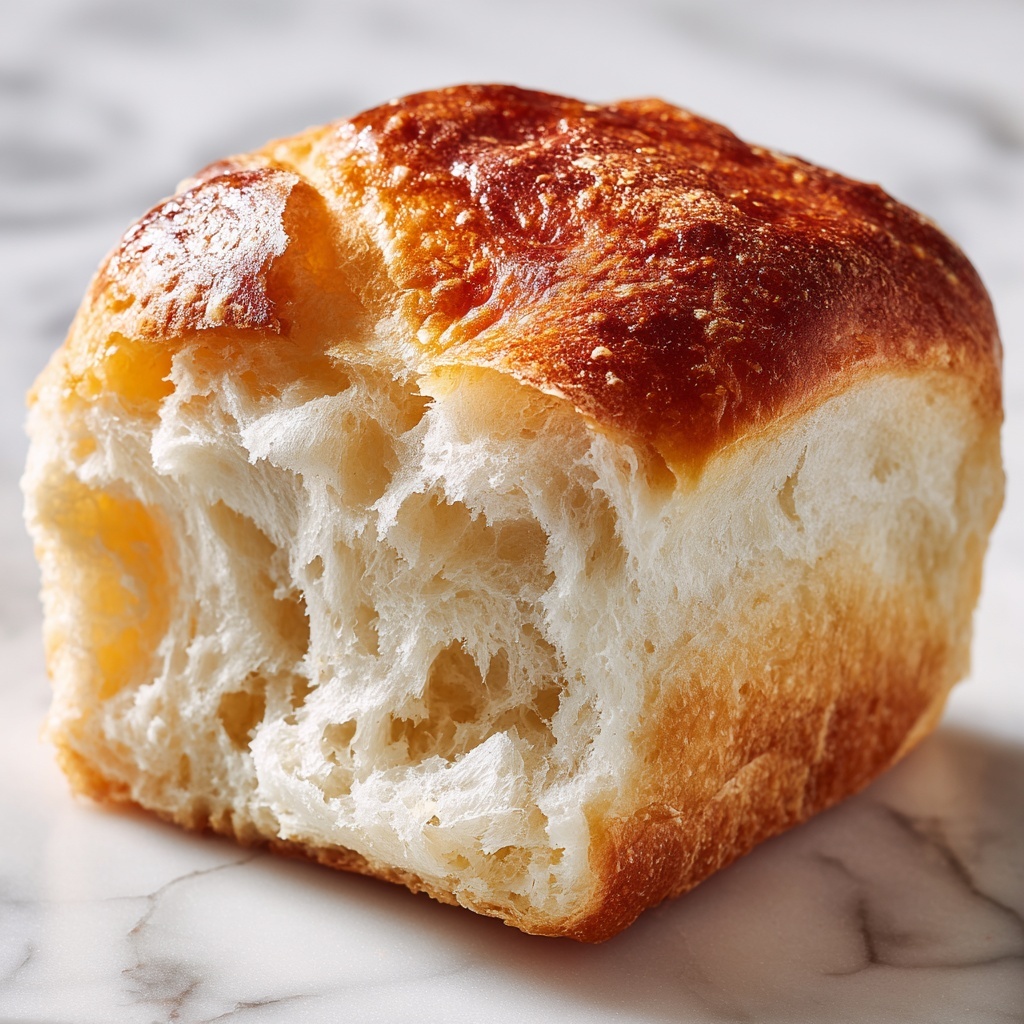
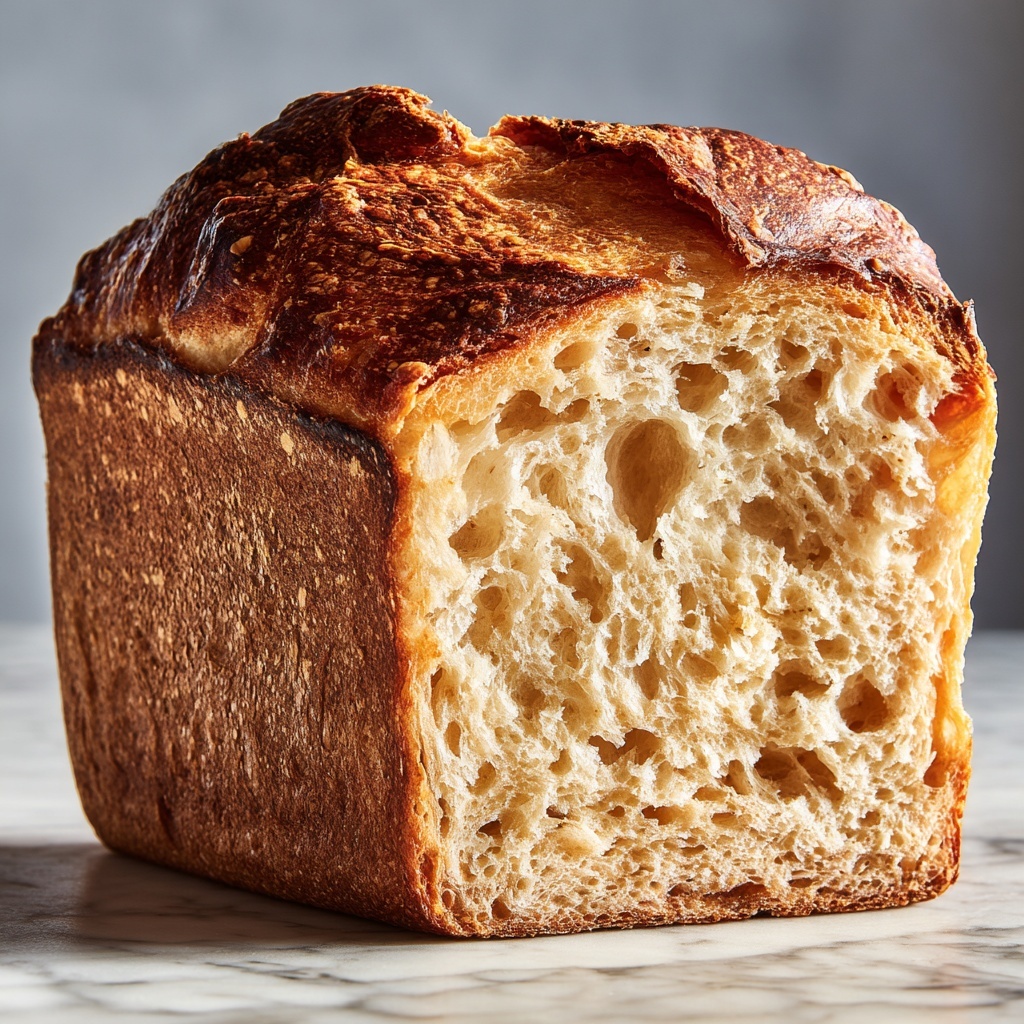
This Easy Sweet Condensed Milk Bread Recipe is a heartwarming treat that shines with its soft, tender crumb and gentle sweetness. It’s a delightful homemade bread that combines the richness of sweetened condensed milk with a perfectly fluffy texture, making it an absolute favorite for breakfast, tea time, or a comforting snack. Whether you’re a beginner baker or a seasoned pro, this recipe will have you feeling proud as you pull a golden, aromatic loaf fresh from your oven with minimal fuss.
Ingredients You’ll Need
Getting the ingredients right is half the battle when baking bread, and this recipe keeps it wonderfully simple yet essential. Each component plays a crucial role: the flour builds structure, the yeast brings life to the dough, and the sweetened condensed milk adds a luscious sweetness and tender crumb that make this bread stand out.
- 2 1/2 cups all-purpose flour: The foundation of your bread, providing the necessary gluten structure for a chewy, soft texture.
- 1/4 cup sugar: Adds a touch of sweetness to balance the bread’s flavor and helps feed the yeast.
- 1/4 cup sweetened condensed milk: The magic ingredient delivering creamy sweetness and a fluffy crumb.
- 1/2 cup warm water: Activates the yeast and helps bring the dough together.
- 1 packet dry yeast: The life force of the bread, responsible for that perfect rise and airy texture.
- 1/4 cup butter, melted: Adds richness and a tender bite to your loaf.
- 1/2 teaspoon salt: Balances sweetness and enhances all the flavors in the bread.
How to Make Easy Sweet Condensed Milk Bread Recipe
Step 1: Activate the Yeast
Start by combining warm water and dry yeast in a small bowl. This warm liquid wakes up the yeast, making it bubbly and foamy within about 5 minutes. It’s like giving it a little coffee to get energized for the dough.
Step 2: Mix Wet Ingredients
To the activated yeast, add sugar, sweetened condensed milk, melted butter, and salt. Stir these well so they blend smoothly. This mixture is where the flavor depth begins to build, blending sweetness with a touch of richness.
Step 3: Add Flour Gradually
Now comes the flour. Add it a little at a time to the wet ingredients, stirring as you go. This slow incorporation helps you control the dough’s moisture and texture, ensuring it doesn’t get too sticky or dry.
Step 4: Knead the Dough
Turn your dough onto a clean surface and knead it for about 8 to 10 minutes until it becomes smooth and elastic. This step develops the gluten, which is essential for that soft yet sturdy bread texture. Don’t hesitate to add a splash more flour if it’s sticking to your hands too much.
Step 5: First Rise
Pop the dough into a greased bowl, cover it with a damp towel, and let it rise in a warm spot for about an hour. When it doubles in size, you’ll know your yeast is hard at work creating air pockets that make the bread light and airy.
Step 6: Shape the Dough
Gently punch down the dough to release excess air, then shape it into a loaf. Transfer this nicely formed dough into a greased loaf pan, ready for the second rise. This step creates the familiar loaf shape that’s perfect for slicing.
Step 7: Second Rise
Allow the dough to rise again, uncovered this time, for about 30 minutes. This second rest lets the dough puff up again, so your finished bread stays wonderfully soft and fluffy.
Step 8: Bake the Bread
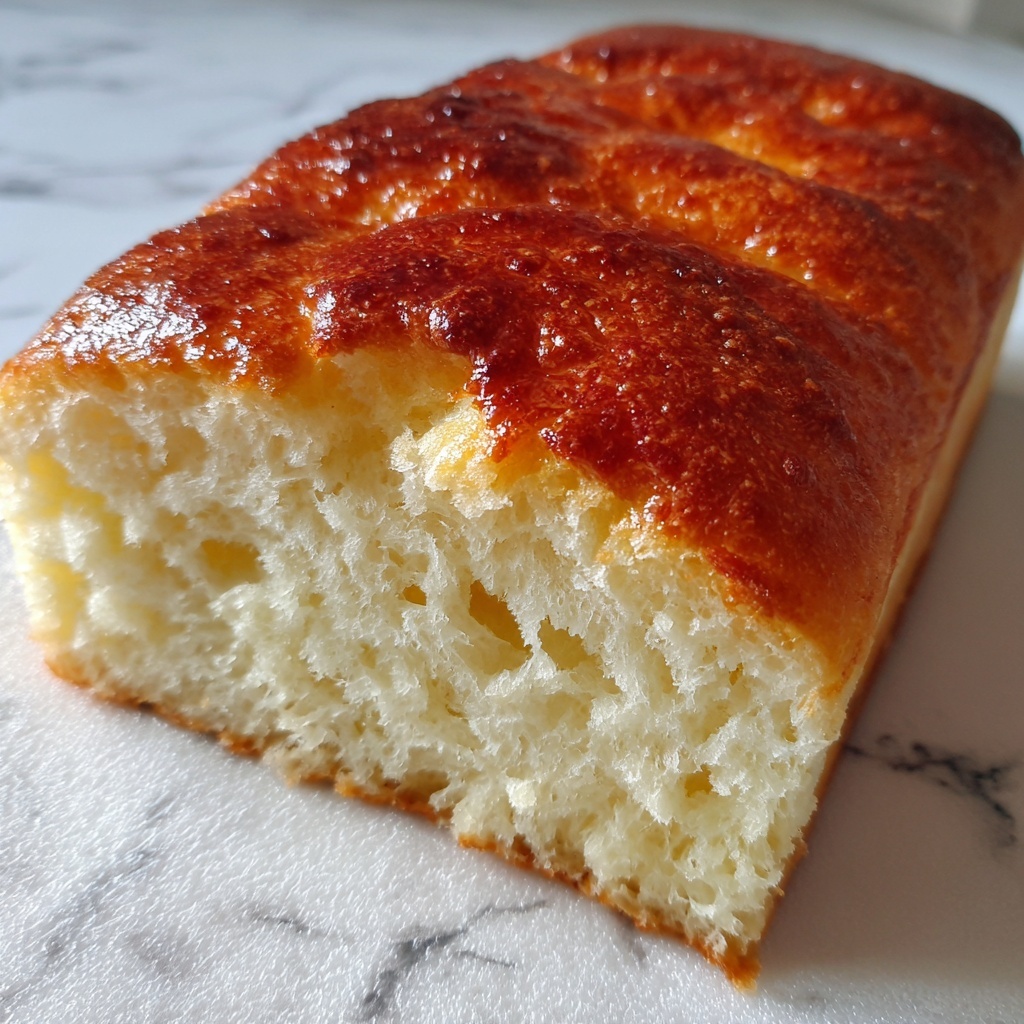
Preheat your oven to 350°F (175°C). Bake the loaf for 25 to 30 minutes until it turns a delicious golden brown and sounds hollow when you tap the bottom. That color and sound tell you your bread is perfectly cooked inside and out.
Step 9: Cool and Serve
Once baked, let the bread cool in the pan for a few minutes before transferring it to a wire rack. Cooling helps set the crumb and makes slicing easier without crushing the loaf. Then, slice and enjoy the fruits of your labor.
How to Serve Easy Sweet Condensed Milk Bread Recipe
Garnishes
This bread’s slightly sweet, buttery flavor pairs beautifully with light garnishes. A spread of creamy butter, a drizzle of honey, or even a thin spread of homemade jam brings out its richness without overpowering that delicate crumb.
Side Dishes
Pair your loaf with fresh fruit or a cup of aromatic tea or coffee for a charming breakfast or afternoon snack. This bread’s subtle sweetness makes it versatile enough to complement savory dishes like cheese plates or lightly spiced soups.
Creative Ways to Present
Elevate your bread presentation by transforming slices into French toast, topped with fresh berries and powdered sugar. Alternatively, use it to make sweet sandwiches with nut butter and banana for an indulgent, satisfying treat that’s both simple and irresistible.
Make Ahead and Storage
Storing Leftovers
Store any leftover bread in an airtight container or wrapped tightly in plastic wrap at room temperature. It’ll stay soft and fresh for up to 3 days, making it easy to enjoy later without sacrificing texture or flavor.
Freezing
If you want to keep this bread longer, slice it first and place the slices in a freezer bag, separating them with parchment paper to prevent sticking. Frozen, it will stay delicious for up to 2 months, ready to be toasted whenever a craving strikes.
Reheating
To bring your bread back to life, simply toast slices or warm them gently in the oven wrapped in foil. This revives the softness and brings out the subtle sweetness that makes this recipe so beloved.
FAQs
Can I use milk instead of water in this recipe?
While you could substitute milk for water, the original recipe’s use of warm water helps activate the yeast more effectively. Using milk might make the dough richer but may slightly alter the texture and rise.
Do I need to use melted butter or can I use oil?
Melted butter adds a wonderful flavor and tenderness that oil may not provide. However, if you prefer oil, it can work in a pinch but expect a slightly different crumb and taste.
What happens if I skip the second rise?
The second rise allows the dough to relax and puff up again before baking, contributing to a lighter texture. Skipping it could result in a denser loaf with less volume.
How can I tell if the bread is fully baked?
Look for a golden brown crust and tap the bottom of the loaf; a hollow sound indicates it’s done. Using a thermometer, the internal temperature should be around 190°F (88°C).
Can this bread be made gluten-free?
This recipe relies on gluten development for structure, so simply substituting gluten-free flour won’t yield the same results. For a gluten-free version, look for specialized bread flour blends and yeast recipes tailored for gluten-free baking.
Final Thoughts
This Easy Sweet Condensed Milk Bread Recipe truly feels like a warm hug from your oven. It’s approachable, rewarding, and downright delicious, perfect for creating moments that bring loved ones together. I can’t wait for you to try it and make it part of your baking repertoire as your next favorite homemade bread!
Print
Easy Sweet Condensed Milk Bread Recipe
- Prep Time: 25 minutes
- Cook Time: 30 minutes
- Total Time: 1 hour 55 minutes
- Yield: 10 servings
- Category: Bread
- Method: Baking
- Cuisine: American
- Diet: Vegetarian
Description
This Easy Sweet Condensed Milk Bread is a soft, subtly sweet homemade loaf perfect for breakfast or snacks. Made with simple ingredients including sweetened condensed milk, it yields a tender, fluffy bread with a golden crust, ideal for any level of baker.
Ingredients
Dry Ingredients
- 2 1/2 cups all-purpose flour
- 1/4 cup sugar
- 1 packet dry yeast (about 2 1/4 teaspoons)
- 1/2 teaspoon salt
Wet Ingredients
- 1/4 cup sweetened condensed milk
- 1/2 cup warm water (about 110°F/43°C)
- 1/4 cup butter, melted
Instructions
- Activate the Yeast: In a small bowl, combine the warm water and dry yeast. Let sit for about 5 minutes until the mixture becomes bubbly and foamy, indicating the yeast is active.
- Mix Wet Ingredients: To the yeast mixture, add sugar, sweetened condensed milk, melted butter, and salt. Stir well to combine all wet ingredients thoroughly.
- Add Flour: Gradually incorporate the all-purpose flour into the wet ingredients, mixing a little at a time until the dough starts to come together. You may need to add a bit more flour if the dough is too sticky.
- Knead the Dough: Transfer the dough to a floured surface and knead for 8–10 minutes until it’s smooth and elastic. Add extra flour as needed to prevent sticking without making the dough too dry.
- First Rise: Place the kneaded dough into a greased bowl, cover with a damp towel, and let it rise in a warm spot for about 1 hour or until the dough has doubled in size.
- Shape the Dough: Punch down the risen dough gently to release trapped air. Shape it into a loaf form and place it in a greased loaf pan.
- Second Rise: Cover the pan and let the dough rise again for another 30 minutes or until it puffs up noticeably.
- Bake: Preheat your oven to 350°F (175°C). Place the loaf pan in the oven and bake for 25–30 minutes until the bread turns golden brown and sounds hollow when tapped on the bottom.
- Cool and Serve: Remove the bread from the oven and let it cool in the pan for 5 minutes. Then transfer it to a wire rack to cool completely before slicing and serving.
Notes
- Ensure the water is warm but not hot to avoid killing the yeast.
- The dough may feel sticky; add flour sparingly to maintain softness.
- For extra flavor, brush the top of the loaf with melted butter after baking.
- This bread freezes well; slice before freezing for convenient thawing.
- You can substitute half the all-purpose flour with bread flour for a chewier texture.


