If you have ever dreamed of biting into a delightfully crispy, yet tender pocket of savory goodness, this Pan-Fried Pork Buns Recipe is here to make that dream come true. These buns combine a pillowy dough exterior with a juicy, flavorful pork filling, all cooked to perfection by pan-frying and steaming. They deliver that perfect balance of crispness and softness that makes them absolutely addictive and a classic favorite for any occasion.
Ingredients You’ll Need
The magic of this Pan-Fried Pork Buns Recipe lies in the simplicity and quality of its ingredients. Each one plays a vital role, from creating the soft dough to ensuring an irresistible filling packed with flavor.
- All-purpose flour: The base for a soft and elastic dough that will hug the juicy filling perfectly.
- Instant yeast: The secret agent that makes the dough rise light and fluffy in just about an hour.
- Sugar: Adds a subtle sweetness to balance the savory flavors in the dough and filling.
- Salt: Enhances every flavor, from the dough to the pork filling.
- Warm water: Activates the yeast and helps bring together the dough’s texture just right.
- Vegetable oil: For tenderizing the dough and crisping the buns while cooking.
- Ground pork or chicken: The star protein with juicy texture and rich taste.
- Green onions: Fresh, sharp flavor that brightens up the filling.
- Soy sauce: Brings umami depth that makes every bite flavorful and irresistible.
- Sesame oil: Adds a subtle nuttiness that complements the pork wonderfully.
- Ground ginger: A warm spice note that perks up the filling’s profile.
- Garlic: Freshly minced for aromatic intensity, perfect in every savory bite.
- Water (for steaming): Essential for keeping buns moist and cooking the filling through.
- Sesame seeds and chopped scallions (optional): Gorgeous garnishes that add texture and color when serving.
How to Make Pan-Fried Pork Buns Recipe
Step 1: Prepare the Dough
Start by combining your dry ingredients—flour, yeast, sugar, and salt—in a large bowl. Gradually pour in the warm water and stir until a soft dough begins to form. Knead it for about 6 to 8 minutes on a lightly floured surface until the dough becomes smooth and elastic. Cover it with a damp towel or plastic wrap and place it in a warm spot to rise for an hour, allowing the dough to double in size and become wonderfully airy.
Step 2: Make the Filling
While the dough is rising, mix together ground pork (or chicken), finely chopped green onions, soy sauce, sesame oil, ground ginger, minced garlic, and salt and pepper to taste in a bowl. This filling is where the heart of the Pan-Fried Pork Buns Recipe lives—each ingredient combining to create a juicy, savory burst inside the buns.
Step 3: Shape the Buns
Once the dough has doubled in size, punch it down to release air bubbles and divide into 12 equal portions. Roll each piece into a ball and then flatten into a circle about 3 to 4 inches in diameter. Place a spoonful of the pork filling in the center of each circle, then carefully pinch the edges together to seal, forming a bun. This sealing step is key to keeping all that delicious filling nestled within as you cook.
Step 4: Pan-Fry and Steam the Buns
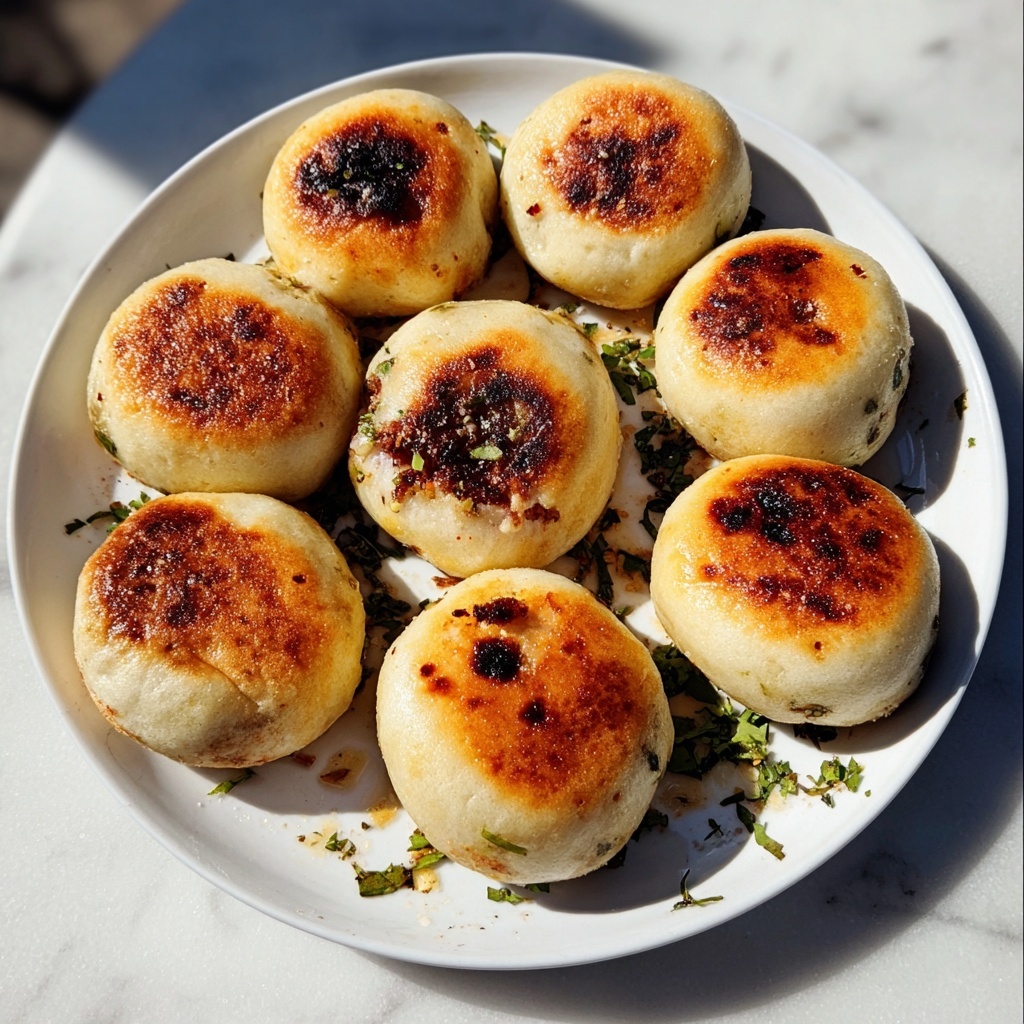
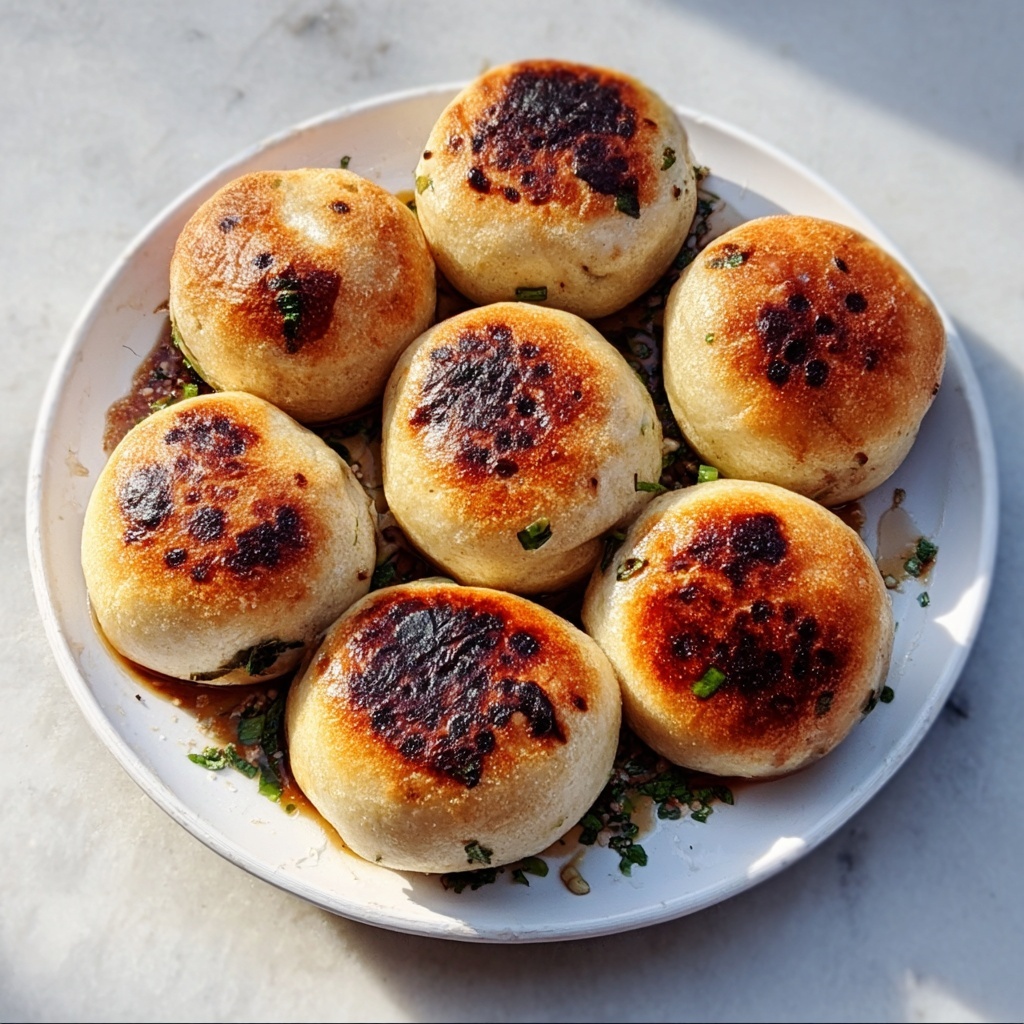
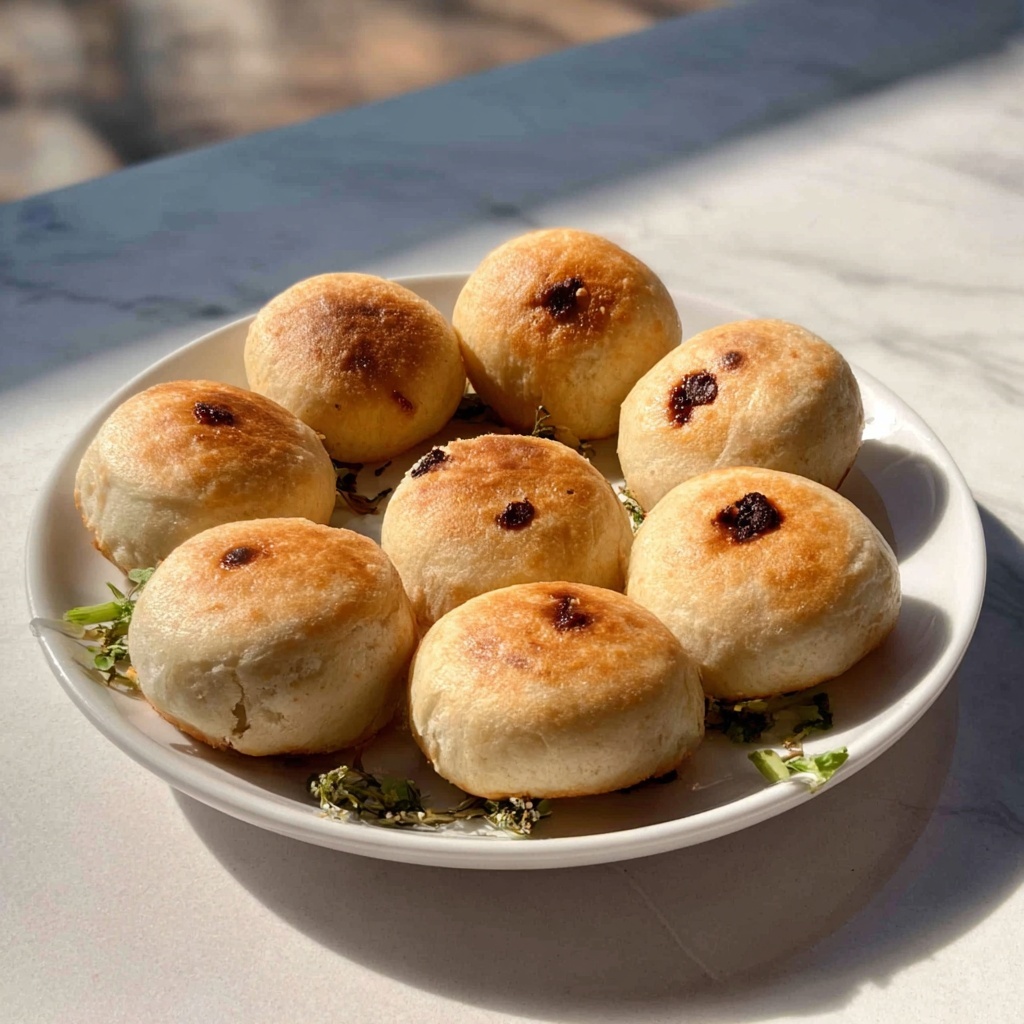
Heat a tablespoon of vegetable oil in a nonstick skillet over medium heat. Place your buns seam side down and fry for 2 to 3 minutes until the bottoms turn a mouthwatering golden brown. Next, gently add 1/4 cup of water to the pan and cover with a lid. This steam step is essential—it cooks the filling through while keeping the dough soft and fluffy. Let steam for 6 to 8 minutes until the water evaporates, then remove the lid and fry for an extra minute or two to crisp up the bottoms again. Voilà, perfectly cooked buns with crispy bases and soft tops!
How to Serve Pan-Fried Pork Buns Recipe
Garnishes
To bring extra color and crunch to your Pan-Fried Pork Buns Recipe, sprinkle toasted sesame seeds and finely chopped scallions on top just before serving. These touches add a lovely texture contrast and a fresh, nutty aroma that makes presentation pop.
Side Dishes
These buns shine wonderfully alongside crisp Asian slaws, tangy pickled vegetables, or a simple soy dipping sauce. Experiment with pairing them with steamed bok choy or a refreshing cucumber salad to round out a delightful meal.
Creative Ways to Present
For a fun twist, arrange your Pan-Fried Pork Buns Recipe on a wooden platter with small dipping bowls of chili oil, hoisin sauce, and soy sauce in the center. Or stack them in a bamboo steamer basket to lean into the classic vibe while keeping them warm. Either way, they’ll be the star attraction on any table!
Make Ahead and Storage
Storing Leftovers
If you find yourself lucky enough to have leftovers from your Pan-Fried Pork Buns Recipe, store them in an airtight container in the refrigerator for up to two days. Make sure the buns cool completely before sealing to avoid condensation that softens the crispy bottoms.
Freezing
You can freeze these buns before cooking by placing them on a baking sheet separated so they don’t stick, freezing until firm, then transferring to a freezer bag. When ready to eat, cook them straight from frozen by adjusting the steaming time slightly to ensure the filling is heated through.
Reheating
To enjoy your leftover buns with that fresh-from-the-pan crispiness, reheat them on a nonstick skillet over medium heat with a splash of water and the lid on to steam briefly, just like the original cooking method. This will revive their texture and flavor beautifully.
FAQs
Can I use chicken instead of pork for the filling?
Absolutely! Ground chicken works wonderfully in this Pan-Fried Pork Buns Recipe and provides a lighter yet equally delicious alternative.
Do I need special equipment to make these buns?
Not at all! A simple nonstick skillet with a lid will do the trick for pan-frying and steaming. No fancy bamboo steamers required.
How do I know when the dough has risen enough?
The dough should double in size and look puffy when ready. You can gently poke it with a finger; if the indentation stays, it’s good to go.
Can I make a vegetarian version of these buns?
Definitely! Swap out the meat for finely chopped mushrooms, tofu, or a mixture of vegetables and seasonings for a tasty plant-based twist on this Pan-Fried Pork Buns Recipe.
What’s the best way to serve these buns for a party?
Serve them warm with a variety of dipping sauces and garnishes on the side for guests to customize. A platter piled high always makes a great centerpiece!
Final Thoughts
There is something truly special about making your own Pan-Fried Pork Buns Recipe at home—the satisfying mix of textures, the mouthwatering filling, and the comforting experience of crafting a beloved Chinese classic from scratch. I hope this recipe inspires you to bring a little crispy, juicy joy to your kitchen and share these delightful buns with friends and family. You won’t regret it!
Print
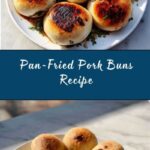
Pan-Fried Pork Buns Recipe
- Prep Time: 25 minutes
- Cook Time: 15 minutes
- Total Time: 1 hour 40 minutes
- Yield: 12 buns
- Category: Main Course
- Method: Frying
- Cuisine: Chinese
Description
Delicious pan-fried buns with a savory ground pork or chicken filling, featuring a crispy bottom and a steamed, tender interior. These traditional Chinese buns are perfect as a main course or appetizer and offer a wonderful balance of textures and flavors, enhanced by a simple soy and sesame oil marinade.
Ingredients
Dough:
- 2 cups all-purpose flour
- 2 teaspoons instant yeast
- 1 tablespoon sugar
- 1/2 teaspoon salt
- 3/4 cup warm water
- 1 tablespoon vegetable oil (plus more for frying)
Filling:
- 1/2 pound ground pork or chicken
- 2 green onions, finely chopped
- 1 tablespoon soy sauce
- 1 teaspoon sesame oil
- 1/2 teaspoon ground ginger
- 1 clove garlic, minced
- Salt and pepper to taste
- 1/4 cup water (for steaming)
- Sesame seeds and chopped scallions for garnish (optional)
Instructions
- Prepare the dough: In a large bowl, combine flour, yeast, sugar, and salt. Gradually add warm water while mixing until a soft dough forms. Knead the dough for 6–8 minutes until it becomes smooth and elastic. Cover the bowl and let the dough rise in a warm place for 1 hour or until it doubles in size.
- Make the filling: While the dough rises, mix ground pork or chicken with finely chopped green onions, soy sauce, sesame oil, ground ginger, minced garlic, salt, and pepper in a bowl until well combined. Set this filling aside.
- Shape the buns: Once the dough has risen, punch it down and divide it into 12 equal pieces. Roll each piece into a ball, then flatten into a 3–4 inch circle. Add a spoonful of the prepared filling to the center of each circle. Pinch the edges together tightly to seal the bun and shape it securely.
- Cook the buns: Heat 1 tablespoon of vegetable oil in a nonstick skillet over medium heat. Place the buns seam-side down in the skillet and cook for 2–3 minutes until the bottoms turn golden brown.
- Steam the buns: Carefully pour 1/4 cup water into the skillet, then immediately cover with a lid to trap the steam. Allow the buns to steam for 6–8 minutes, or until the water has evaporated and the filling is fully cooked.
- Finish crisping: Remove the lid and cook the buns for an additional 1–2 minutes to re-crisp the bottom crust. Once done, remove from heat.
- Serve: Serve the pan-fried buns warm, optionally garnished with sesame seeds and chopped scallions for extra flavor and presentation.
Notes
- These buns are best enjoyed fresh but can be refrigerated and reheated in a pan or steamer.
- For a vegetarian version, substitute the ground meat with finely chopped vegetables, mushrooms, or tofu.
- Ensure the buns are tightly sealed to prevent the filling from leaking during cooking.


